Building a Modern Full Length Mirror and Stand
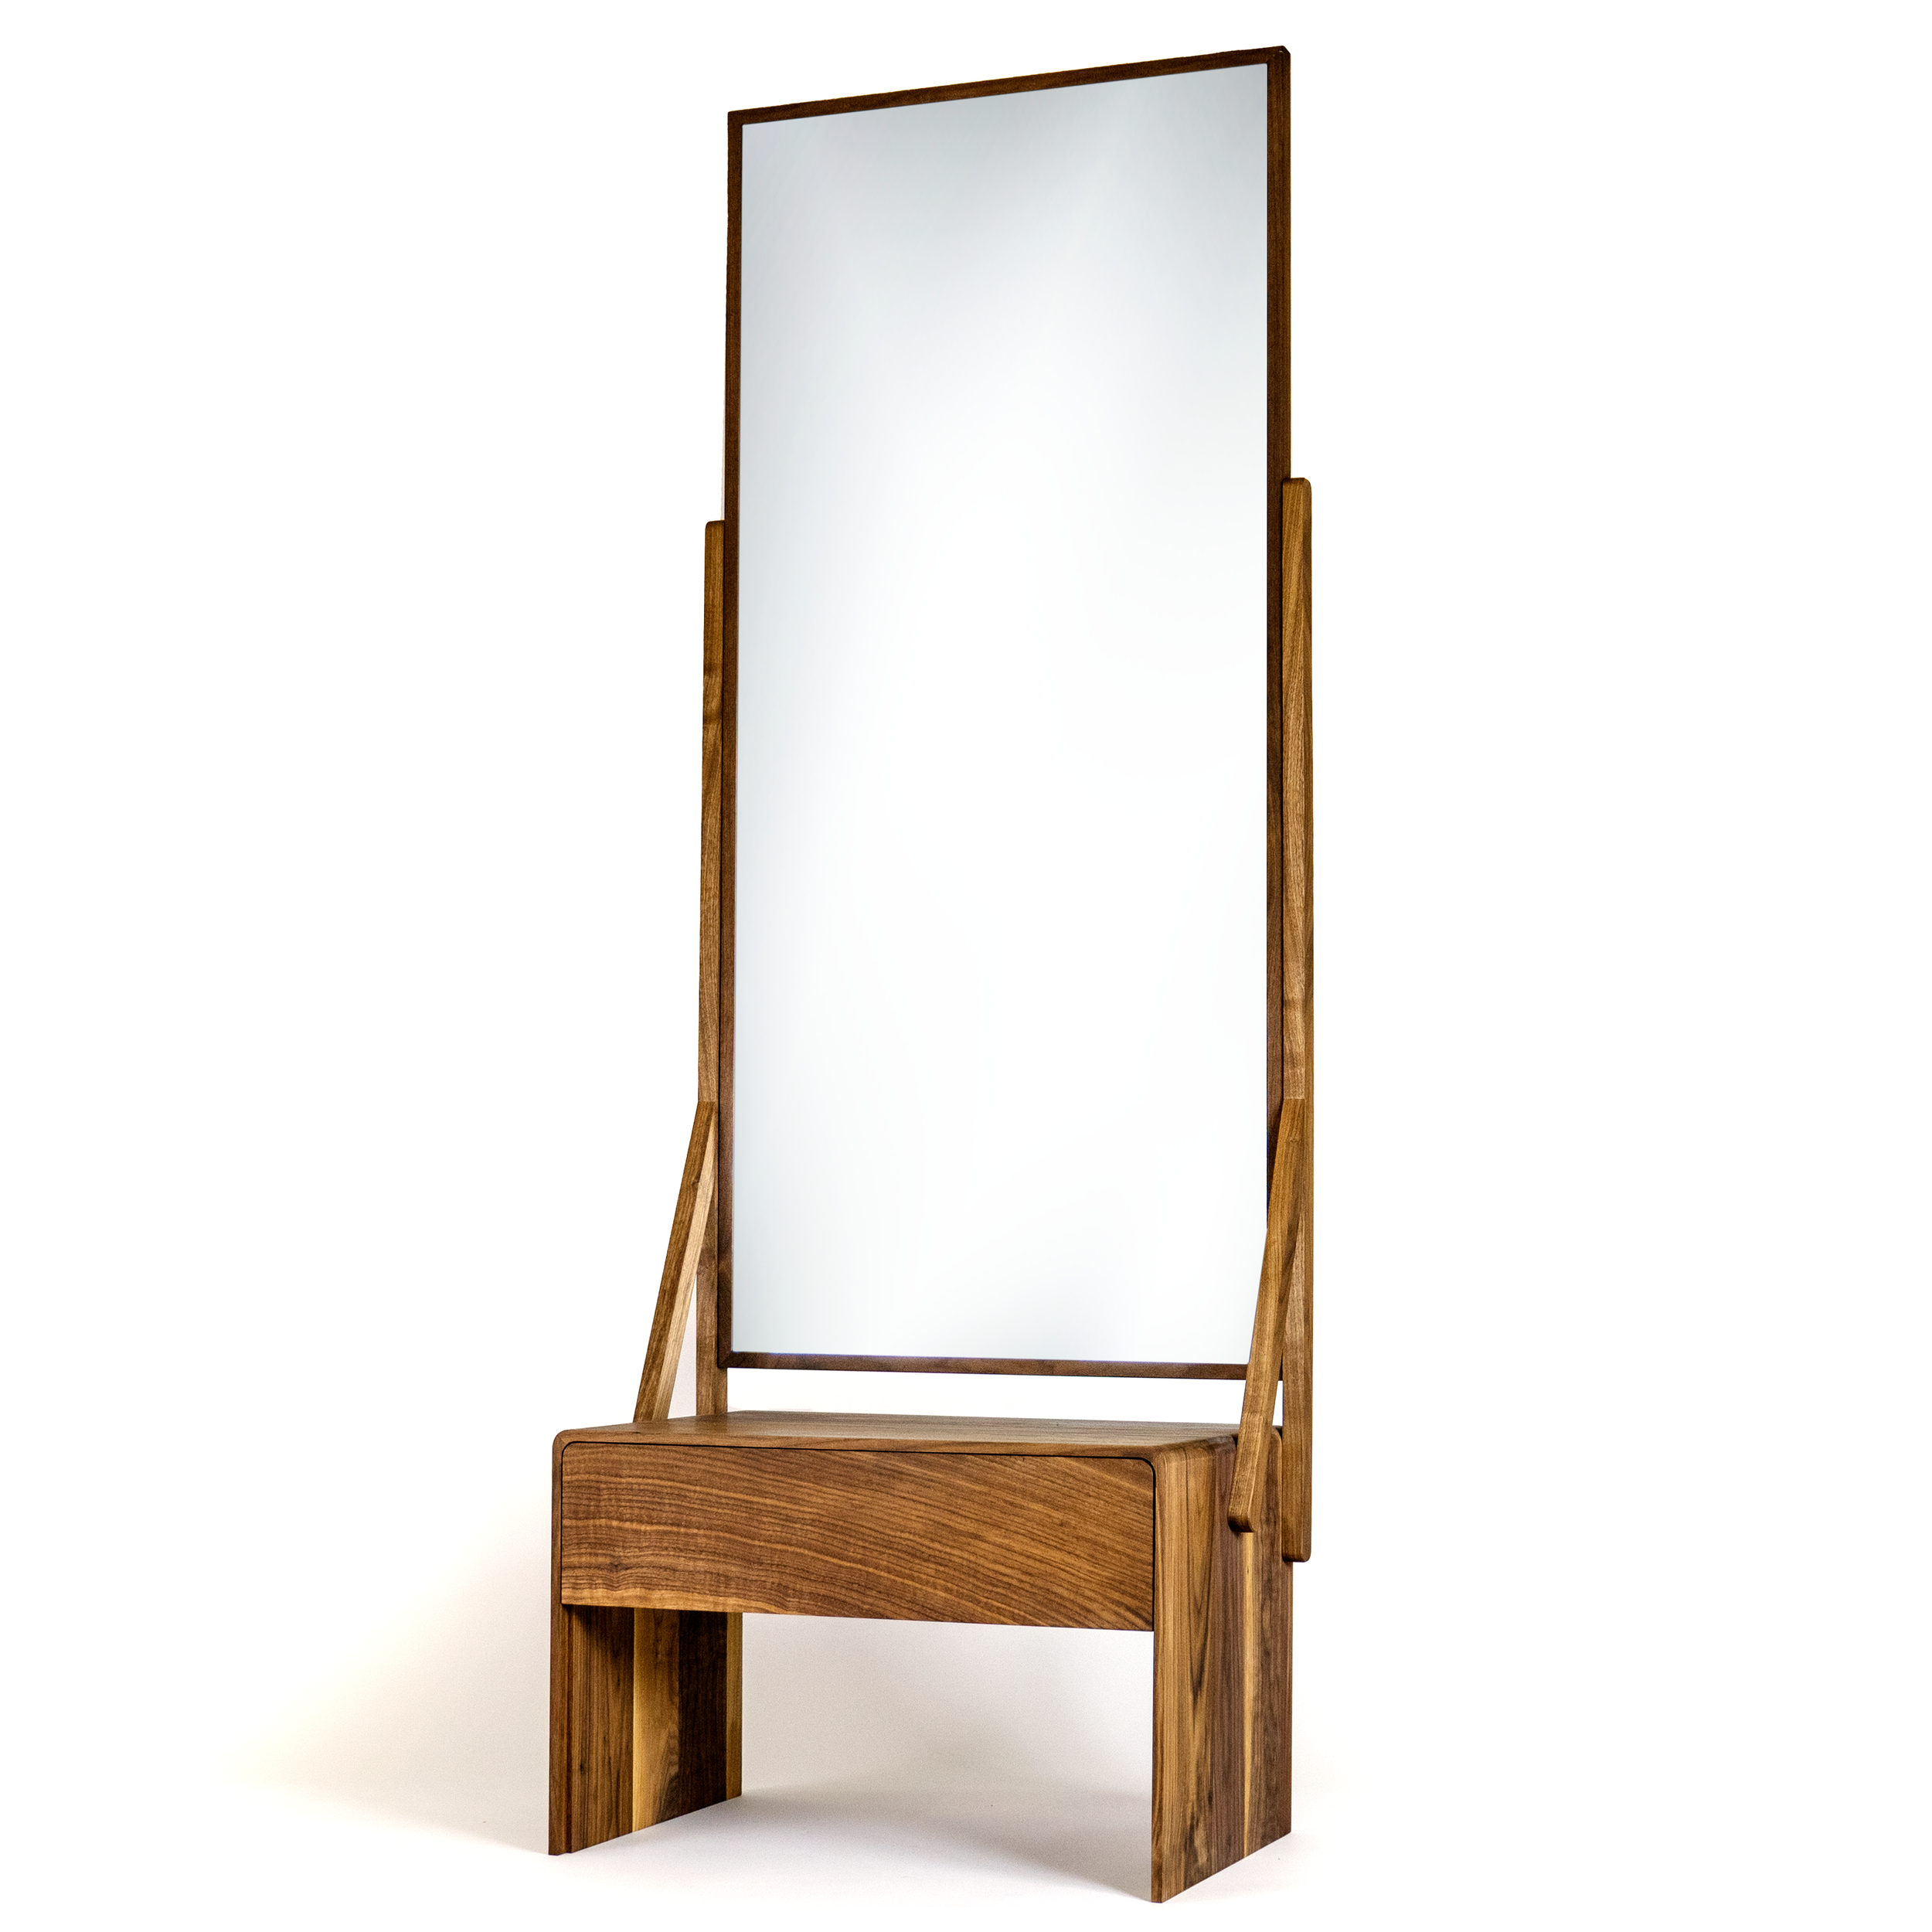
I'm building a modern full-length mirror reminiscent of the mid-century dressing mirrors. This mirror incorporates a storage drawer and the mirror pivots so you can adjust its position. I used some fun woodworking techniques like rounded miters, stopped dados, and a bunch of other woodworking tricks to achieve the waterfall grain pattern I was looking for. If you want to make your own standing mirror, make sure to check out the plans below, enjoy the build!
Project Plans: https://bit.ly/mirrorplans
Supplies
Walnut Hardwood (or Hardwood of Your Choice)
Table Saw
Band Saw
Clamps
Domino or Dowels
Router and Bits
Sander
Wood Glue
MILL THE LUMBER

Start by trimming down some 4/4 and 5/4 walnut (or hardwood of your choice) to rough length for the mirror frame and stand. Then get them joined at the jointer and planed with a planer.
CUT OUT THE PIECES
Cut Out and Glue Up the Panels

Trim down the boards for the panels so you have square edges at the table saw. Then lay out your panels and mark out the domino placement. And since this will be a waterfall pattern, be mindful of your domino placement so they are not in a place where you will cut the miter later on.

Plunge your mortises for the domino. These dominoes will help you align the faces. Then glue up the panels. Make sure you use enough clamps so that they meet at 45 degrees.
Once the glue has set up for about 15 minutes, I like to use a chisel to scrape away any squeeze-out.


Trim Down the Panels For the Shelf

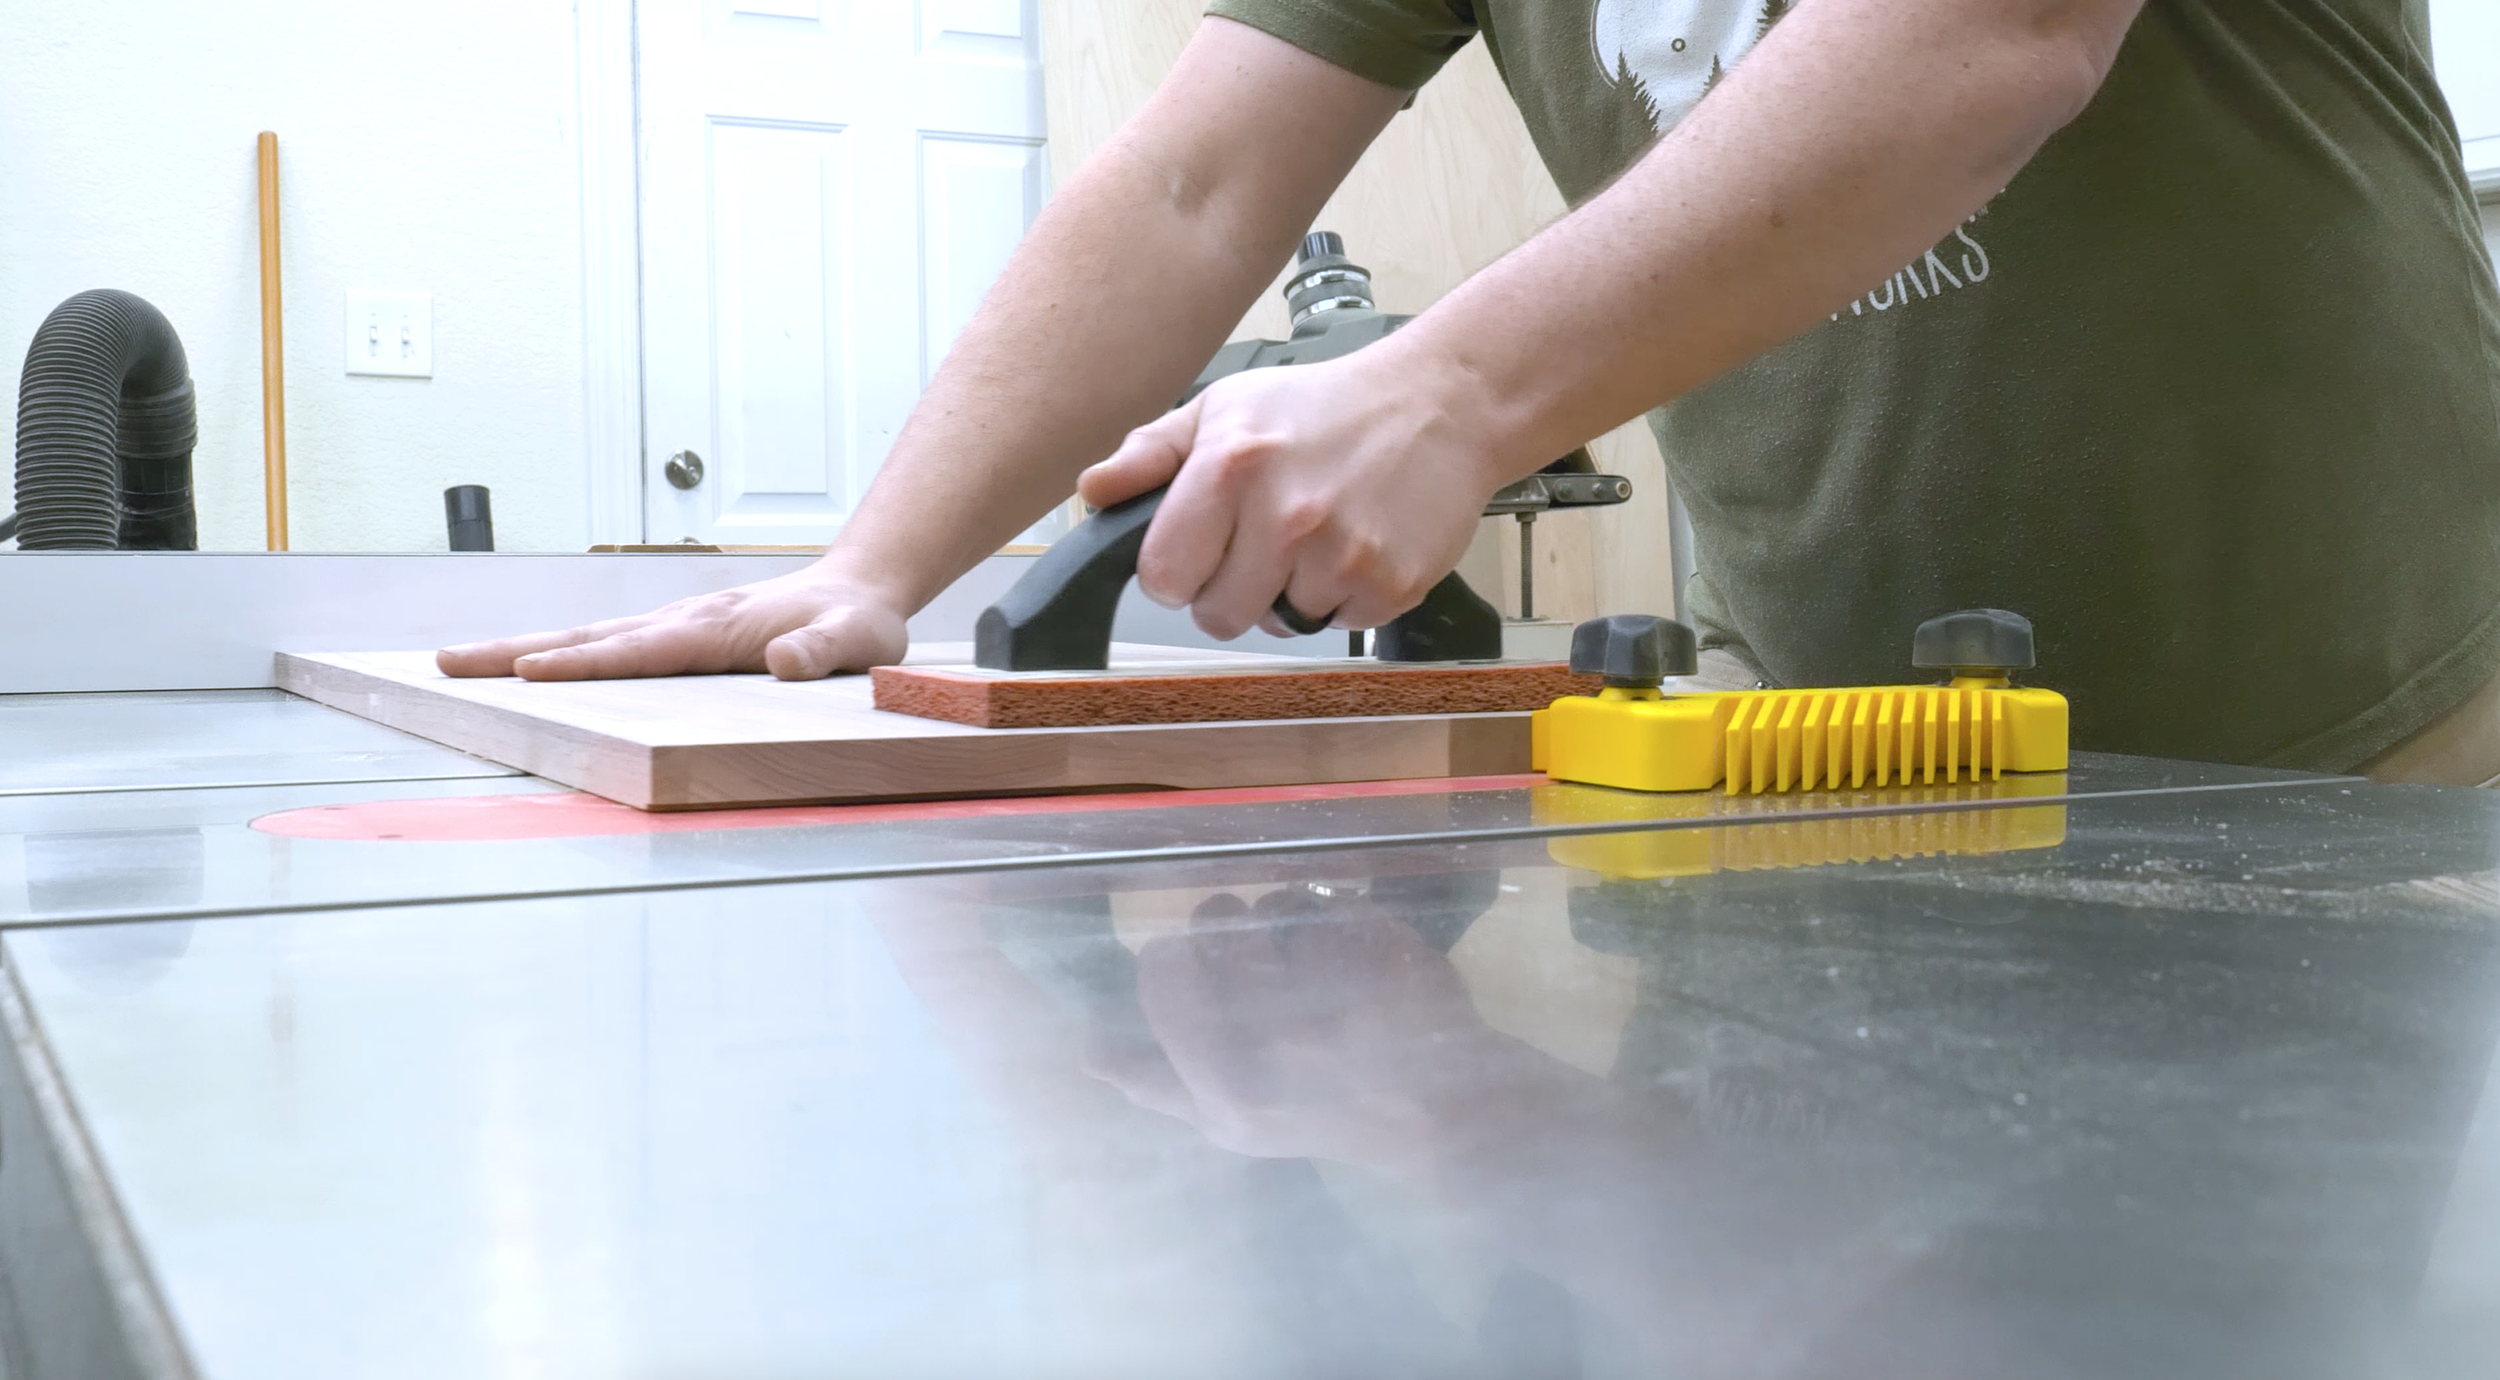
Trim down the backside edge of the panels. I did this because I have the nicer lumber towards the front, so I want to preserve that. For the longer boards using a feather board will help keep them along the fence.
Cut The Stand to Hold The Mirror
Next, cut the stand to hold the mirror at the table saw. I used the 1-inch material here so that it will be substantial enough to hold the mirror and give the case a longer shelf life.
Trim them down to their final length.


Cut Down the Shelf Sides
Using a cross cut sled, trim down one edge of the shelf, then mark out and cut a clean edge on the opposite side.


BUILD THE CASE


Cut the Miters (or bevels) for the Waterfall Edge
Tilt your blade to 44.9 degrees and make your first cut for the right side of the case. Then flip the panel over to make the next cut for the center of the case. Make sure to get as close to your previous cut as possible.
Mark out the length for the center panel, rotate the piece, and cut that.
The remaining cut is for the left side of the panel, making sure to flip it so that the miters match.
Then flush-trim the bottom of the panels so that they sit flat.


Add the Stopped Dados

To cut the stopped dados, I used a 1/2” downcut bit and set the depth to cut to 1/4”. I also use a guide rail to hold the router straight during the cut.
Start by plunging at the stop and move the bit towards the backside of the workpiece, this way you exit the cut in an area that will get covered up later. I also like to cut the dado prior to the tenon so that I can test fit the tenon and get it just right.
Cut the Tenons
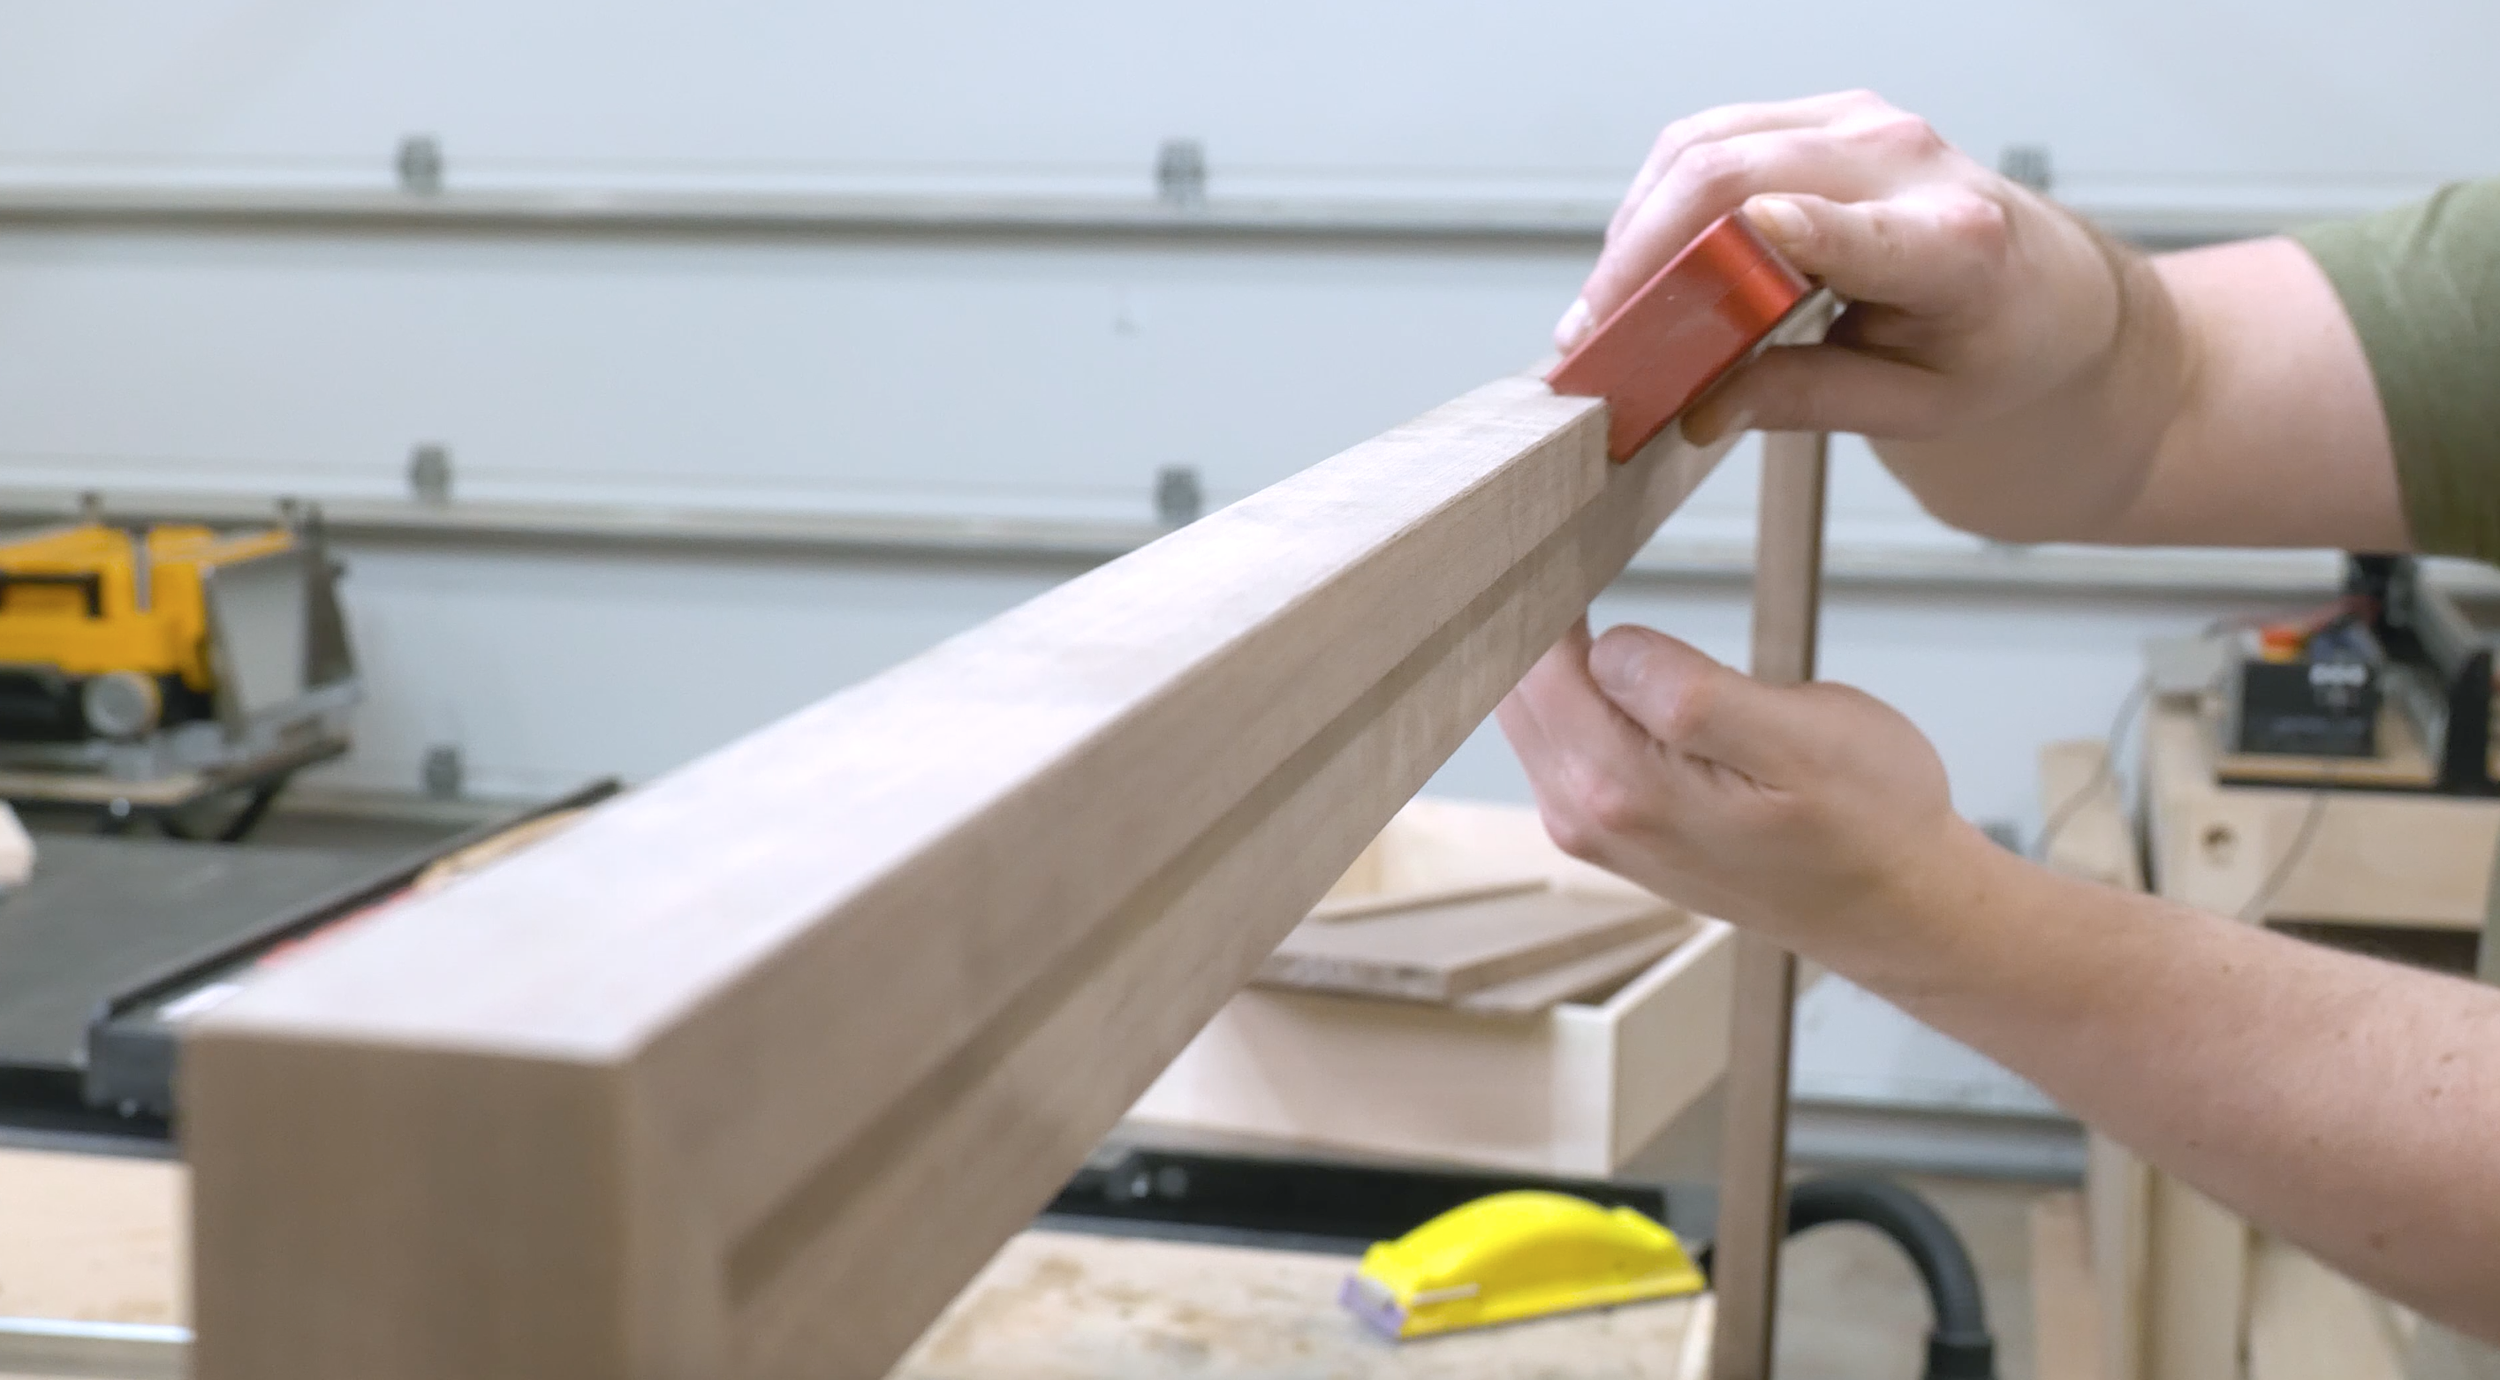
Cut the tenons just over size of what you actually want them to be and use a hand plane to dial them in. Make sure to check the fit on this piece before committing to cutting the tenon on both sides.
Clean Up the Dados and Tenons


With the dados and tenons cut, use a router plane to clean up the dados and a shoulder plane to clean up the tenons.
Add the Notch

Next, trim a notch onto the shoulder at the front of the panel this is where the tenon will meet the stopped dado and overhang creating the nice clean joint. I recently built the console table using a bunch of stopped dados so if you'd like to see a more detailed look at stop dados, you can check that out here.
After you make a small relief cut, just use a bandsaw to remove the excess again. Airing on the side of caution, leave this thick so that you can trim it back with a chisel.


Add Dominos for Miters and Glue Up the Case
Since the miters of the case will be rounded over these dominoes are definitely structural so make sure to bury them to the inside edge of the box. This way you don't run into them with the router later on.
Glue up the case using Titebond II extend since there are a lot of clamps to set up for this piece. This will give you more time to get the case clamped.


Add The Rabbet for the Drawer Face
First, clean up the outside edge with a hand plane. Then add a jig so that you can add some support for the router base. Using a rabbeting bit, take two passes and remove material to the thickness of the drawer front.


Once the front of the case is done, repeat this same process on the back. This can be done in one pass since the rear gets a smaller rabbet.


Use a chisel to clean up any places you can’t get to with the router. Then use a router plane around the entirety of the rabbet just to clean it up and make sure the depth was the same all the way around. This is really great for taking out any of those small deviations that may occur when the router tilts one way or the other on the edge.
Add Round-Overs to Miters

Use a router and large round-over bit to emphasize the wraparound grain pattern. Do this to both sides of the case and feather out the curves with some 220 grit sand paper.

MAKE THE MIRROR FRAME
Cut The Rabbet
Use a table saw to make one cut in the face of the frame first. Then turn the piece on edge and take a second cut which will remove that material leaving you with a nice quarter inch relief. Your could also do this with a dodo stack. Clean up any spots with a router plane.
The plane out the saw marks from the inside and outside of the frame pieces. This will save you some time sanding later.


Cut the Miters for the Frame
Using a table saw, cut the miters for the frame. If the blade doesn’t cut high enough to cut all the way through the frame, you can finish the cut with a flush trim saw.
As a note, when laying out frames like this just measure to the outside of the frame. And because this mirror is going to be sitting inside the rabbet, be careful and that the interior measurement will match the overall dimension of the mirror. So, once you’re confident that you will hit that mark, repeat that process for each section of the frame.
You can use a sled like I’m using or a miter gauge.


Add Dominoes to Frame and Glue-Up

Since this is such a large frame add some dominoes into the miters. From there, glue up the frame and use a combination of squares and a strap clamps to hold the miters tight and keep everything square.

Soften the Edges
Round over the outside edge of the frame just so that when anyone grabs it to adjust the tilt there's not super sharp edges.
MAKE THE STAND
Cut the Stand

Cut the stand at the table saw. This angle is pretty extreme so if you don't feel comfortable doing it on a miter gauge or if you don't trust your miter gauge I recommend making a sled and cutting it that way. I’ve done this in past videos like the desk or bookcase if you want to check those out.
Add a Round-Over

To stay consistent with that rounded look, round over the corners on the stand. To do that, use a disk sander to round over one edge then flip the piece over and round over the other. This will give you an even round over on both sides.
Clean Up The Stand Edges
Using a number 4 plane, clean up the edges of the stand.

Attach Forward Support to Rear Support and Glue-Up
To attach the forward and rear supports, I use dominos. These don't need to be perfectly in the center but make sure to use as much material as possible just to ensure that it's a secure joint.

Use some ca glue to glue on the offcuts from earlier to create a 90 degree joint for the glue up. Then glue-up and clamp the pieces together using the supports.


Once the glue was dry knock off the block and sand away the glue mark. Then using a router table, add an eighth-inch round over to all the exterior edges of the stand. This will soften that edge a bit as well as carry that rounded theme. Don’t round over the interior of the stand so that when the frame and stand meet there's a nice seamless line.

MAKE THE DRAWER


Make the Drawer Box

Build this box using 1/2” baltic birch. Cut out the front, back, and sides at one time. Then add in the groove for the drawer bottom. Once the pieces are cut to length, trim out a notch in the rear panel for the drawer slides and then cut out the bottom.
To have really clean looking drawer sides, run those a length of the drawer front to back. Then use a few 22 gauge nails to pin them in place. While the glue dries add a small dab of wood putty into those pin holes and it'll hide them really well.
Make the Drawer Pull
Using a bowl bit to cut in a small hidden pole on the bottom of the drawer face. This allows for a nice and clean drawer front.

Cut the Front and Rear Drawer Panel
Cut the drawer front and rear panel to their final length. For inset drawer fronts like this, shoot for a 1/32” gap all the way around the drawer.
Using a disc sander, round over the corners.


ASSEMBLE THE MIRROR
Drill Anchor Points
Drill an anchor point all the way through the frame that would hold the mirror. This will help conceal the fasteners from the front and side profile of the piece.
Do the same with the stand but drill smaller diameter holes using a drill block. Then use a quarter-twenty wood tap to cut in some threads. This will alleviate the need for threaded inserts.


Assemble Stand and Case

Layout the stand on the side of the case and draw a line around the stand. Then remove the stand and lay out the holes for the anchor points and match those same holes to the case. This will allow the stand to be removed as well as make this a knock-down piece so that transporting the piece can easily be packed up.
The pre-drill and tap the holes in the stand. Use some fasteners to test fit the frame to the stand.


Attach the Drawer Slides and Drawer Front
Attach the drawer slides to the case and drawer box.

I like to use some double sided tape on the back of the face to hold it in place. Add some clamps and then add a few 1/32” shims around the borders just to make sure that it's consistent all the way around. Use two screws to hold the drawer front in place.


Adhear Mirror to the Frame
Lay a small bead of construction adhesive around the perimeter. Grab a friend and place in the mirror. I did have the tiniest of bows at the center of the mirror so I went ahead and added a clamp to squeeze it out.


Sand All Surfaces and Add Finish
Sand and prep all the surfaces for finish. Any little knots can be filled in with some Starbond CA glue.
Apply the 2 coats of the finish. For this build, I'm using a penetrating oil on this piece because I really like the natural look of the penetrating oil plus it’s a plant-based finish and it's easy to repair should the piece ever need it.

Assemble the Mirror and Stand
Attach the stand to the case and put on the rear of the case.
This build turned out great! I’m blown away by the curved miters and drawer front, the waterfall edge, the knockdown hidden fasteners, the smooth action of the drawer slides, and not to mention the adjustable full length mirror.


There is a complete build video on my YouTube channel (Timber Biscuit Woodworks), so you can follow along.
Tag me on social if you're building this project (@timberbiscuitwoodwork on Instagram) with the hashtag #BiscuitBuild - Happy building!