Building a Modern Console Table

In this build, I show you how to make a modern console table. I built this console table to have plenty of space to display books, trinkets, accent pieces, and plants. And the minimalistic design of this console table will help make them stand out. This table is great for an entryway, hallway, or living room, and it will complement most design styles.
For this console table, I used some gorgeous curly white oak as well as walnut. The contrast between the two wood types really makes the joinery on this piece stand out, and the figure in the white oak adds some extra dimension to the piece. I used half-blind or stopped dados to hold the geometric shelves into place along with some nice miter joints. But you can always adjust where the shelves are placed to fit your books and accent pieces that you want to display!
This woodworking project was a bunch of fun. If you want plans for this console table project, check out the link below. And if you have any questions, I’d be happy to answer them in the comments. Enjoy the build!
Project Plans: https://bit.ly/consoleplans
Supplies
8/4 Walnut
5/4 White Oak
Table Saw
Miter Sled
Router
1/2" Router Bit
Dado Stack
Pull Saw
Crosscut Sled
Domino (optional)
Wood Glue
Sand Paper
Finish of Choice
MILL THE LUMBER
You can find the full-scale templates here: https://bit.ly/consoleplans

I started out with 5/4 white oak and 8/4 walnut, so I decided to resaw the walnut at the bandsaw first.
Mill all the boards down to their final thickness using a jointer and planer
Rip the pieces to their final width at a table saw. Since most of these pieces are the same width, you can set the fence once and run most of your boards through.
Using a crosscut blade at a table saw and a sled, cut the tenon-ended boards to their final length.


CUT THE MITERS

The two outer case sides and the inner vertical board will get miters.
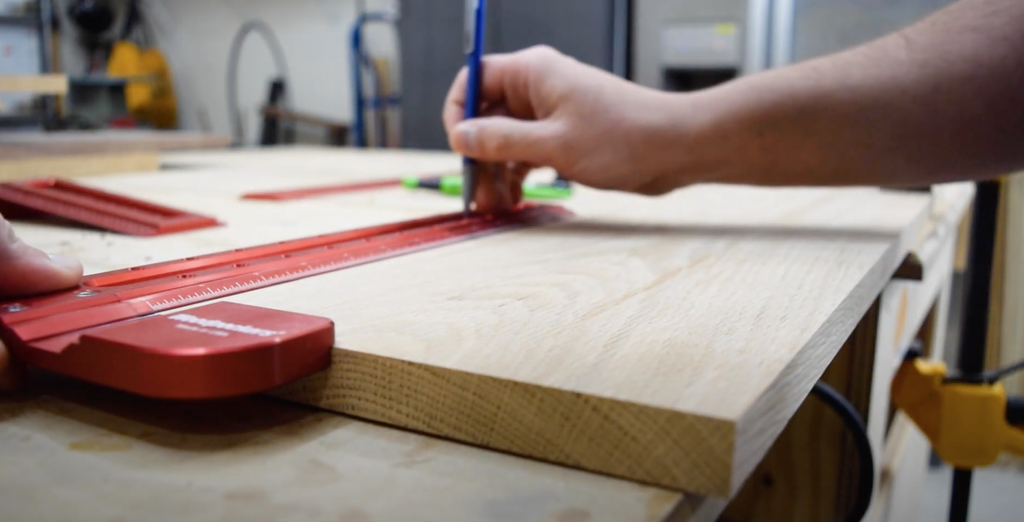
Mark out the miter at its final length. You don't have to worry about the inside dimension at this point as long as the overall lengths are correct.
Cut the pieces using a miter sled. I made my sled a little longer and a little wider than I usually do to allow more of the workpiece to index against the fence, which results in a clean and square miter joint. Make sure to consider the tenon when marking and cutting your workpieces.


CUT THE STOPPED DADOS


Mark your dado placements.
Use a 1/2" bit in a router set to 1/4" to cut the dados, stopping a 1/2" from the front of the table. A plunge router really comes in handy when needing to start at the stopped dado end of the cut.
Transfer measurements to the other side of the workpiece. Since you can only index off of the mitered edge, use some squares to wrap the mark around the workpiece to layout the other stopped dados.


MAKE THE BOTTOM CHAMFER FOR THE TOP TABLE

The chamfers go on the front and two sides while the back of the tabletop remains un-chamfered.
I used a table saw for this as it gives me better control over exactly where the chamfer is placed and has less room for error. But you could also use a router to create the chamfer as well.

CUT THE TENONS


Set up a dado stack and a stop on your sled that meets right at the end of the blade to cut the tenons.
Run all of the boards through. Make sure to do a few test cuts to get the blade height set. Keeping consistent pressure on the boards is important here so you don't get any deviation on your tenon.
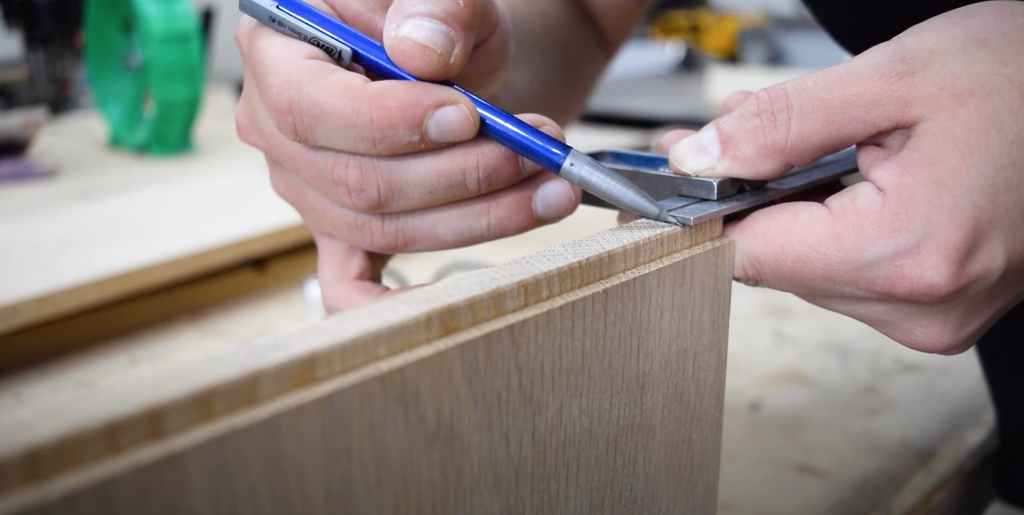
To make the tenons fit properly into the dado, cut a 3/4" notch out of the front-facing shoulder.
To cut the notch, place the 3/4" mark on the front edge and use a pull saw to cut the shoulder, stopping just before hitting bottom.
Remove the remaining material at the table saw using a crosscut sled.


ADD DOMINOS TO MITERS AND GLUE-UP


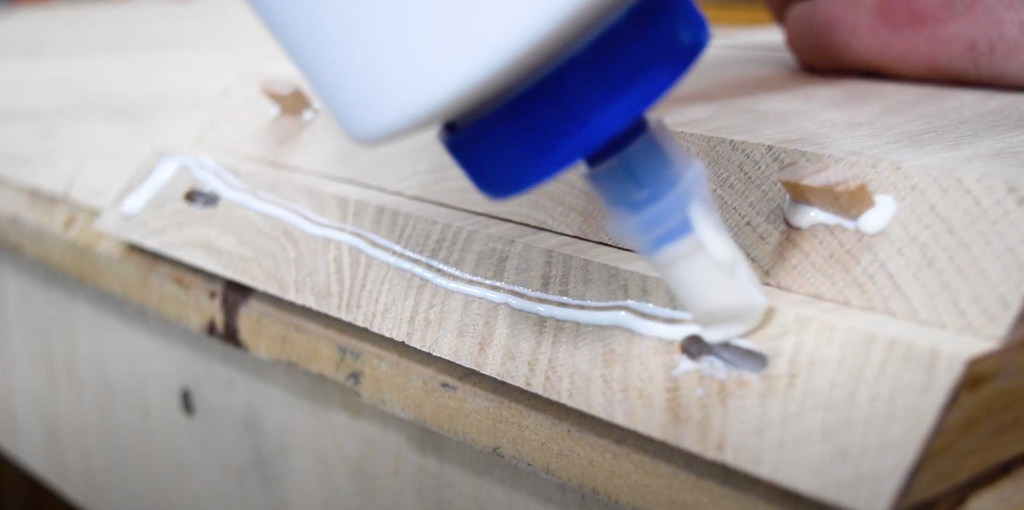
With the domino set to 45, add a couple mortises into my mitered corners. Anyone who has glued up miters can tell you what a pain it is to get them lined up. So, I like to add a few dominos into the joints to keep things aligned and give me better support for the glue up.
Glue up the console and clamp together.
For the glue-up, I decided to assemble the table in one go rather than break it down into multiple sessions. The advantage here is that everything was easier to manage as a single piece. The disadvantage is there there is a lot of joints to glue and clamp. So time was a major factor, and I had to move pretty quickly to get everything together. Choose whichever process you feel most comfortable doing.


ADD REMAINING CHAMFER, SAND, AND FINISH
Add a small chamfer to the top of the table.
Sand all pieces up to 220. Just be careful to hand sand the fronts, so you don't round them over with a random orbit.
Apply your finish of choice. I am using is a hard wax oil which I love because it is plant-based, easy to apply, and easy to repair should the piece need it. I just wipe it on, let it sit for about 15 minutes, and then wipe away the excess. Then repeated the process one more time.


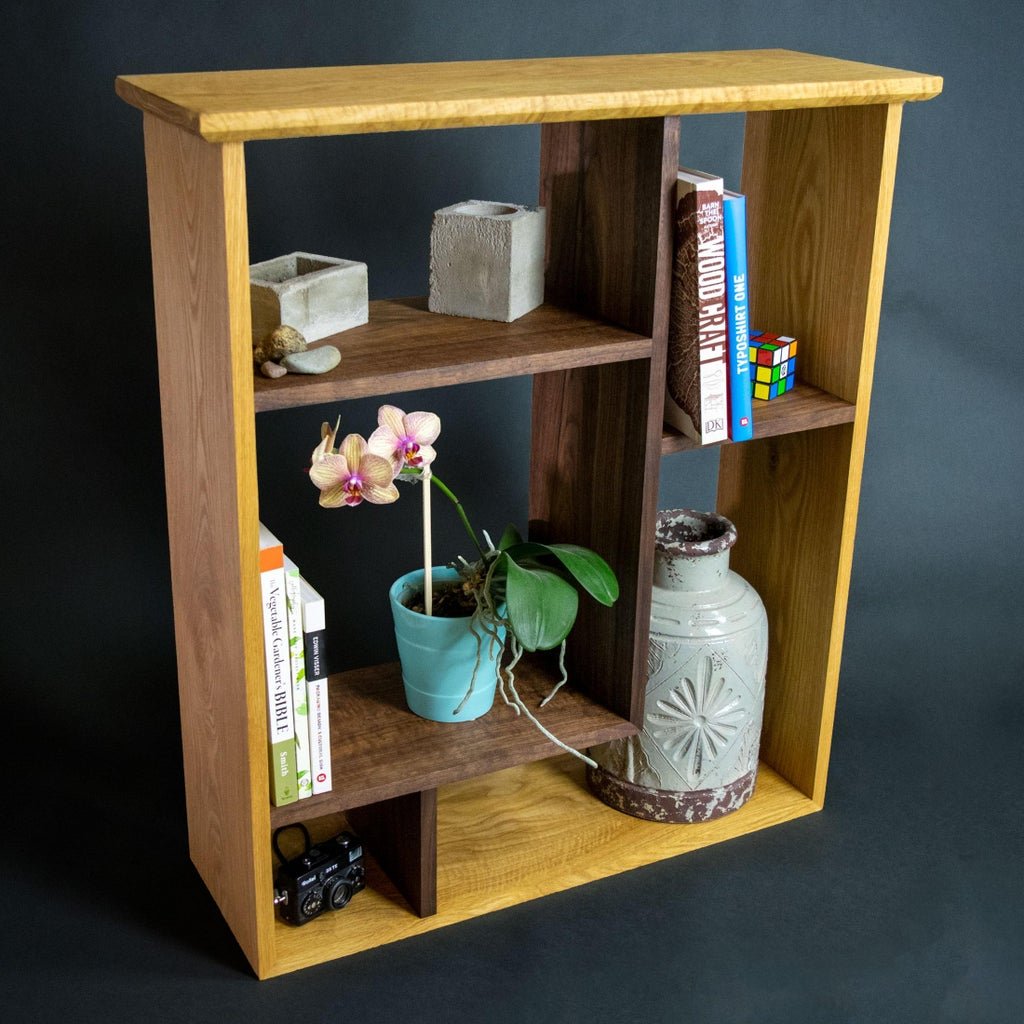
You've now got a new console table! Start displaying your knick-knacks and books!
The approximate cost for building one Console as designed with all of the bells & whistles is ~$275 (this will, of course, vary for everyone).
Tag me on social if you're building this project (@timberbiscuitwoodwork on Instagram) with the hashtag #BiscuitBuild - Happy building!