Building a Kneeling Chair
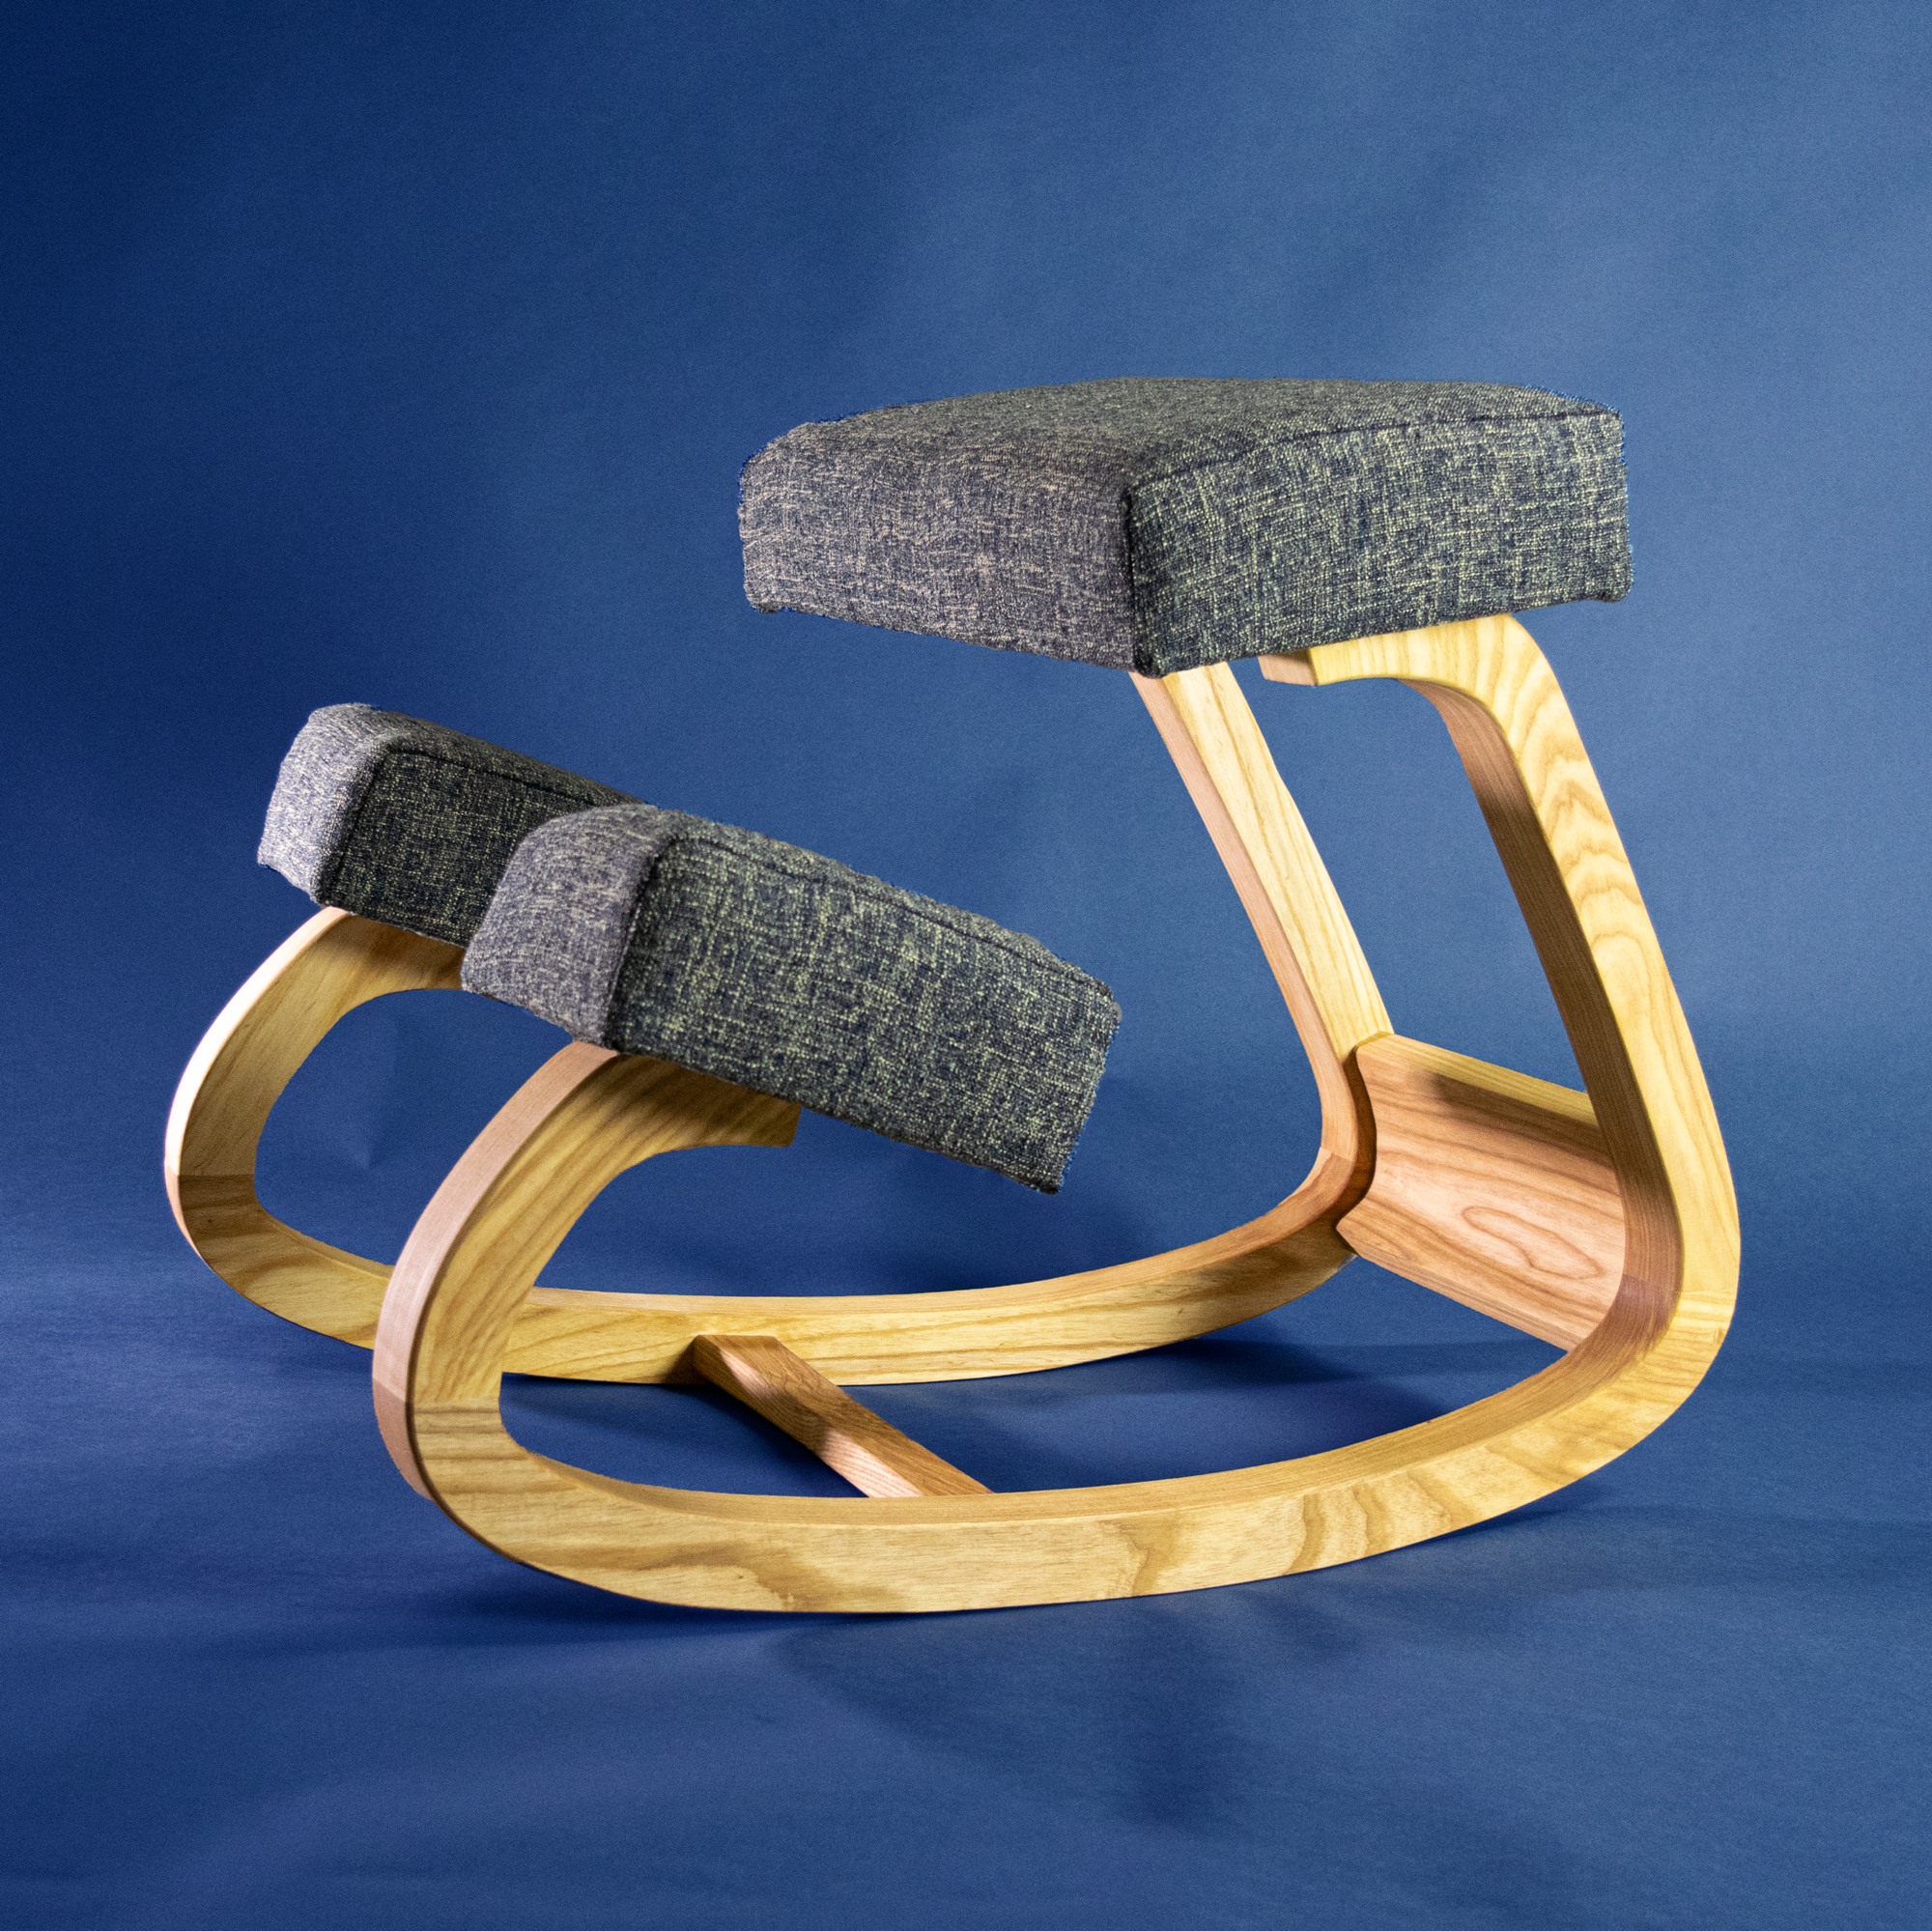
In this build, I show how to make this ergonomic kneeling chair! The kneeling chair design is based on the original Variable Balans from the 1970’s. I decided to make this dynamic kneeling chair out of ash, but this could easily be made from plywood or any other hardwood. And with the addition of 3-inch cloud-like cushions (high density foam) for the shin rests and seat with an angle, rocking back and forth on this kneeling chair can make even the busiest of workdays a bit more comfortable!
Not only will this kneeling chair look intriguing in any room, it also offers a host of benefits to the user. And after talking with my wife about some different features she wanted to see in her desk chair, we decided on the kneeling chair for these benefits. And truth be told, this chair does require some getting used to if you don’t already have a strong core and good posture. But that’s what makes it great! Regular use of this kneeling chair will strengthen your back and build core muscles.
Check out the plans so you can make your own kneeling chair for your office!
Project Plans: https://bit.ly/kneelingchairplans
Supplies
Hardwood or plywood of your choosing (I used 8/4 ash due to the cost of plywood right now)
3/4" Plywood for seat and leg rests
Table Saw
Bandsaw
Jointer/Planer
Dominoes/Dowels
Wood Glue
Router
Spiral up/down bit
1/4" Roundover bit
Sander and Sand Paper
Clamps
Penetrating Oil
High Density Foam
Plywood for sled
Fabric
Batting
Rotary Blade/Scissors
Spray adhesive
Staple Gun
Sewing Machine
MILL THE LUMBER AND MARK OUT TEMPLATES
You can find the full scale templates here: https://bit.ly/kneelingchairplans

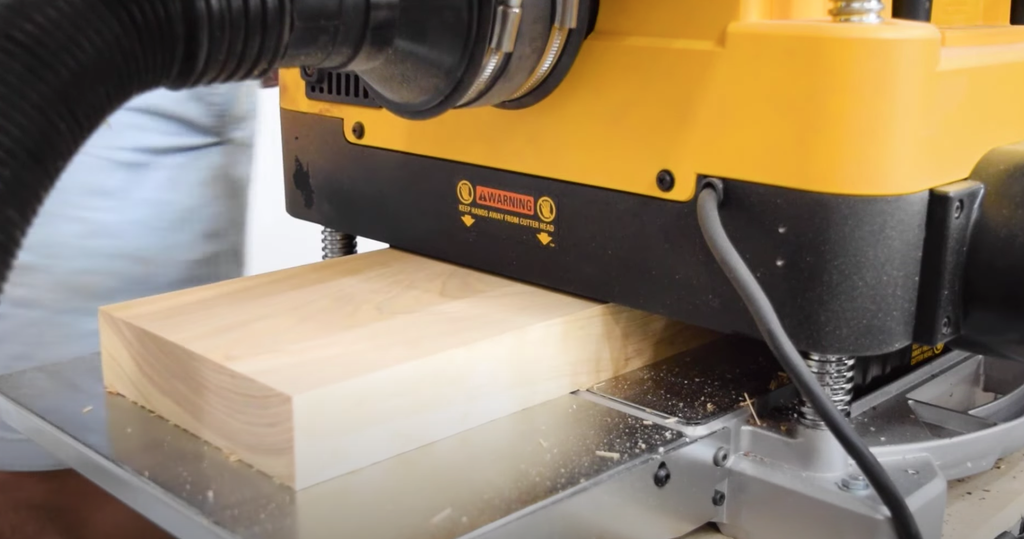
Mill the lumber using a jointer and planer
I used 8/4 ash for this project but you can choose any hardwood or laminated plywood if you wish.
Trace the template onto the wood and rough cut the legs at the bandsaw.
Since these are some really curved sections, leave some extra 90 degree section across the joints to use to clamp onto later on in the build. You will be glad you did!


MAKE THE LEGS
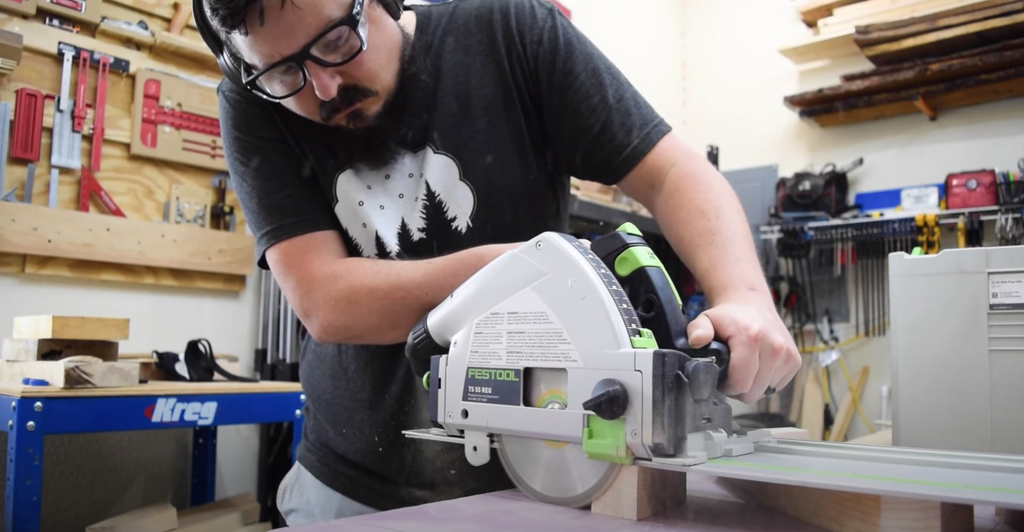
To make sure the joints on the three sections meet flush, use a track saw and cut the jointed sections for the legs. Another option here would be a sled over at the table saw, but the track saw is less set up.
Mark out the location for the dominoes (or dowels) for each of the sections.
Plow the mortises.
Make sure that you measure enough space to allow for two dominos (or dowels) in these joints since they occur in some higher stress areas.


GLUE UP AND FINISH THE LEG SECTIONS

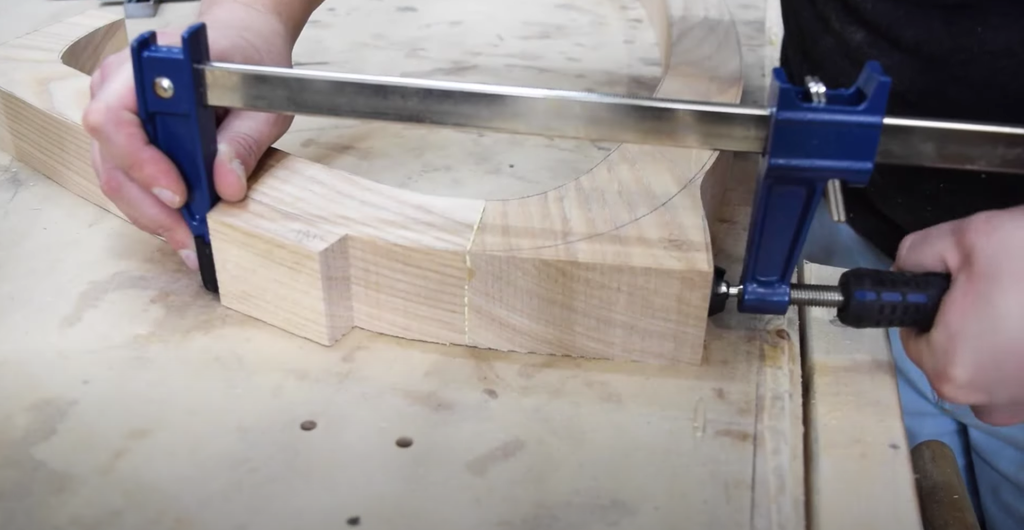

Glue up the leg sections.
Once the glue dries, cut off the remaining clamping tabs at the bandsaw.
Line up the template and attach it to the glued legs with double sided tape.
Use a spiral up/down bit at the router table to cut them out.
While this bit can chew through some material, I feel it's important to note that taking off more than an eighth-inch at a time at this height isn't recommended. Make sure to cut as close as you can to the line when cutting these out.
Attach the legs together and route the other side.
With the legs still stuck together clean up the curved transitions at the spindle sander.
Sanding them as one piece will help fix any inconsistencies.


MAKE THE FRONT STRETCHER


Because of the curve of the piece, cut the bevels into the front stretcher first.
Reattach the off cuts with tape to give yourself a 90% surface to work off of.
Trace the template onto the stretcher piece.
Using a resaw blade, cut away the material for the curve. If your bandsaw throat doesn't go this high, you may have to cut this in sections then glue them back together.
Be careful not to pinch the blade on the tight inner curve.
Next, use a random orbit sander to sand to the line.
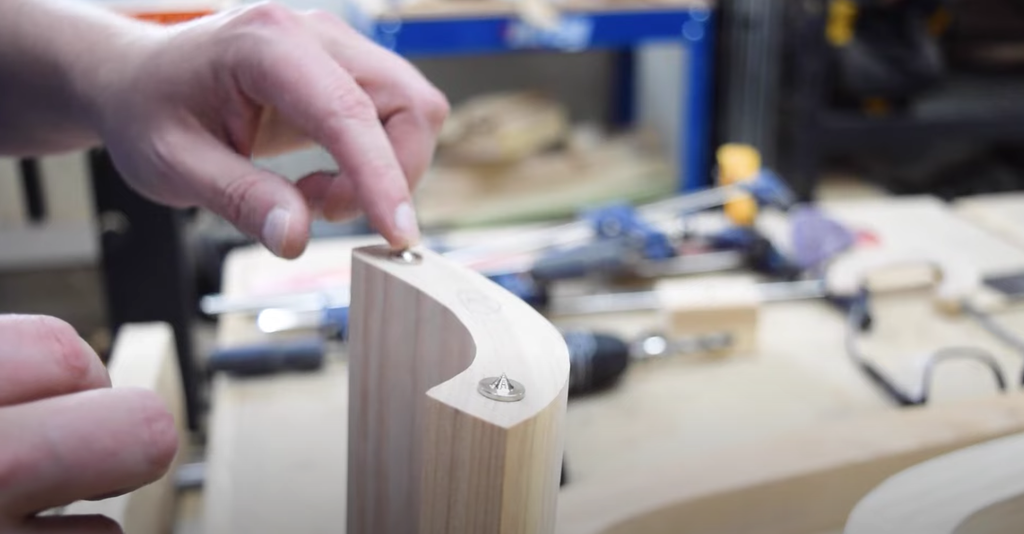
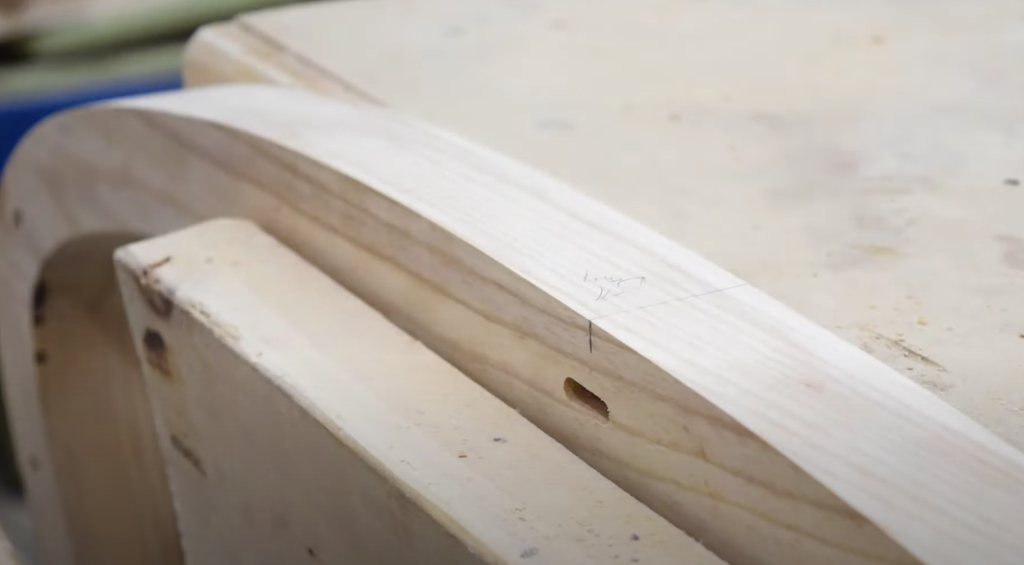
Mark out the placement for the dowels
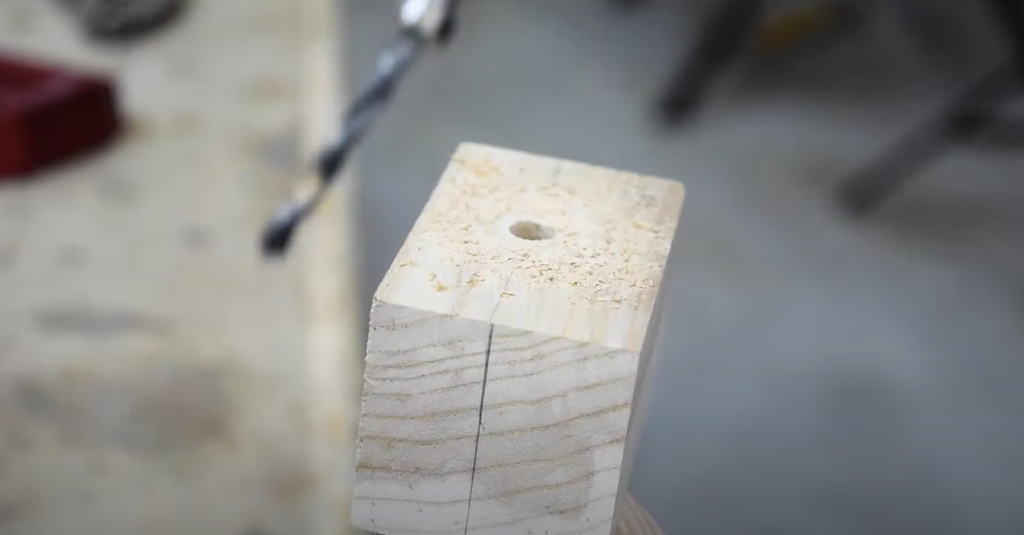
Make a guide block with a drill press to drill the holes to make sure the dowels sit at 90-degrees to the joint's face. Then set the depth for the brad-point bit with a stop.
Use some dowel center markers to help find the location of the dowels on the leg.
This is one of those somewhat tricky sections. I found it easiest to outline the stretcher joint on the leg then line it up to make the marks.
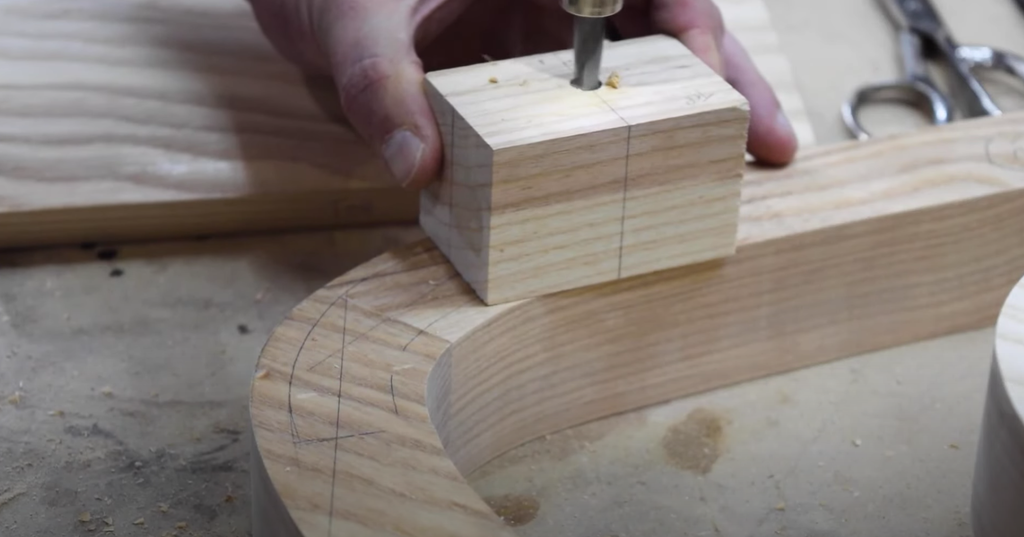
Mark out a line for the dowel block and drive in the holes.
One note here, I did use an awl to mark the holes to help line up the brad-point bit.


MAKE THE BOTTOM STRETCHER


Grab an off-cut and re-saw it to just over 3/4" at the bandsaw.
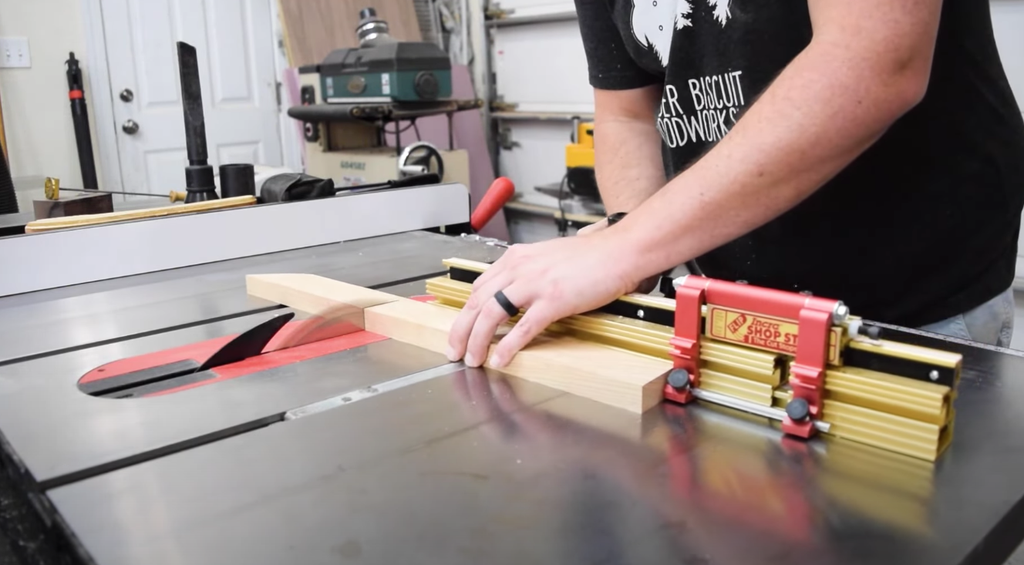
Then plane it flat and cut a fresh edge over at the table saw.
Set a miter gauge to 85 and cut one end of the board before setting a stop and cutting the other end to its final length.
Clamp the piece at the ends and use a thin strip to mark a curve on both sides of the board.
While you could template this piece out, I think just making it one-off is faster and works well for this type of piece.
At the bandsaw, cut the curves just outside the line to allow some space to sand back too.
Sand out the saw marks out at the spindle sander.
You could also do this by hand by wrapping a dowel in some sandpaper.
.Plow mortises using a domino into the legs and stretcher
You could use dowels here too but I just find the domino faster.


CUT TOP OF LEGS FOR SEAT


Since the legs are angled, the top is no longer flat all the way across, so a slight bevel is needed.

Make a sled with a miter slot runner attached and cut a clean edge onto the sled.
Attach registration blocks to cut the angles on the tops of the legs.
Make sure you cut the angles to the outside of the legs, or you will end up compounding the issue with the seat getting way out of square.

SAND AND ROUND OVER THE LEGS AND STRETCHERS
Sand everything up to 220 grit
At the router table, round over the edges of the legs using a 1/4" round over bit


MAKE AND ATTACH SEAT AND LEG RESTS
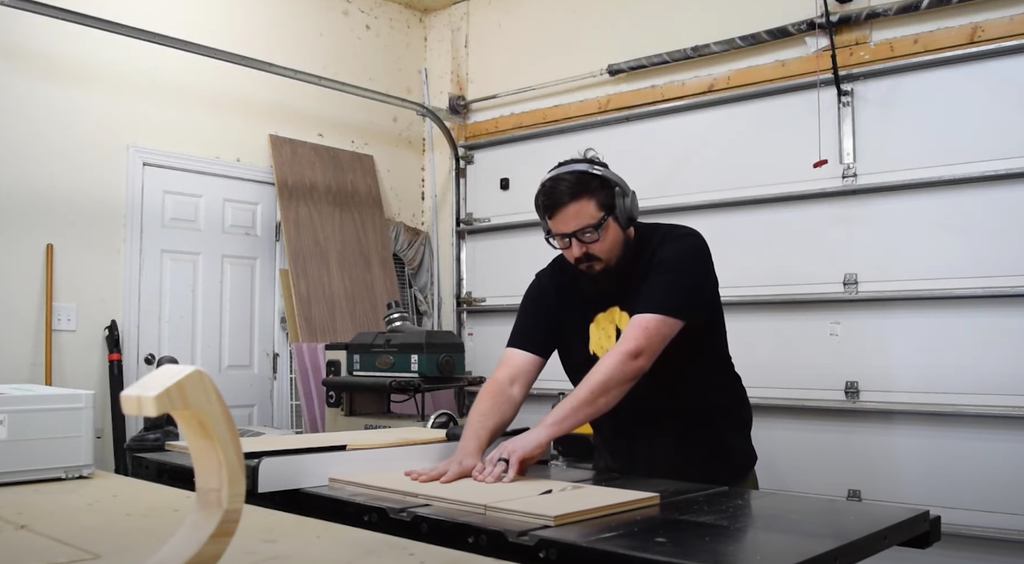
Using 3/4" plywood, cut the seat and shin rests to their final dimension at the table saw.
Mark the mounting locations with a combination of rules and a compass.
Drill the holes for the dowels and place them into the tops of the legs.
Use a flush trim saw to cut the dowels down before giving the plywood and 1/8" round over.
Glue up the seats and leg rests using a spring clamp to give you enough room for clamping pressure.
Check that your clamps fit before committing!


APPLY FINISH TO THE SEAT
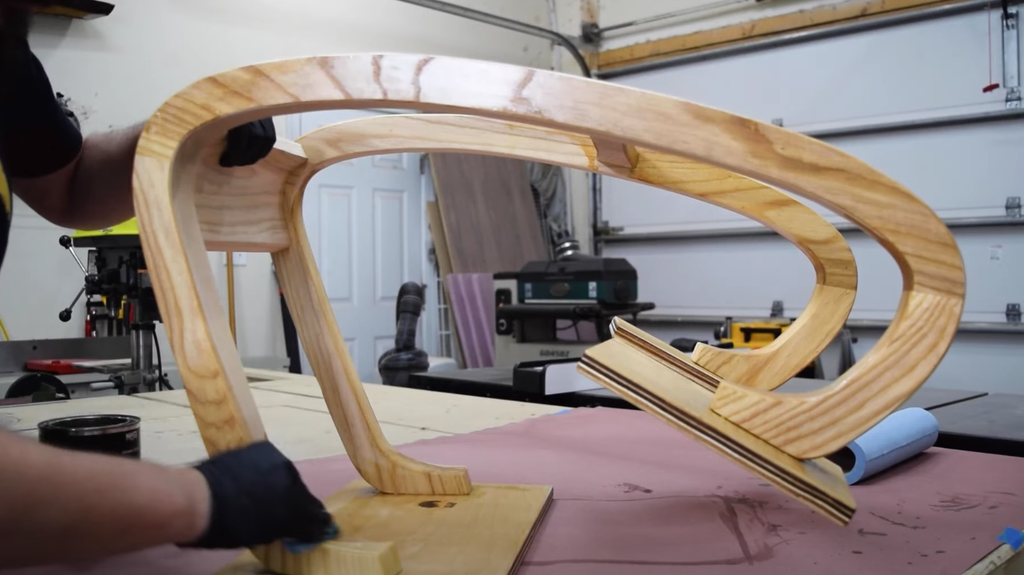
Apply 3 coats of penetrating oil to finish the chair base, waiting 12 hours between coats.
For penetrating oils, just wipe on the finish, wait about 15 minutes, and wipe off the excess.

MAKE AND UPHOLSTER SEAT AND LEG RESTS

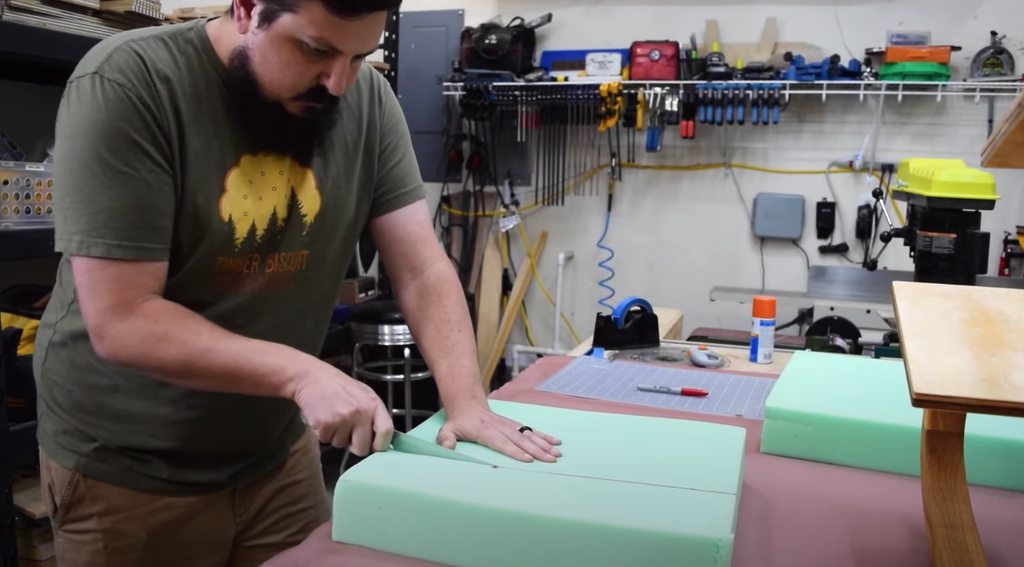

Cut the 3" high density foam to the same dimension as the seat and leg rests.
A bread knife works great here!
Use spray adhesive to attach them to the plywood.
Cut out some batting, adding about 9 inches to your seat and leg rest dimension to allow for the foam and giving you enough room to staple it to the plywood.
Staple the batting into the plywood.
Cut out the fabric, adding a miter to the corners.
Using heavier duty fabric here will cover any upholstery mistakes.
Using the sewing machine, stitch the seams together.
Make sure you are using a heavier duty thread and a larger needle for heavier fabric.
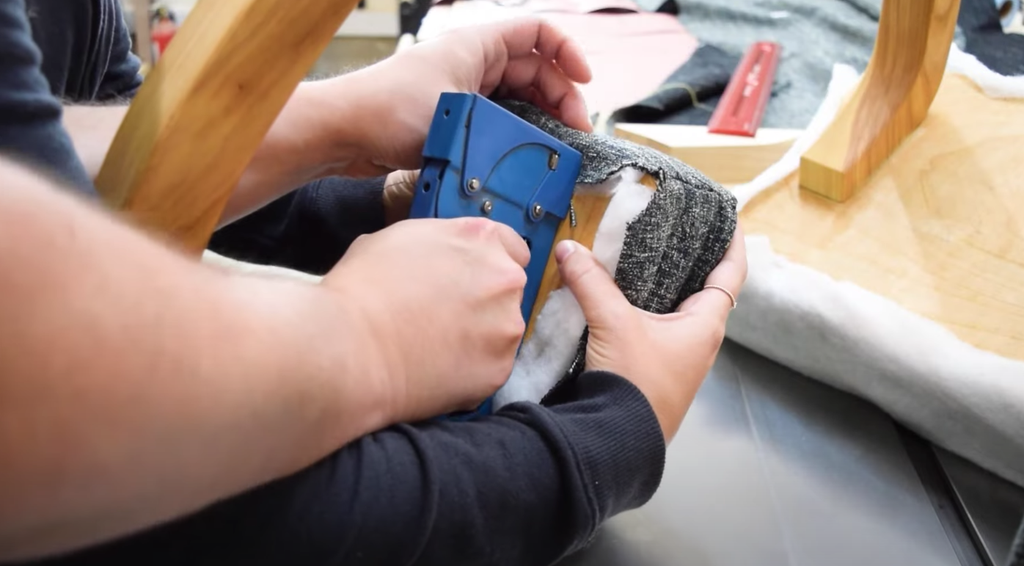
With everything sewn together, attach the fabric over the seat and leg rests using staples.


DISPLAY THEM PROUDLY AND IMPRESS YOUR FRIENDS AND FAMILY!
While this was a challenging project, it sure was fun! It looks great at my wife’s desk and she loves using it! The approximate cost for building this kneeling chair as designed with all of the bells & whistles is about $100 (this will, of course, vary for everyone).
Tag me on social if you're building this project (@timberbiscuitwoodwork on Instagram) with the hashtag #BiscuitBuild - Happy building!