Building a Shop Table

I made this shop table because I needed a table for my CNC, but this can be used as an outfeed table or assembly table - the options are endless. It would also be super easy to adjust the size to whatever would fit best in your woodshop and for your own needs.
This shop table was inspired by the design of Norm Abram's assembly table, and it also incorporates a bottom shelf that is perfect for storage. One of the best things is that this can be knocked out in a day using about two sheets of plywood.
If you have any questions about making this shop table or anything I used in this build, add a comment. I do my best to respond quickly. Enjoy the build!
Supplies
Plywood
Track Saw or Circular Saw
Table Saw
Glue
Screws
Drill
Brad Nails
Nail Gun
Clamps
Domino or Biscuits (optional)
CUT OUT THE TOPS, STRETCHERS, AND LEGS

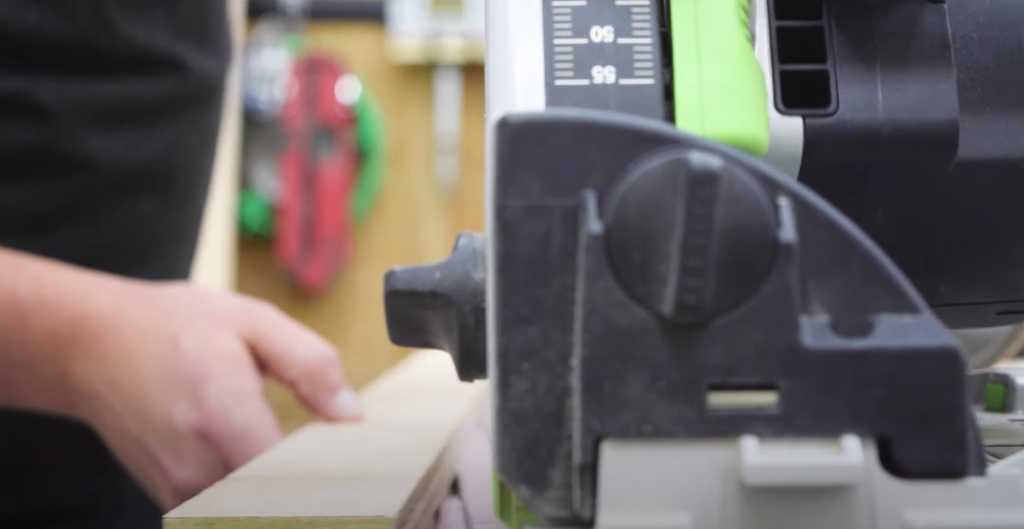
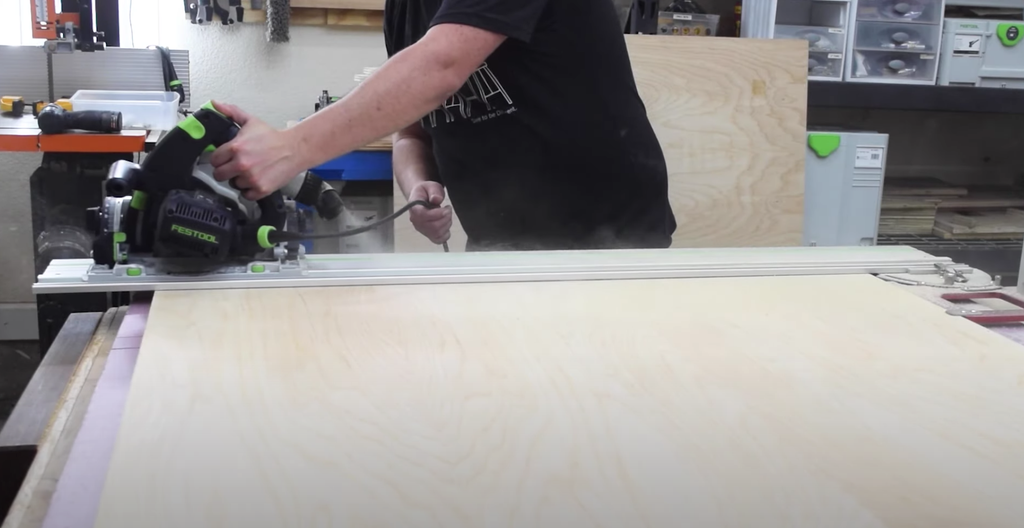
The first thing you need to do is trim off the factory edge. I feel like this is missed often but it's really important to do because it gives you a nice clean edge to work off of and it makes the finished piece look better. From there you need to measure and cut out the oversized panel for the tabletop. I like using a track saw for this procedure but if you don't have a track saw you can use a circular saw on a straight edge.
After the top is cut down (oversized), cut out panels for the stretchers and legs.


CUT OUT THE LEGS, STRETCHERS, AND SIDES

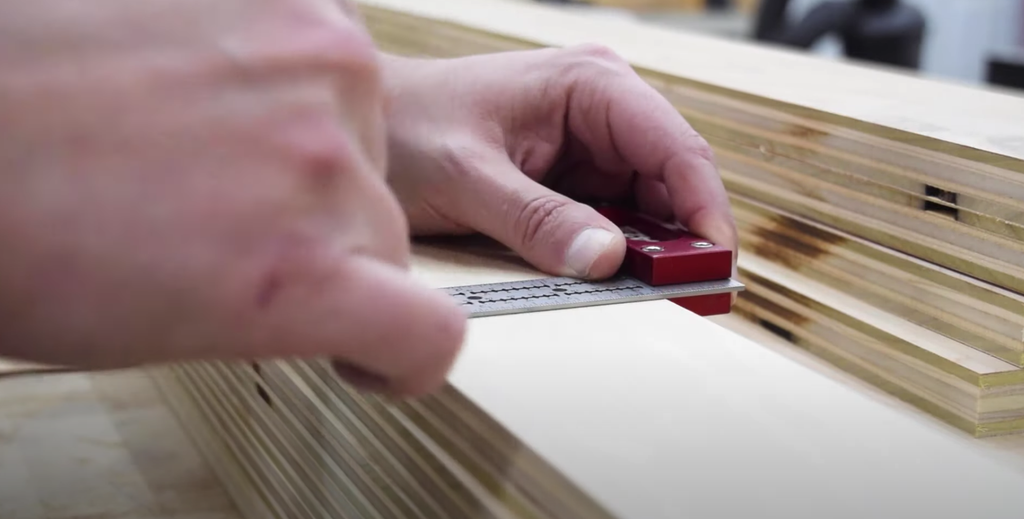
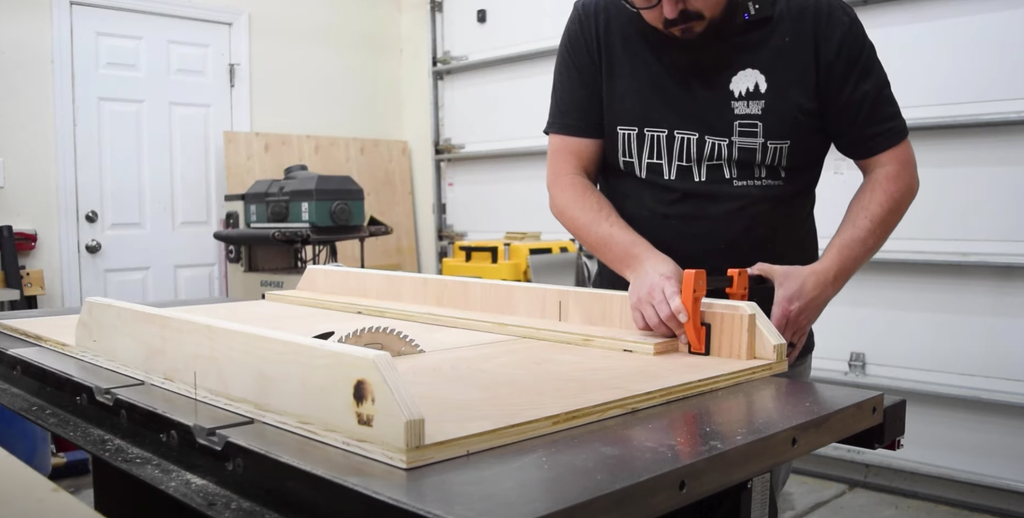
Next you're going to cut out the legs, stretchers, and sides. Set the saw at 4" to cut the wider stretchers and legs. These pieces will meet against another 3 1/4" inch piece that'll create a nice 4" square leg assembly. Move the fence to 3 1/4" and cut the remaining pieces. Mark out the pieces to their final length before cutting them at the crosscut sled.
For the center stretchers, cut those as one single piece. Since this will require repeat cuts, set up a stop block on the crosscut sled to give more accuracy. This allows for any errors to be continued through the entire build and if you're a little off here it'll be off consistently on every piece.


ADD DOMINOES TO THE LEGS
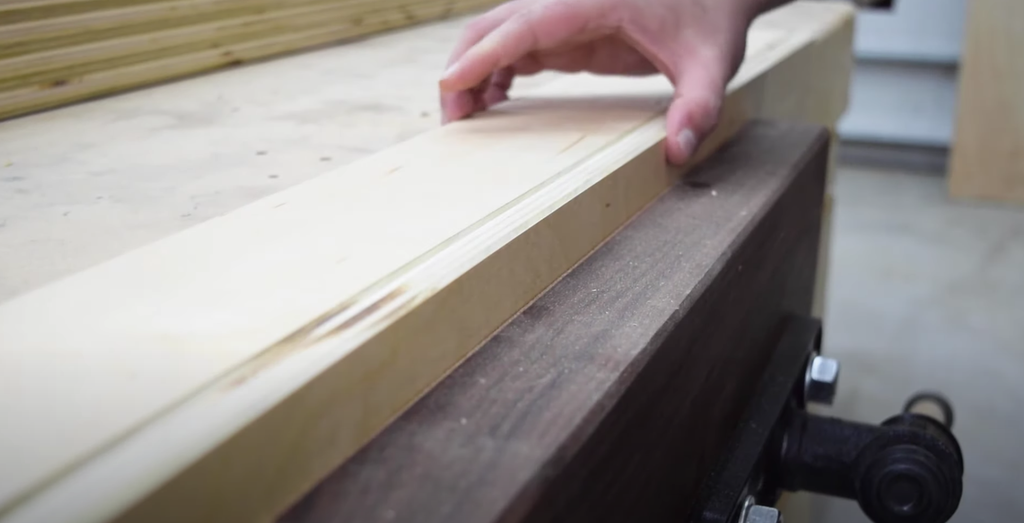
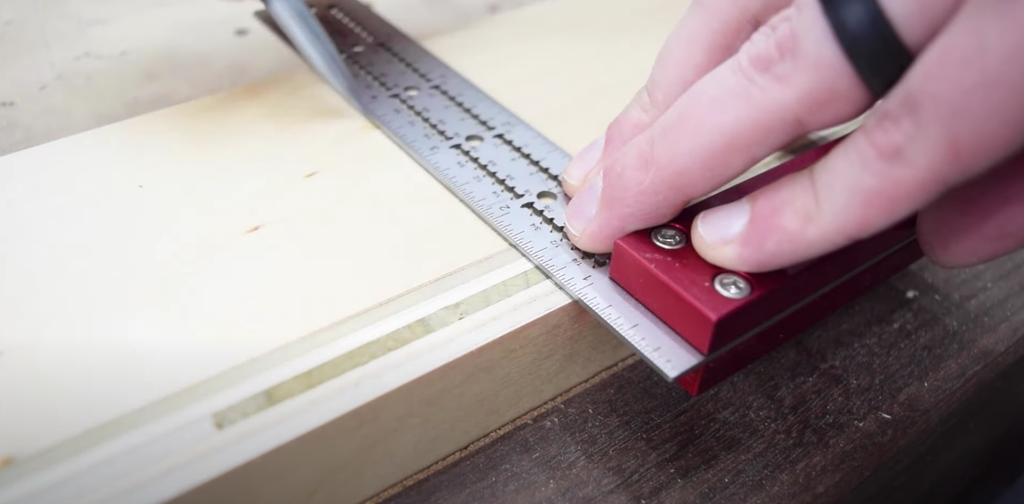
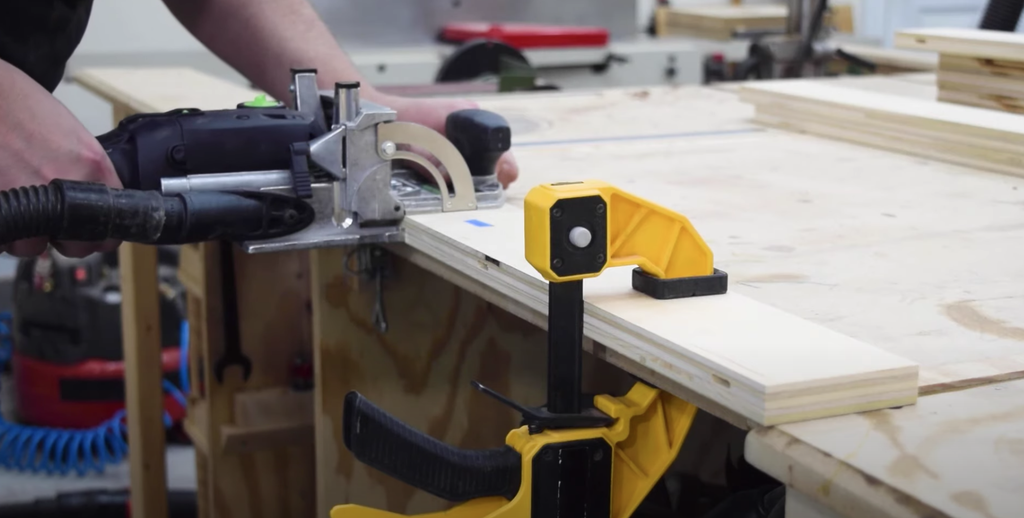
For the legs add some dominoes into the edge to make a nice 4" square leg. Add dominoes on along the edge of the 3 1/4" leg pieces and along the face of the 4" leg pieces to reference against one another and add a little bit more strength to the joint. To do this, put the 4" piece in the vise and align the 3 1/4" piece to the edge. Mark out the placement for a couple dominoes. Make sure that the dominoes go into the edge of your 3 1/4" pieces and the face of your 4" pieces. You don't have to use dominoes for this, I just wanted a nice reference point for the edge but you could also use biscuits.

ASSEMBLE THE LEGS AND STRETCHERS

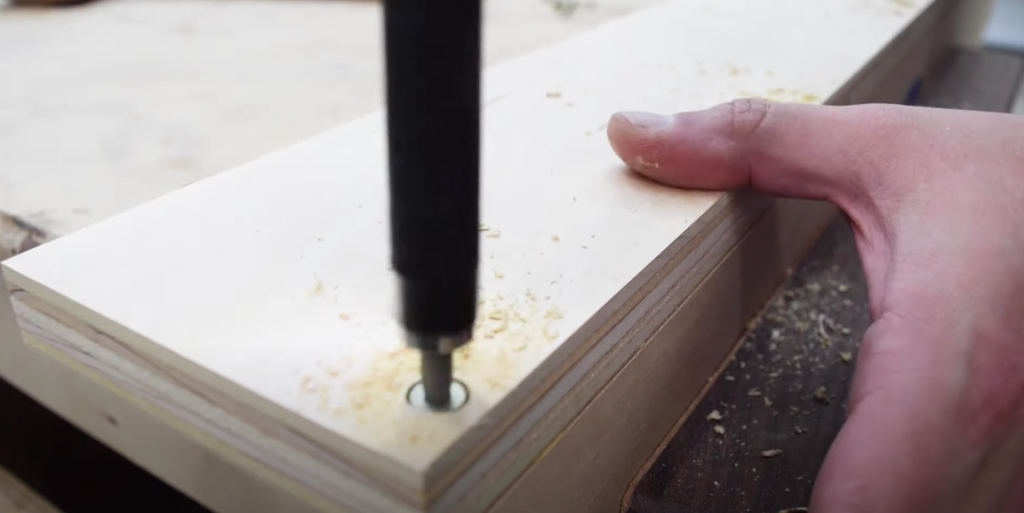
Put the dominoes on one side before applying glue to the edge pre-drilling and driving in some 1 1/4" screws. You could plug these holes and then trim them flush so they'd pretty much be invisible but that isn't required.

Next, get a piece of 3/4" scrap and flush the top of this piece up so that piece of scrap sits even with the top of the legs. This will allow for the top of the table to sit flush inside of the legs. Then, apply glue and some brad nails to this side. Once you feel that the top would sit flush, check for square then fire in a few brad nails before driving in four screws.
Strike a line about 2" from the bottom of the leg assembly and then attach the bottom stretcher in the same fashion as the top. Then repeat the process for the other side.
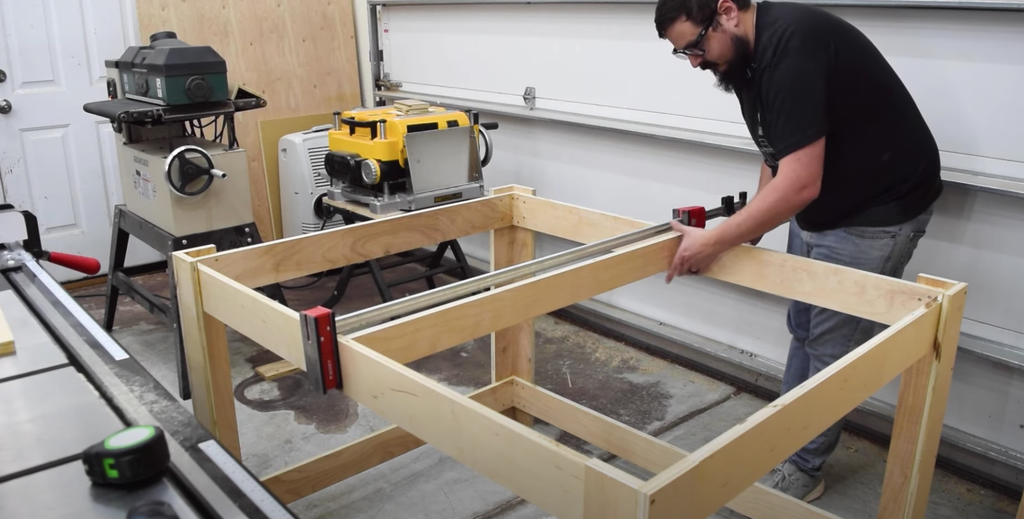
With those short sides assembled attach the longer stretchers.
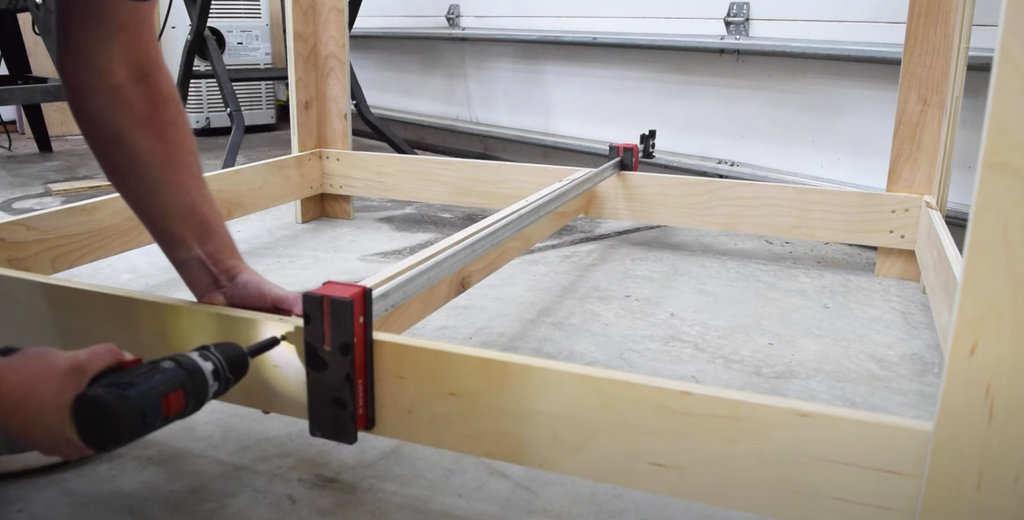
Mark the center and then drop into center support. I used a parallel clamp to hold the support in place while I checked it for square and then drove in a couple screws.


ATTACH THE TOP AND LOWER SHELF

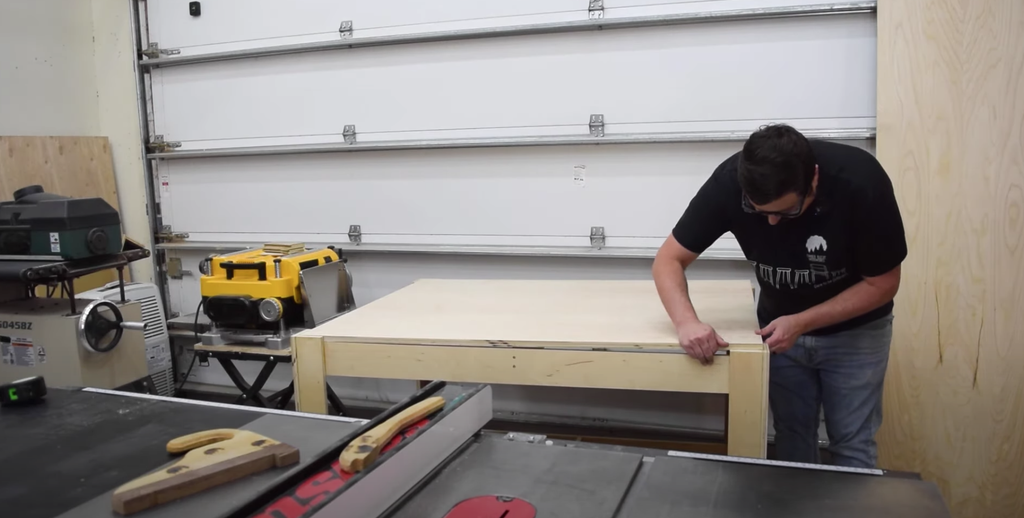
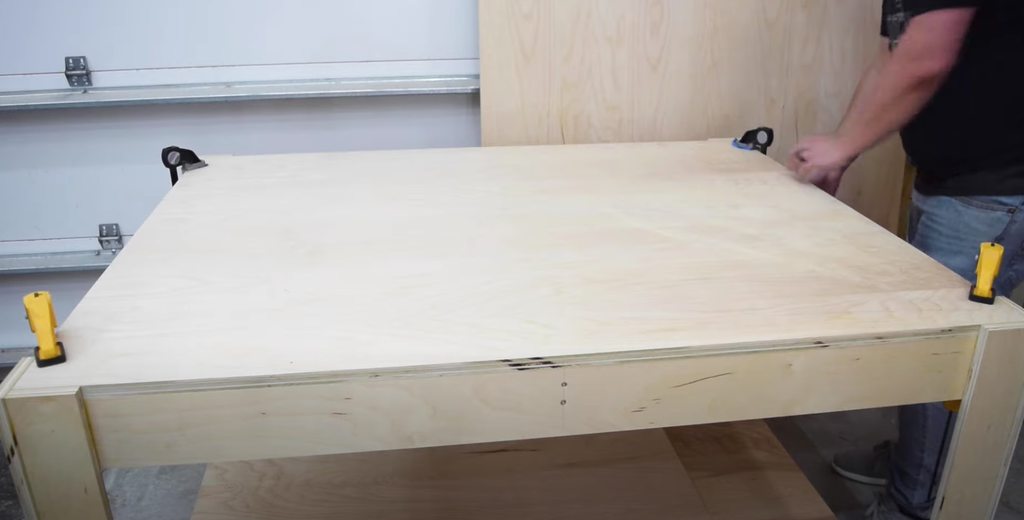
Next, trim the top to its final width. This was left this a little oversized to trim back once the final length is confirmed. Trim it down with a track saw. Follow a similar process for the bottom shelf, just make sure that this piece is undersized so that it fits underneath the table and cut another section to fill in the gap.
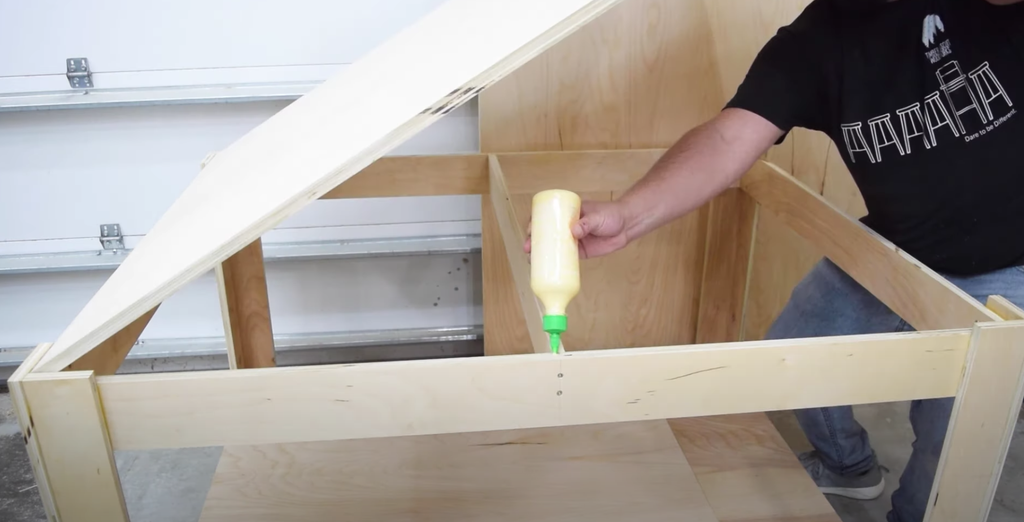
From there, glue the bottom shelf in by only putting a couple dabs of glue in the corners. A small amount of glue will allow you to replace this if you ever need to.
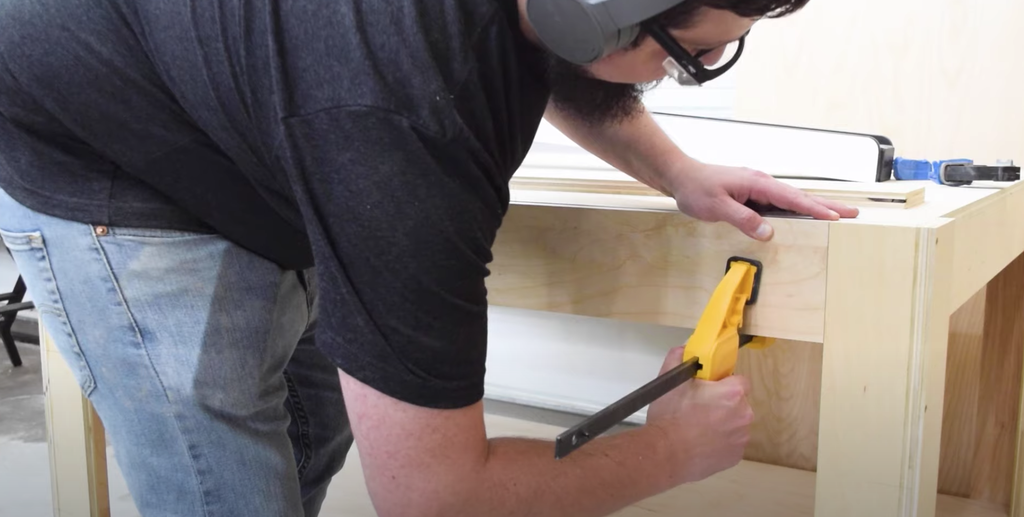
To finish the sides and flush up the side stretchers, cut out some strips that will go on as caps for the edges. This is completely optional and it isn't structural but i think it makes the table look nicer. Attach them to the side with some glue and some 23 gauge brad nails.
You could choose to put some finish on the table if you want but you don't have to. Now you're table is ready for use!


Tag me on social if you're building this project (@timberbiscuitwoodwork on Instagram) with the hashtag #BiscuitBuild - Happy building!