Crafting a Wooden Backgammon Board
Backgammon, a classic board game that's been around for over 5,000 years, has entertained people worldwide with its mix of strategy and chance. Its enduring popularity can be attributed to its simple rules and complex gameplay. But what if you could take your love for this ancient game one step further and create your very own Backgammon board from scratch? So let’s talk about that!
But before we get into the nitty-gritty of how this Backgammon board is made, let's take a moment to appreciate its rich history. Believed to have originated in Mesopotamia, Backgammon has been around for centuries, entertaining emperors, kings, and common folk all over the world. It's a game of strategy and wit, played on a unique board with distinctive design features.
Now, imagine infusing your personality and creativity into this timeless game by crafting your very own Backgammon board. This project aims to guide you through the rewarding process of constructing a wooden Backgammon board and adding a personalized touch with a custom screen-printed design. Not only will you create a functional game board, but you'll also have a unique piece of art that reflects your style and flair.
Let’s embark on a creative journey that will result in a one-of-a-kind backgammon board that you can cherish for years to come.
Choosing the Right Type of Wood
To build the game board, I needed a light wood so the screen-printed playing spaces would show up well. Maple is the perfect choice because it's a light, even-colored wood that's perfect for printing.
Veneering Maple onto MDF:
Veneering is when you glue a thin sheet of one type of wood (like maple) onto a thicker piece of another type of wood (like MDF). It's a great way to get the look of expensive hardwood without the cost. Maple veneer is especially nice because it's both attractive and durable. Just make sure you use a high-quality veneer to get a professional-looking finish.
I started out using this method for this project, but when I got to the screenprinting part, I ran into issues with my screen and was forced to go a different route.
Using Maple Plywood:
Plan B for my Backgammon board project was maple plywood. It's made of layers of maple wood, which makes it strong and stable. To get the plywood to the right thickness for the case, I used a drum sander on the bottom face of the board.
Making the case for the Game Board
A well-made case not only keeps your Backgammon board safe, but it also makes it look super fancy. This one is more like a frame than a case. I didn't want to make a case that closed, because the game board playing surface is a highlight of the project. This way, the board can sit on a coffee table as a display piece when it's not in use.
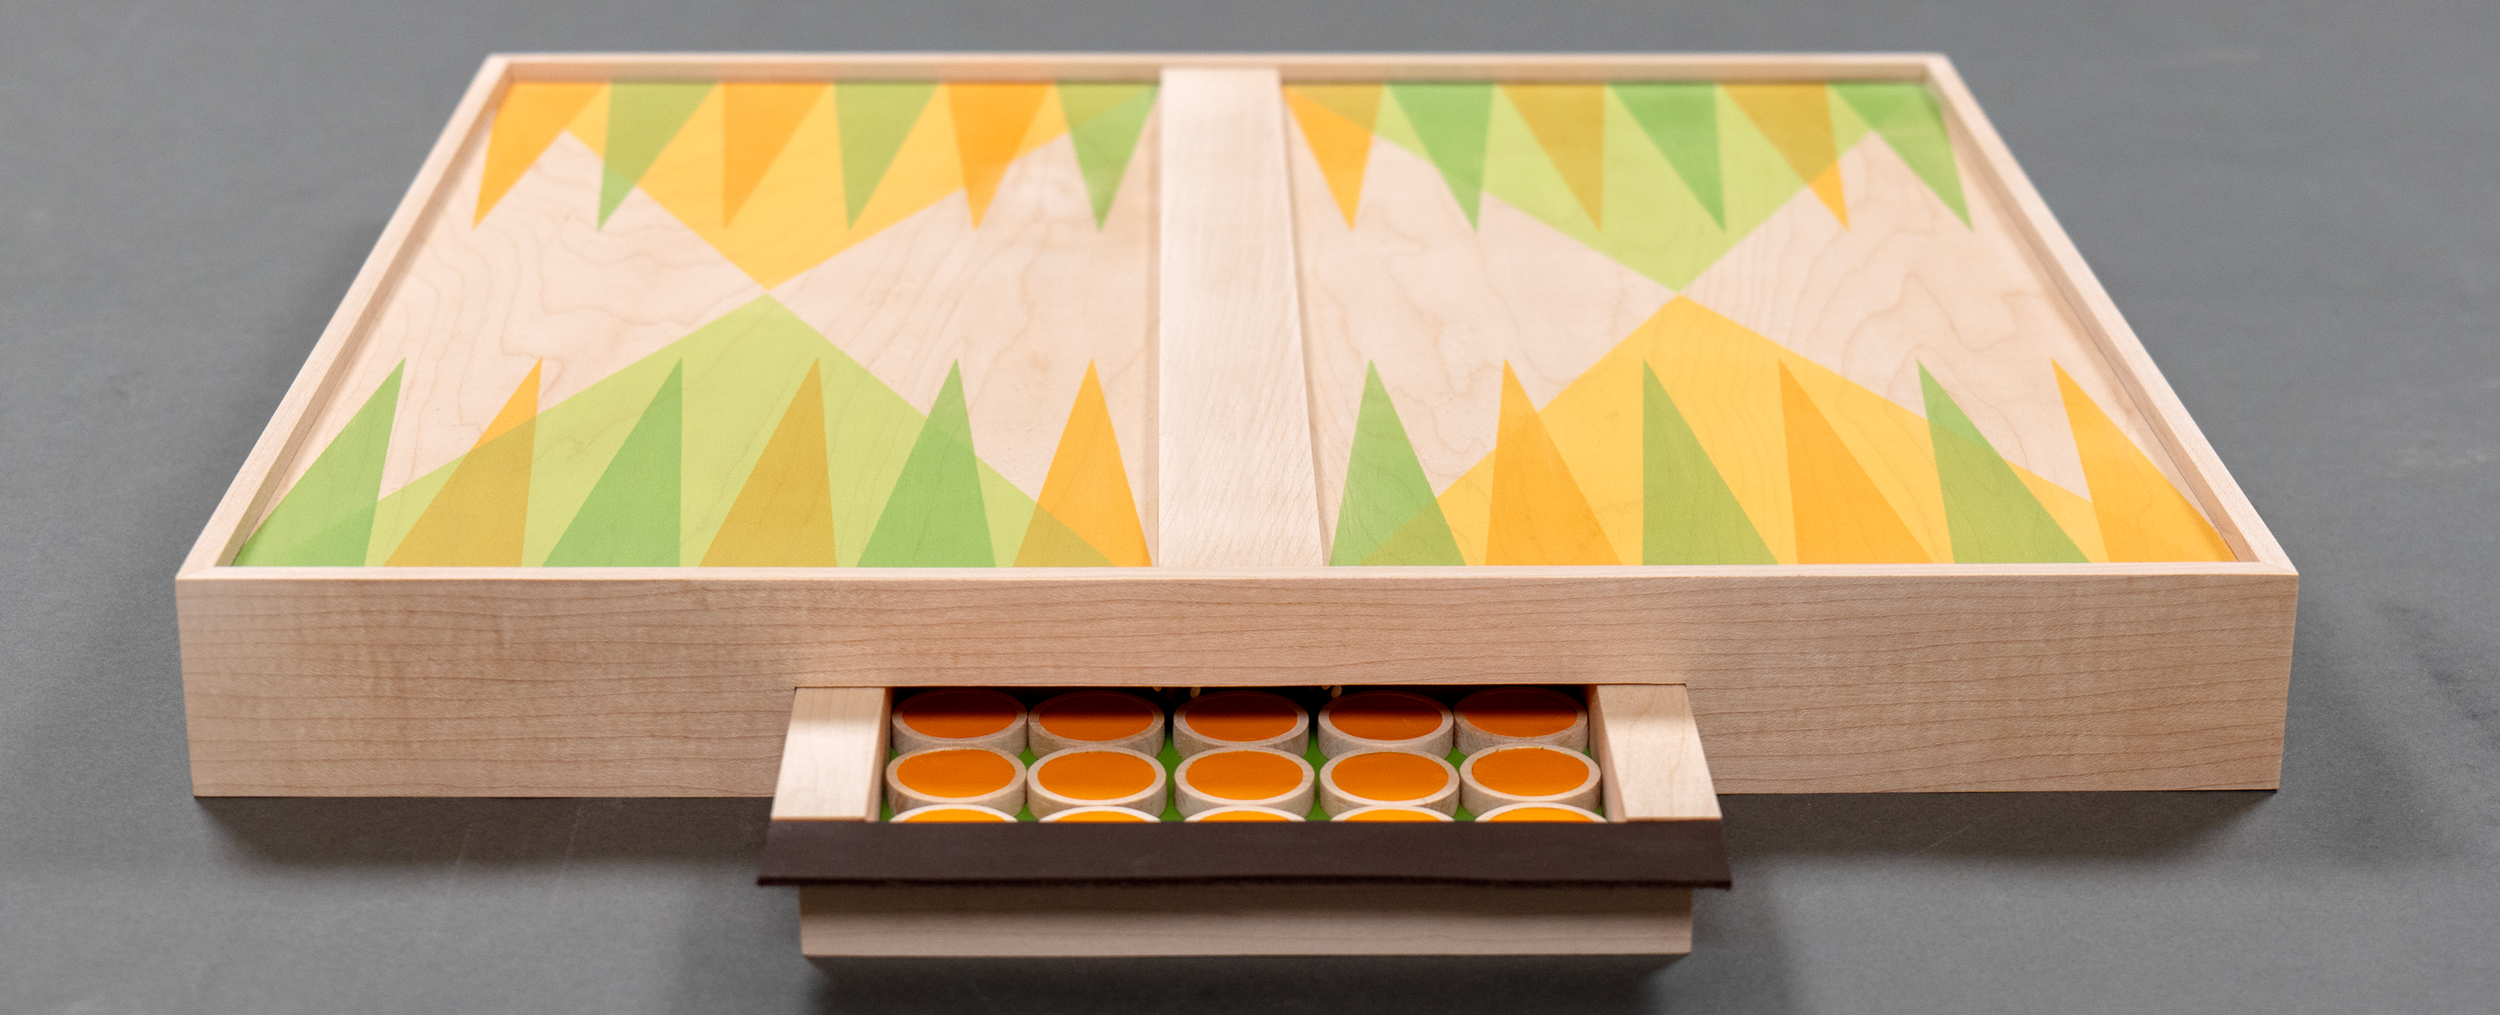
To keep the Backgammon pieces and dice from getting lost, I added a set of inset drawers to the sides of the case along with an internal structure to keep the case flat and the drawers sliding smoothly. I lined the inside of the drawers with leather that matched the ink colors of the board, which added a pop of color. This makes it easy to keep the pieces and dice organized and prevents them from getting lost or damaged.
Making the Pieces for the Game Board
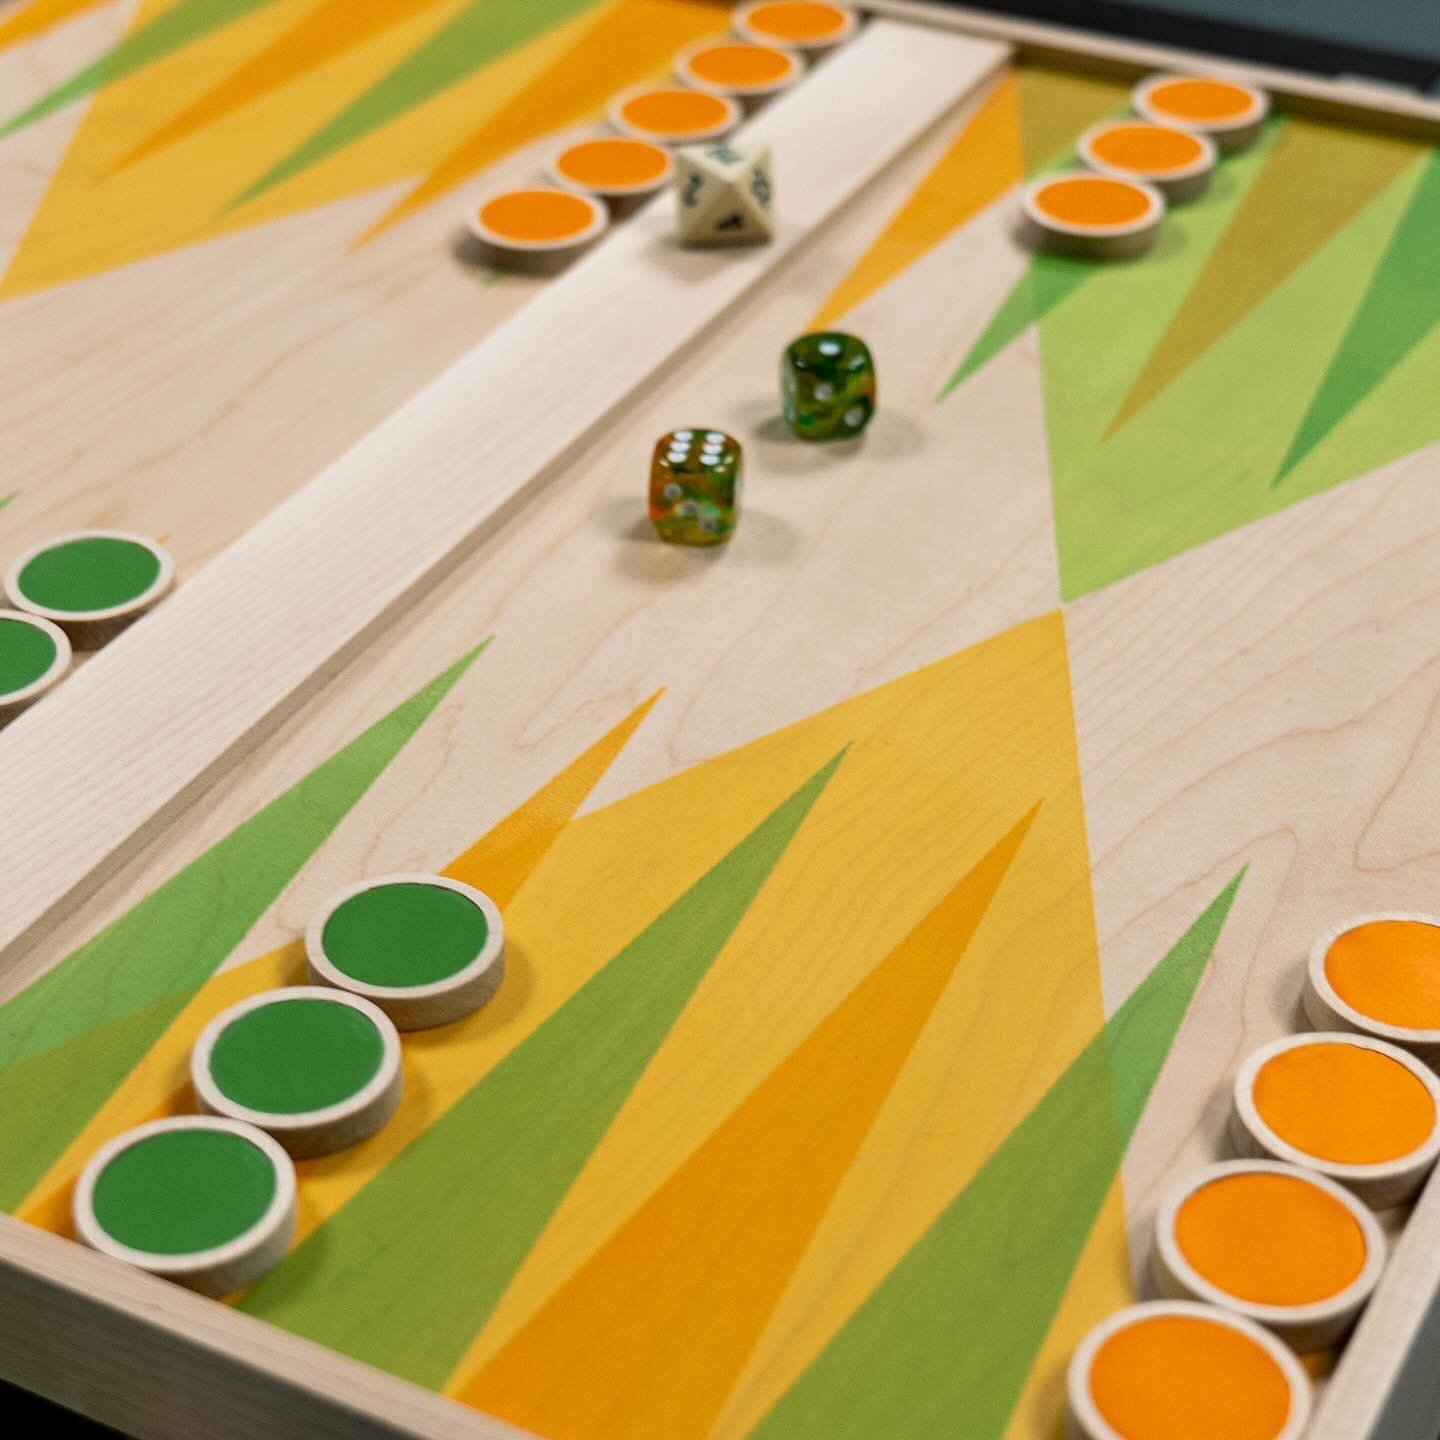
Backgammon pieces are flat cylinders like Checkers pieces. This makes sense since the pieces for backgammon are called checkers. So here, I used maple to make the pieces, cutting them into cylinders with my CNC. Then, I carved a recess in the center of each piece. Like the drawers, I inlayed the center of checker pieces with orange and green leather. And without a CNC, this can easily be made by cutting a dowel to the thickness of the pieces.

Designing The Backgammon Pattern
With the wood prepared and the case ready, it's time to infuse personality and creativity into the Backgammon board. This was a crucial step in making the board unique and visually striking. So, let’s talk about the process of planning, creating, and preparing the Backgammon design for screen printing.
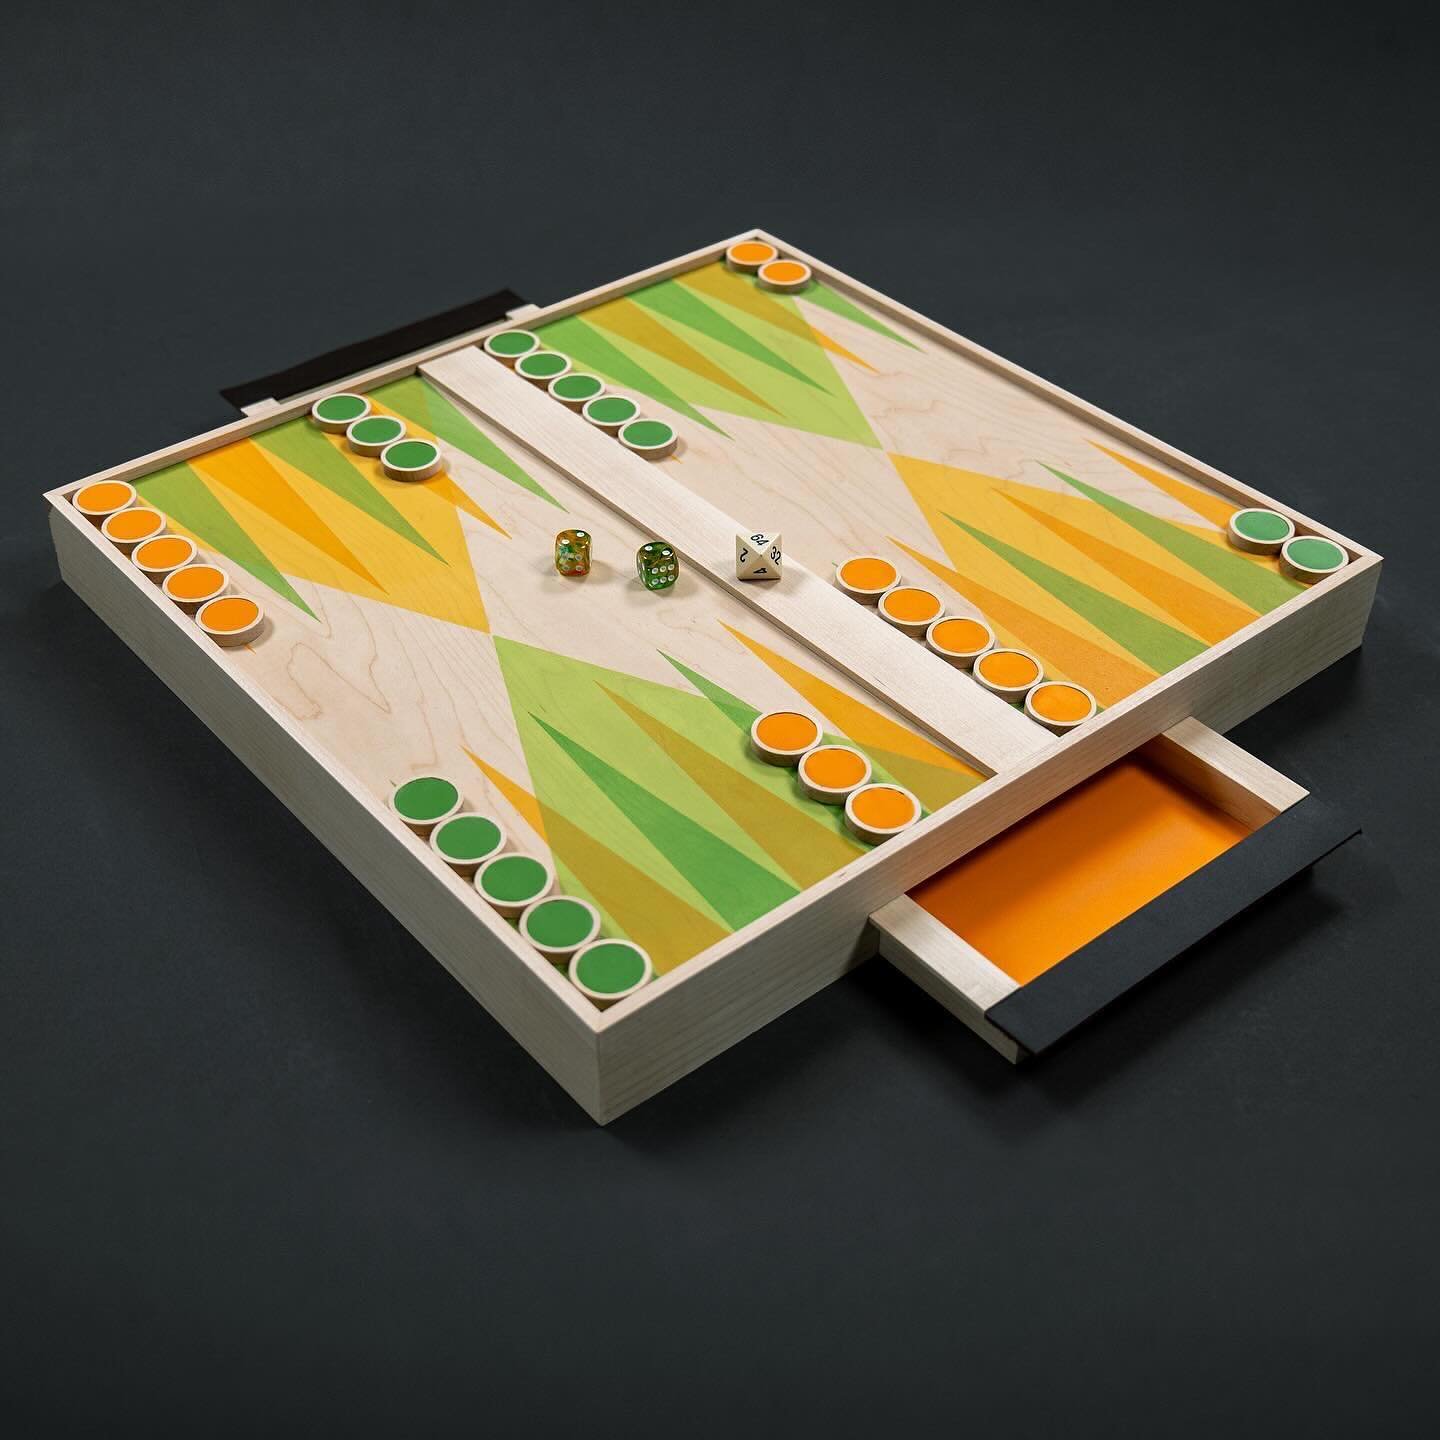
First, I needed to decide on a design: a classic look or something more modern. I went with the traditional alternating points but added another larger triangle in each quadrant.
Next, it was time to think about the colors. I went with contrasting colors, orange and green.I love this combo of retro colors (you can also see that in these pendant lights I made). And because this game would live on our coffee table, the color combination had to coordinate with the colors we already have in our house.
Preparing the Design for Screenprinting
With the design done, it was time to prepare for screen printing. So, the first thing was to print the design in black onto transparent sheets. And because this design has multiple colors, they need to be separated into individual layers. Each color and section will require a separate screen printing screen, so keeping them organized is essential.
Transferring the Design to a Screenprinting Frame
I chose a speedball aluminum frame with 155 mesh. I researched and found that this screen and water-based ink are the best for wood.
I applied a light-sensitive emulsion to the screen and let it dry. The emulsion will create a stencil of my design.
I placed my design on a transparent film and exposed it to the screen, creating the stencil on the mesh.
With my screen ready, it was time to mix my colors. I added a transparent base to the ink to make the ink…transparent. Doing this allows you to see the wood grain through the ink, which is a pretty cool effect.
Screen Printing the Design
Now that your custom Backgammon design is prepped and ready, it's time to bring it to life through the screen printing process. Here’s how I achieved a clean and crisp print on my backgammon board.
First, I had to ensure that the area was free from dust and debris, which could affect the print. Then, I placed the prepared screen and secured it with clamps, ensuring it wouldn't move during the printing process. Next, I applied the ink using a squeegee. I load a small amount of ink onto the screen and then pull the squeegee across the screen in a firm, consistent motion. This forces the ink through the screen's stencil onto the wooden surface. All that’s left to do is line up and repeat this process for each section to print the rest of the Backgammon design.
Tips for Achieving a Clean and Crisp Print
1. Regular Maintenance: Clean your screen and squeeze between each color application to prevent cross-contamination and maintain the integrity of your design.
2. Patience is Key: Allow each layer of ink to dry before applying the next. Rushing this step can lead to smudged or blurry prints.
3. Quality Control: Inspect each print as you go, checking for imperfections or misalignments. If you spot any issues, you can address them immediately.
4. Practice Makes Perfect: If this is your first time screen printing, don't be discouraged if it takes a few tries to achieve the desired results. With practice, your prints will become cleaner and crisper.
With the screen printing process completed, I could glue up the case with my freshly printed board. I now have a beautifully custom-designed backgammon board that's as visually striking as it is functional. The combination of woodworking and screenprinting gave a unique and artistic touch, making it a centerpiece for our coffee gaming table.
