Weatherproofing Wood: A Guide to Applying Wood Veneer with Epoxy
When we first moved into our house, we had the builder-grade special - a bulky, black, plastic mailbox. And after many games of water balloons and chalk bombs, it was hanging on by a thread. Once our neighbors updated theirs, I knew it was time to hop on the train.
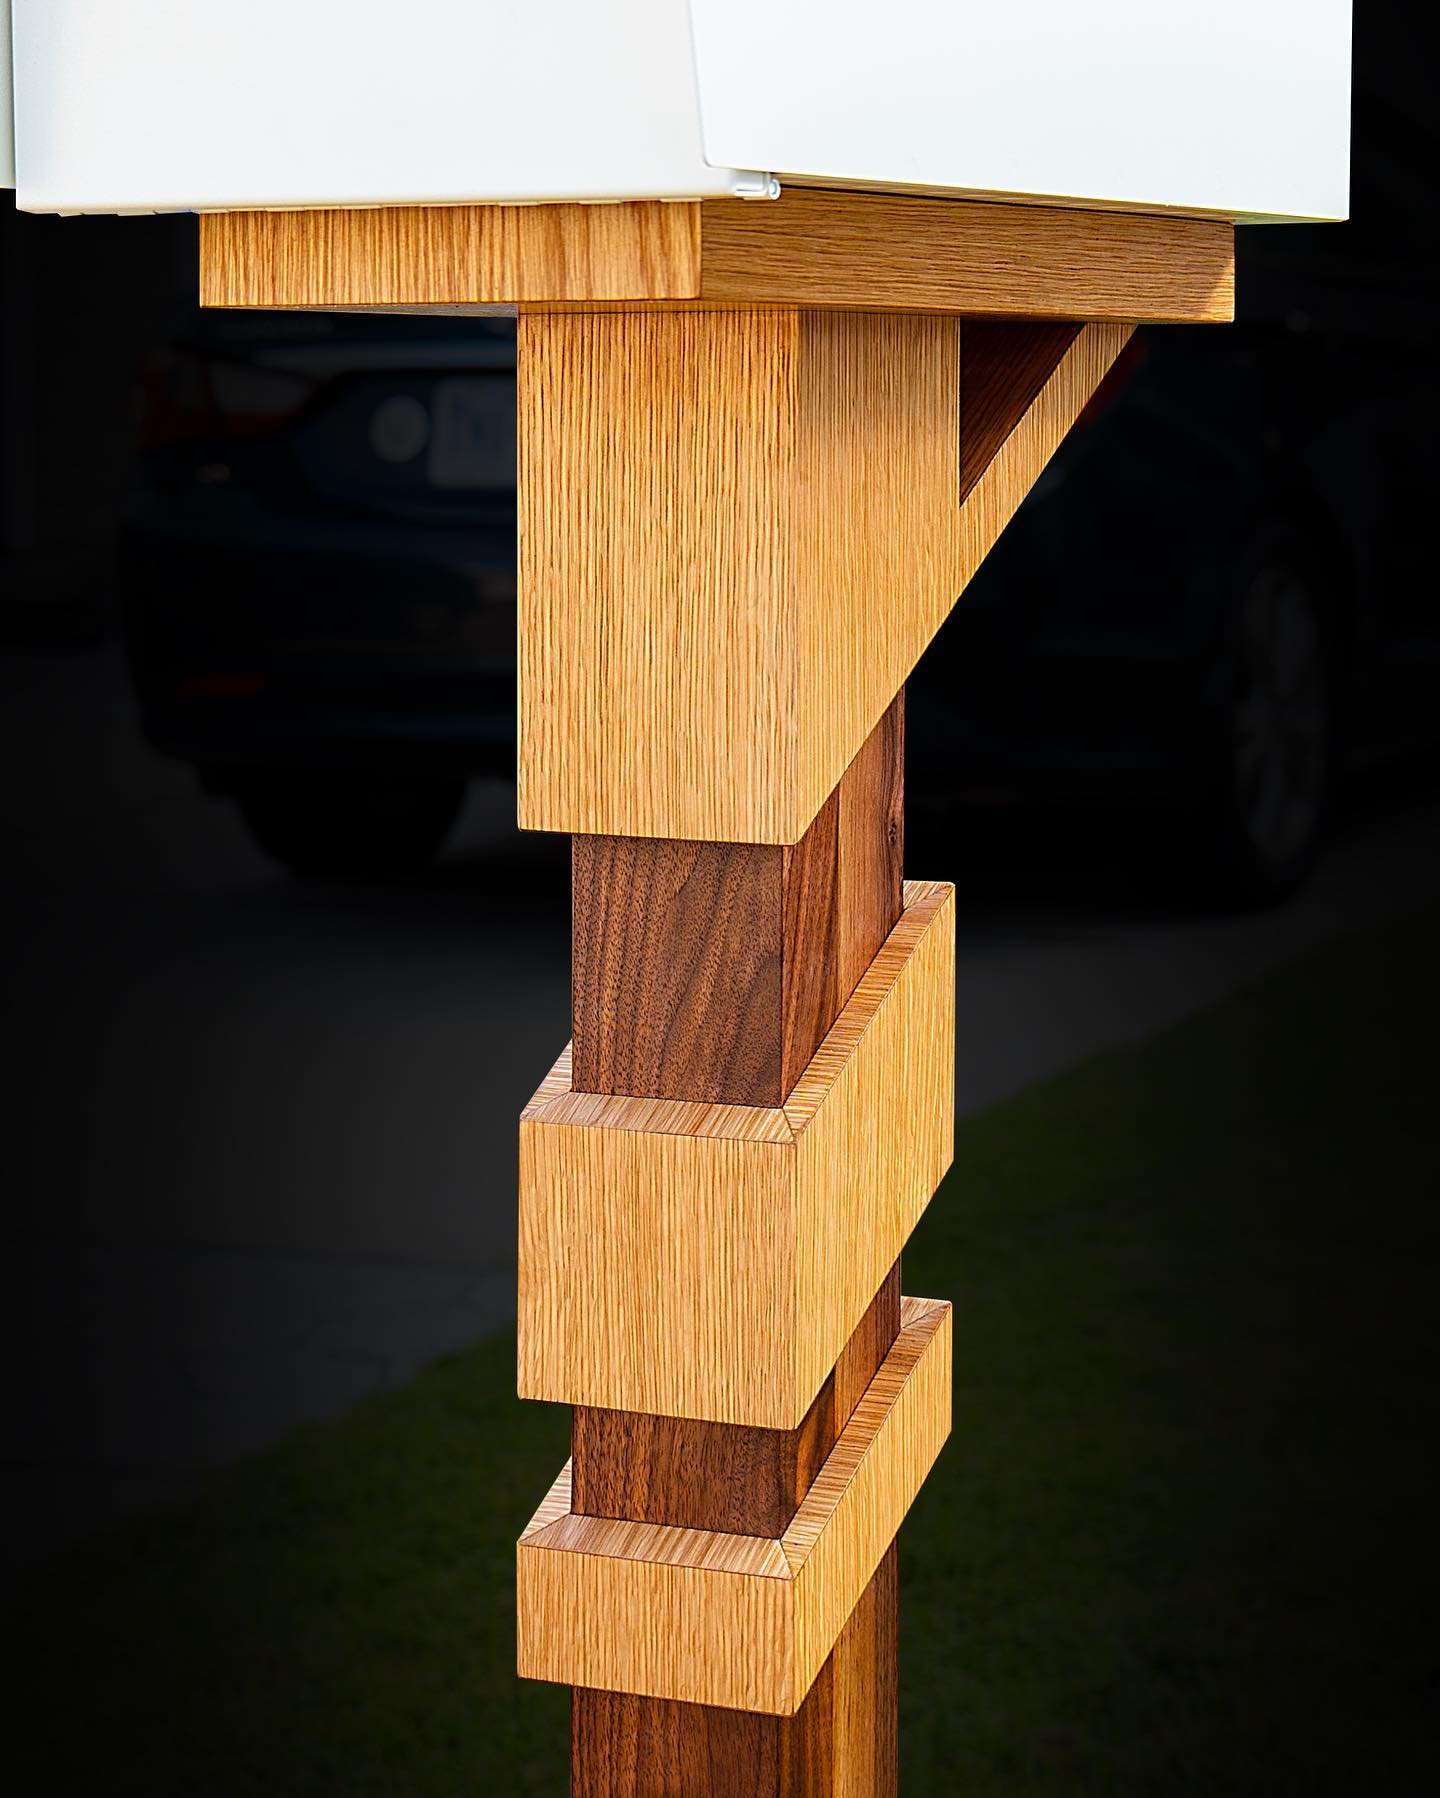
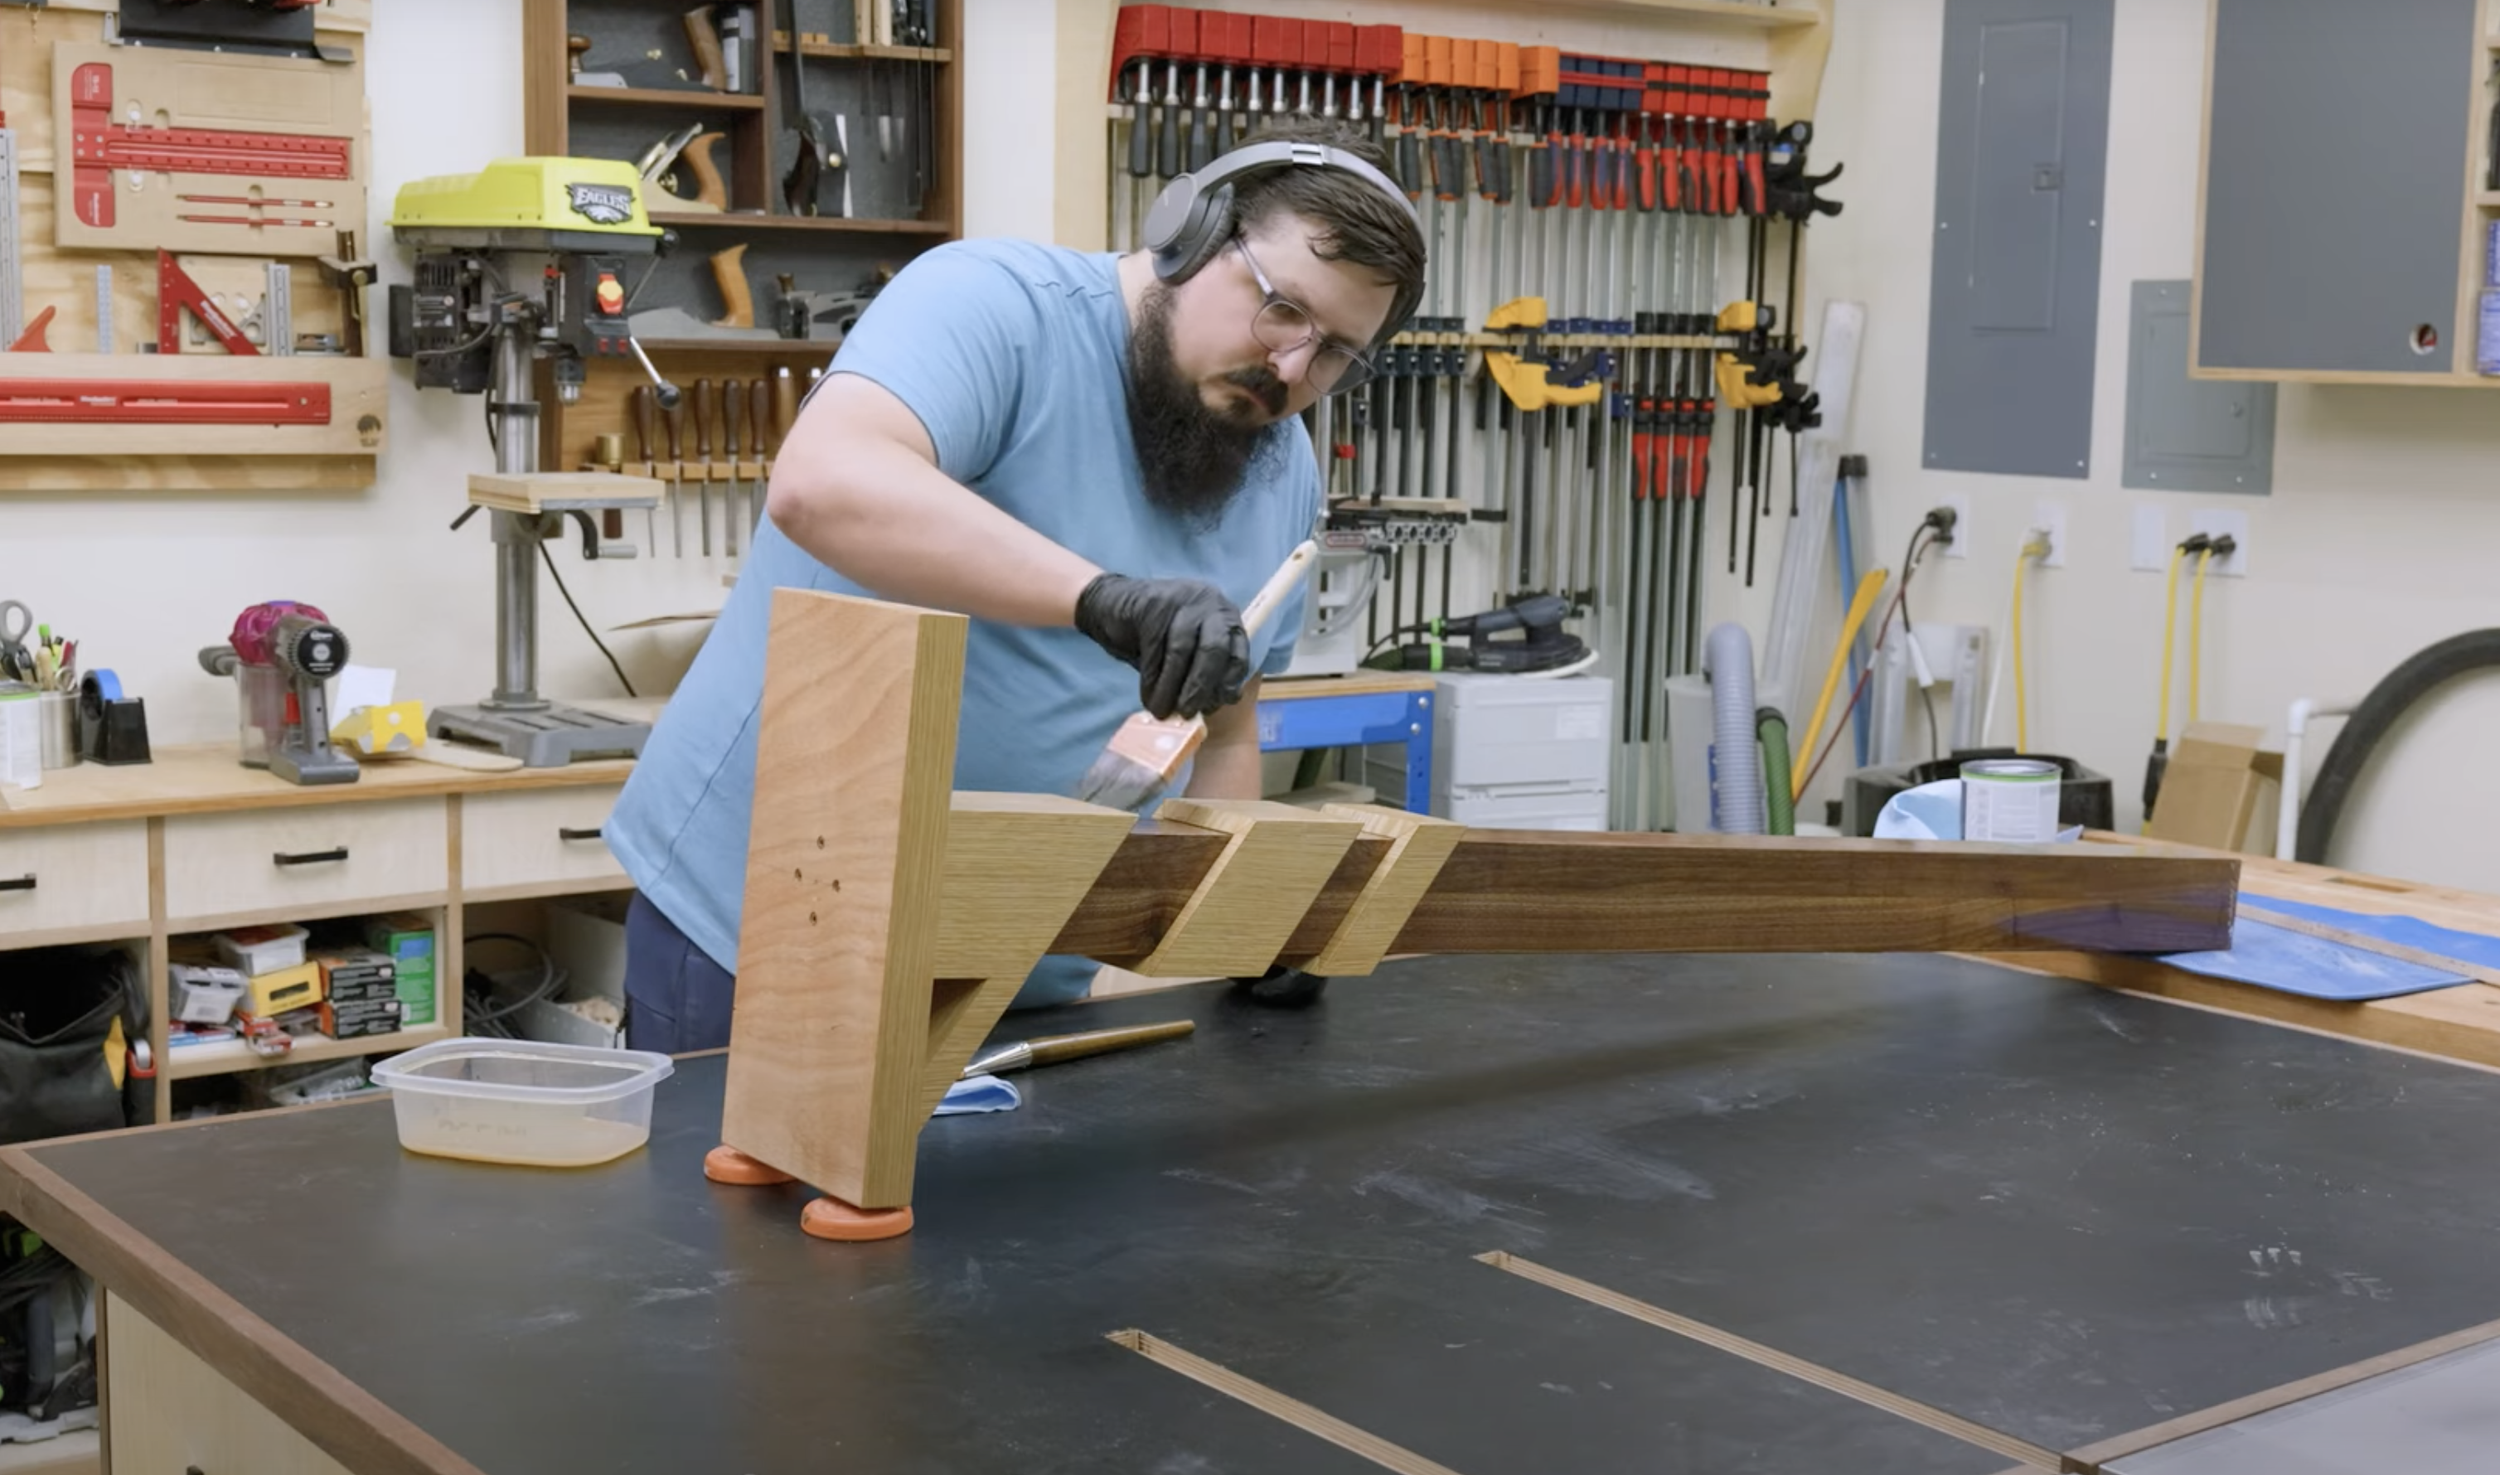
To build this rather unique mailbox post, I used walnut hardwood and white oak veneer. Being in southeastern Virginia, it needs to be able to handle heat, humidity, and lots of rain. For this project, one of the biggest techniques I used was applying wood veneer with epoxy to plywood. You can apply this technique to all types of outdoor furniture. So, let's talk about building outdoor furniture and woodworking projects and the best way to protect them from the elements.
Why Use Wood Veneer?
Wood is a timeless and versatile material cherished for its natural beauty and strength. However, when exposed to the elements, wood can quickly deteriorate, leading to unsightly damage and costly replacements. To combat this, weatherproofing techniques have become essential for preserving the longevity and aesthetic appeal of wooden surfaces. Among the various methods available, one stands out as both effective and visually stunning: applying wood veneer using epoxy. In this guide, we will delve into the intricate process of weatherproofing wood using this innovative technique. By the end, you'll have the knowledge and confidence to protect your woodworking projects and furniture from the harshest of weather conditions while enhancing their natural beauty.

Why You Should Use Plywood As a Base for Wood Veneer in Outdoor Applications
Using plywood as a substrate for wood veneer in outdoor applications offers several compelling advantages. First and foremost, plywood is known for its structural stability and resistance to warping or splitting, which is particularly crucial when facing the challenges of outdoor exposure to moisture and temperature fluctuations. Plywood's layered construction consists of alternating grain directions in each layer, providing strength and preventing the expansion and contraction that solid wood may experience in varying weather conditions. Additionally, plywood is readily available in various grades and thicknesses, allowing for flexibility in choosing the right type for your project's specific requirements. Its affordability compared to solid wood alternatives also makes it an economical choice for larger outdoor pieces. Overall, plywood serves as a reliable and durable foundation for wood veneer in outdoor settings, ensuring your woodworking projects remain resilient and visually appealing for years to come.

What is Wood Veneer?
Wood veneer is a thin, decorative layer of wood that is typically sliced or peeled from a log. It retains the authentic texture, grain patterns, and natural beauty of solid wood, making it an excellent choice for enhancing the appearance of various surfaces. There are several types of wood veneer available, including rotary-cut veneer, plain-sliced veneer, quarter-sawn veneer, and rift-cut veneer. Each type offers unique grain patterns and aesthetics, allowing you to choose the perfect match for your project's design. One of the significant advantages of using wood veneer is its ability to create stunning visuals while minimizing the cost of using solid wood. Veneer is also more environmentally friendly, as it maximizes the use of a single log by creating multiple sheets, reducing waste. Additionally, its thinness makes it highly flexible and easy to apply, making it an ideal choice for weatherproofing wood surfaces with epoxy on plywood, as we will explore in this guide.
How to Prepare Your Workspace for Wood Veneering and Epoxy
Before embarking on your wood veneer and epoxy weatherproofing project, it's essential to establish a well-organized and safe workspace. Begin by gathering the necessary tools and materials, which typically include plywood, wood veneer of choice, epoxy resin, mixing containers, spreaders, clamps and/or vacuum press, wax paper, and blue painters. Having everything at hand ensures a smoother and more efficient workflow.
Next, create a clean and well-ventilated workspace, ideally in a well-lit area with adequate ventilation to dissipate fumes from the epoxy resin. A clean environment helps prevent dust and debris from contaminating your project, resulting in a cleaner and more professional finish.
Lastly, don't overlook safety precautions. Ensure you have appropriate personal protective equipment (PPE), such as gloves and safety glasses, to shield yourself from any potential hazards. Familiarize yourself with the safety guidelines provided with your epoxy resin and other chemicals, and have a first-aid kit on hand in case of accidents. Taking these preparatory steps will not only make the weatherproofing process more comfortable but also help ensure your safety throughout the project. Epoxies have different cure times, so make sure you are using the appropriate one for your project.
Selecting the Wood Veneer
Selecting the right wood veneer is a critical aspect of your weatherproofing project's success. Begin by carefully considering the wood species that best suits your aesthetic and functional requirements. Different species offer various colors, grain patterns, and durability levels, so choose one that complements your design and can withstand outdoor conditions.
Once you've decided on the wood species, you'll need to size and cut the veneer sheets to fit your project's dimensions. Precision is key here, as accurately cut veneer sheets will ensure a seamless and professional-looking finish. Take your time with this step to avoid errors that could compromise the overall appearance.
Before applying the veneer, it's essential to prepare the sheets properly. This typically involves acclimating the veneer to the surrounding environment to minimize the risk of warping or distortion during application. Additionally, inspect each sheet for defects or imperfections and make any necessary repairs or adjustments. Properly selecting, cutting, and preparing the wood veneer ensures that your outdoor wood veneer and epoxy project will not only look stunning but also endure the rigors of weather and time.

Steps to Mixing and Applying Epoxy Resin
The next crucial step is working with epoxy resin. Begin by selecting the appropriate epoxy resin for your specific needs. Consider factors like cure time, UV resistance, and intended use, as these can vary among epoxy formulations. Make sure the epoxy resin you choose is suitable for outdoor applications to ensure long-lasting protection against the elements. I used the Total Boat Epoxy Kit for my project.
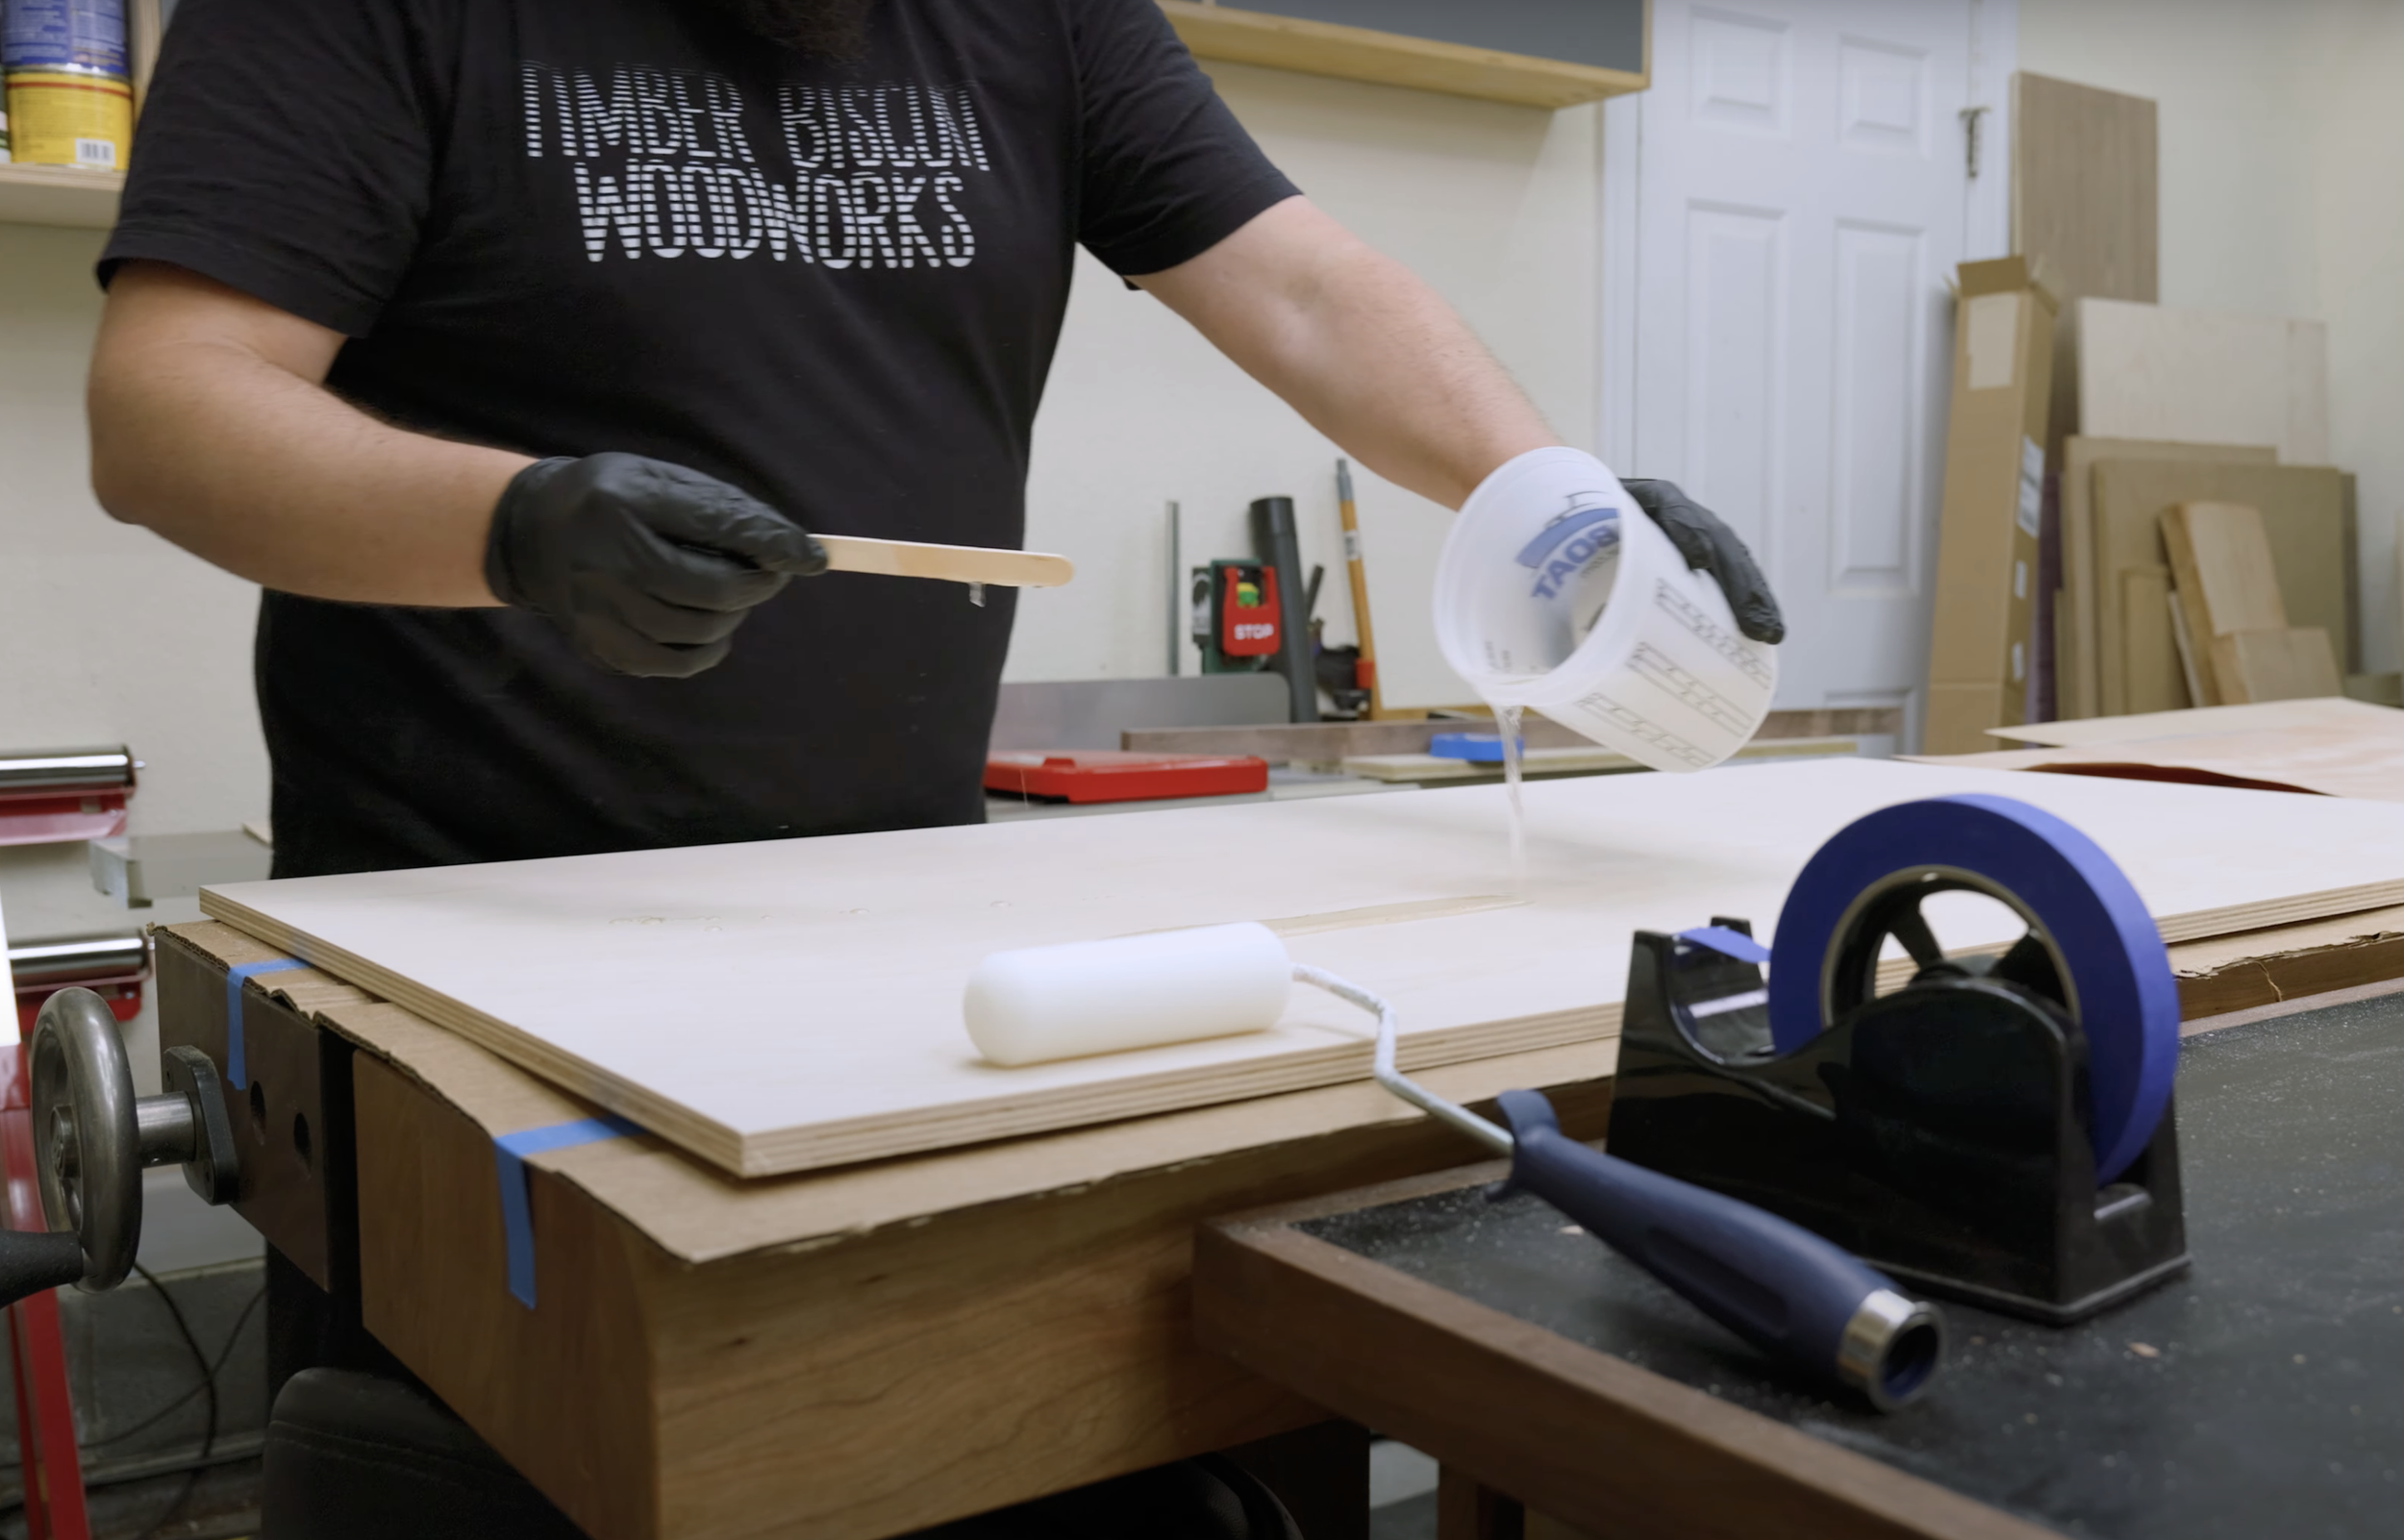
Before applying epoxy to the plywood, precise measuring and thorough mixing of the epoxy components are essential. Follow the manufacturer's instructions closely, as the ratio and mixing procedure can vary between different epoxy products. Achieving the correct mixture is crucial for the epoxy to cure properly and bond effectively with both the plywood base and the wood veneer.
When applying epoxy to the plywood (not the veneer), use a spreader or brush to ensure an even and consistent coat. Pay attention to the edges and corners, as they are often prone to inadequate coverage. Take your time to spread the epoxy evenly and minimize the risk of air bubbles or uneven surfaces. Properly mixing and applying epoxy resin lays the foundation for a strong bond and weather-resistant finish for your wood veneer project.
Applying Wood Veneer
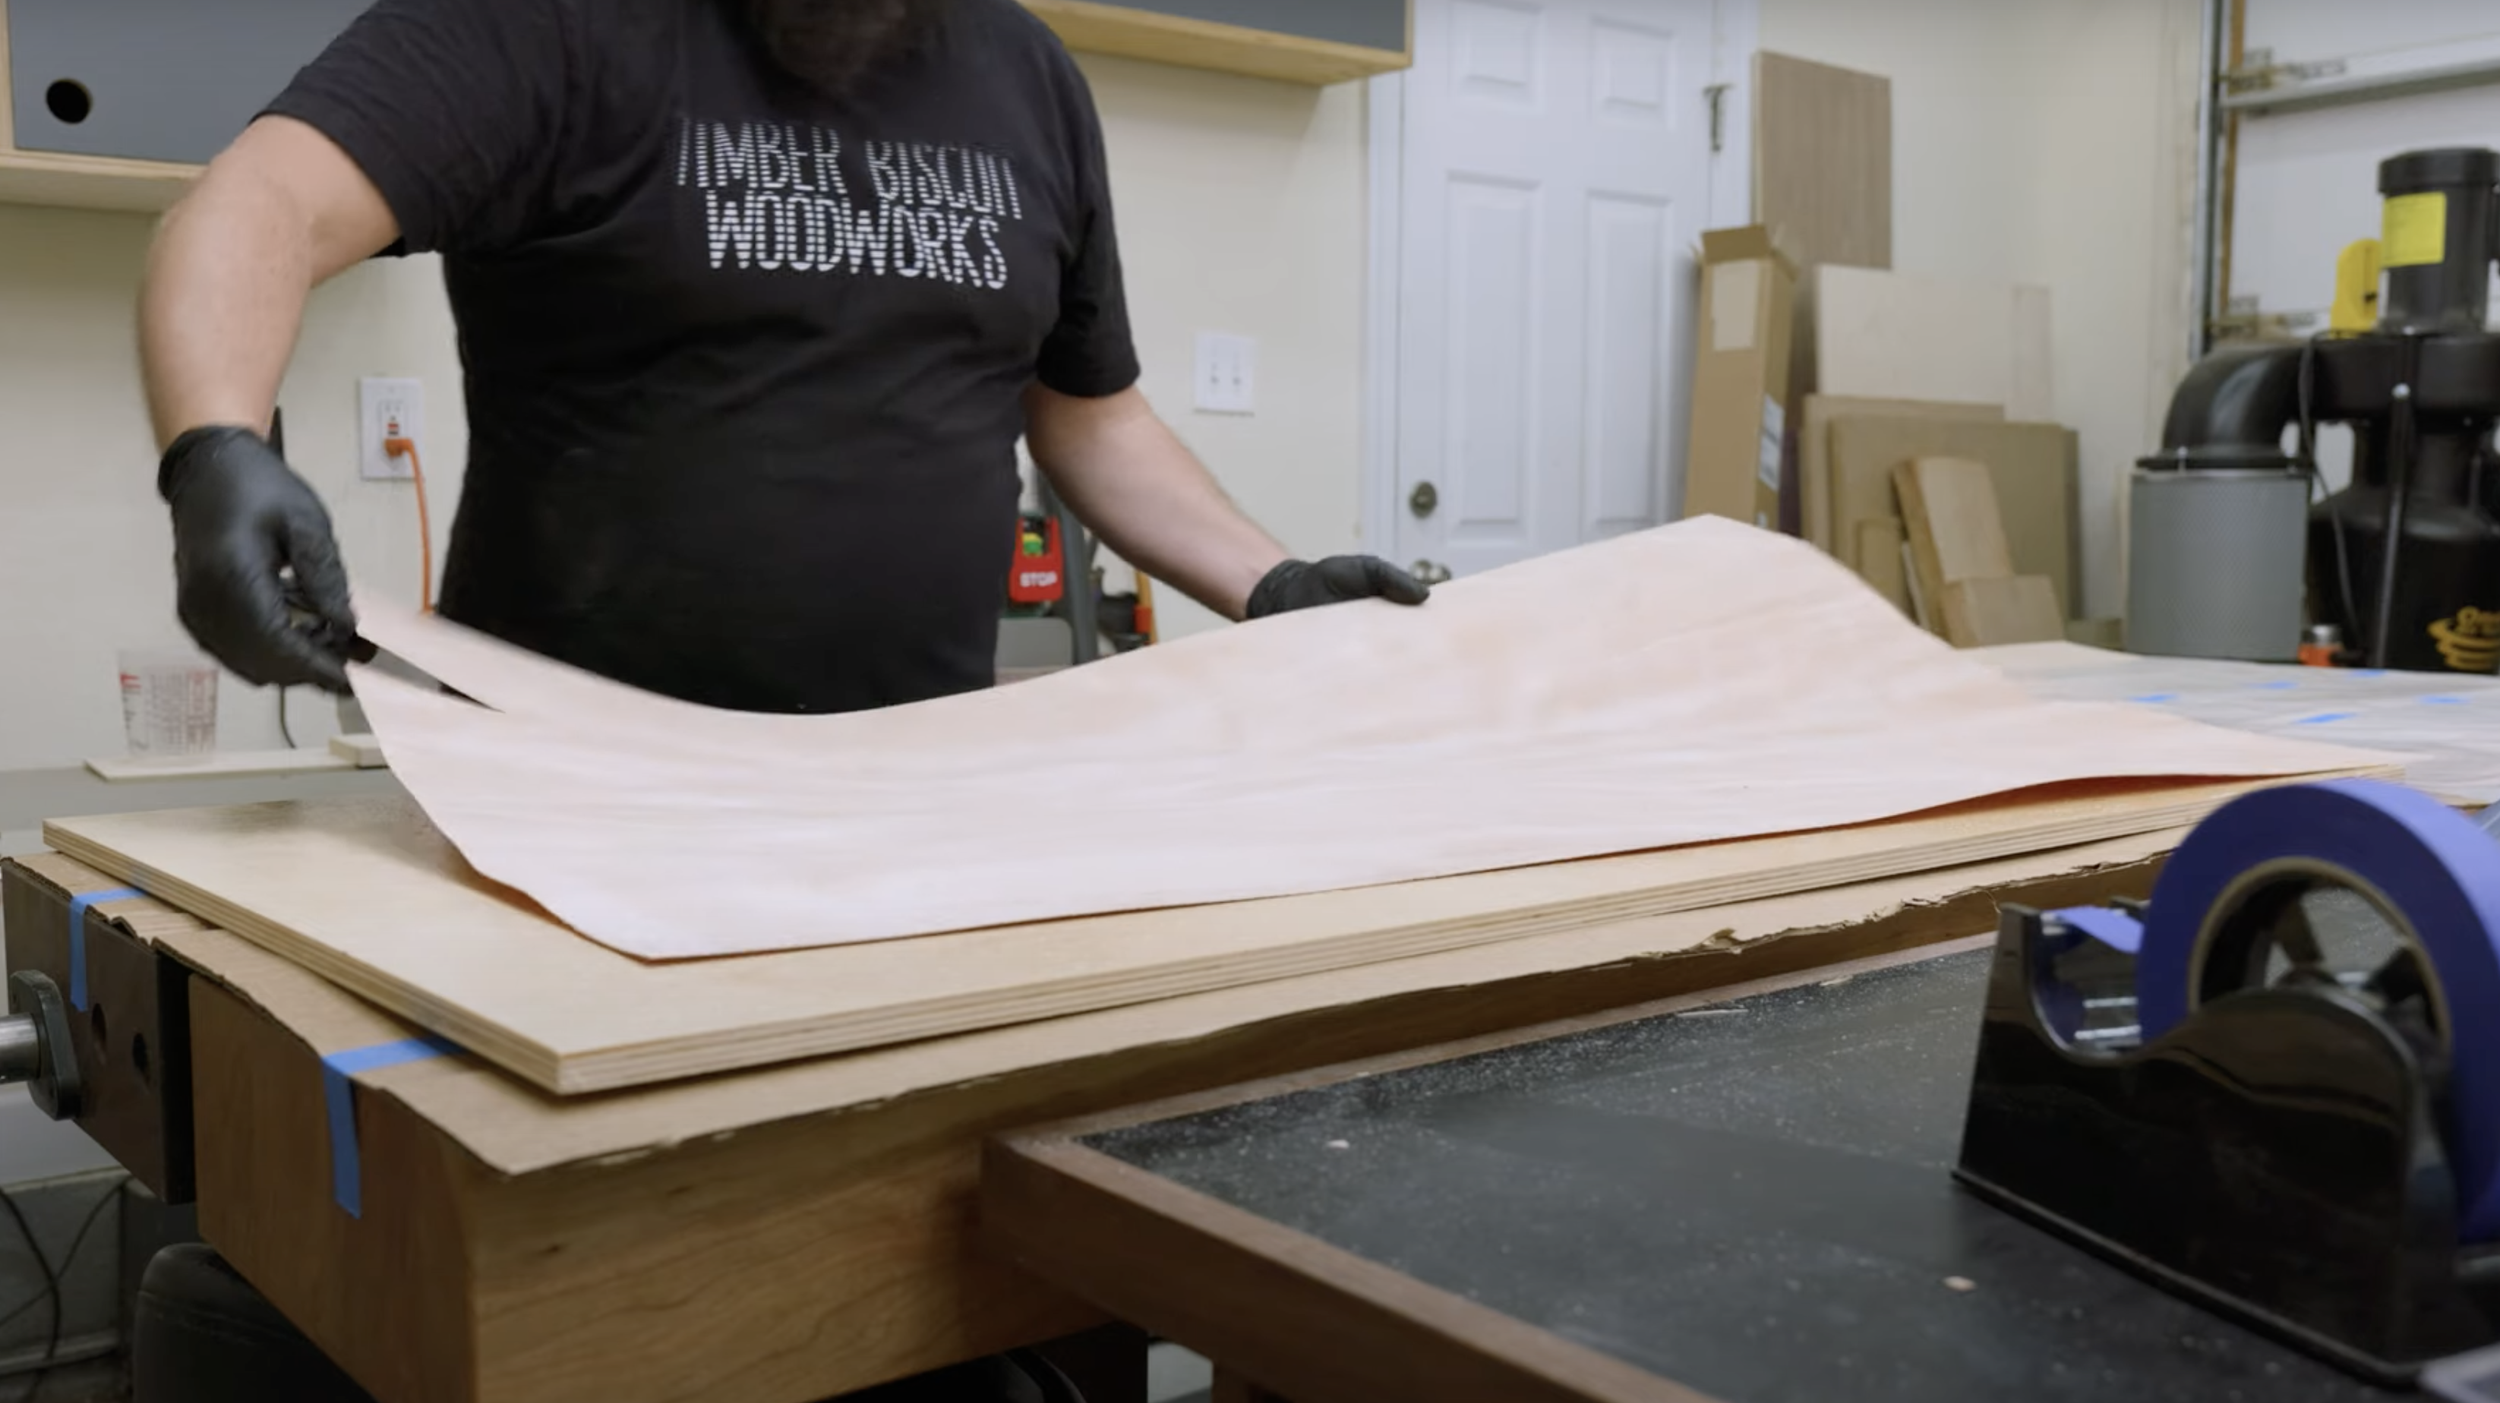
With your epoxy-coated plywood substrate prepared, it's time to bring your project to life by applying the wood veneer. Begin by carefully positioning and aligning the veneer sheets on the plywood surface. Take your time to ensure the grain patterns align harmoniously and that the veneer fits precisely within your project's dimensions. The veneer should be slightly smaller than your plywood substrate to avoid cracking the veneer. It is also best practice to align your veneer in a cross-grain pattern like the construction of the plywood core.

Once positioned, press the veneer onto the epoxy-coated plywood using gentle yet firm pressure. This step is crucial for establishing a strong bond between the veneer and the base. You can use a roller or a clean, flat board to evenly distribute the pressure, ensuring that the veneer adheres uniformly to the epoxy. It is also a good idea to use blue painter's tape to hold the veneer in place. From here, I like to add a sheet of wax paper to keep the epoxy bleed-through from getting on my work surface.
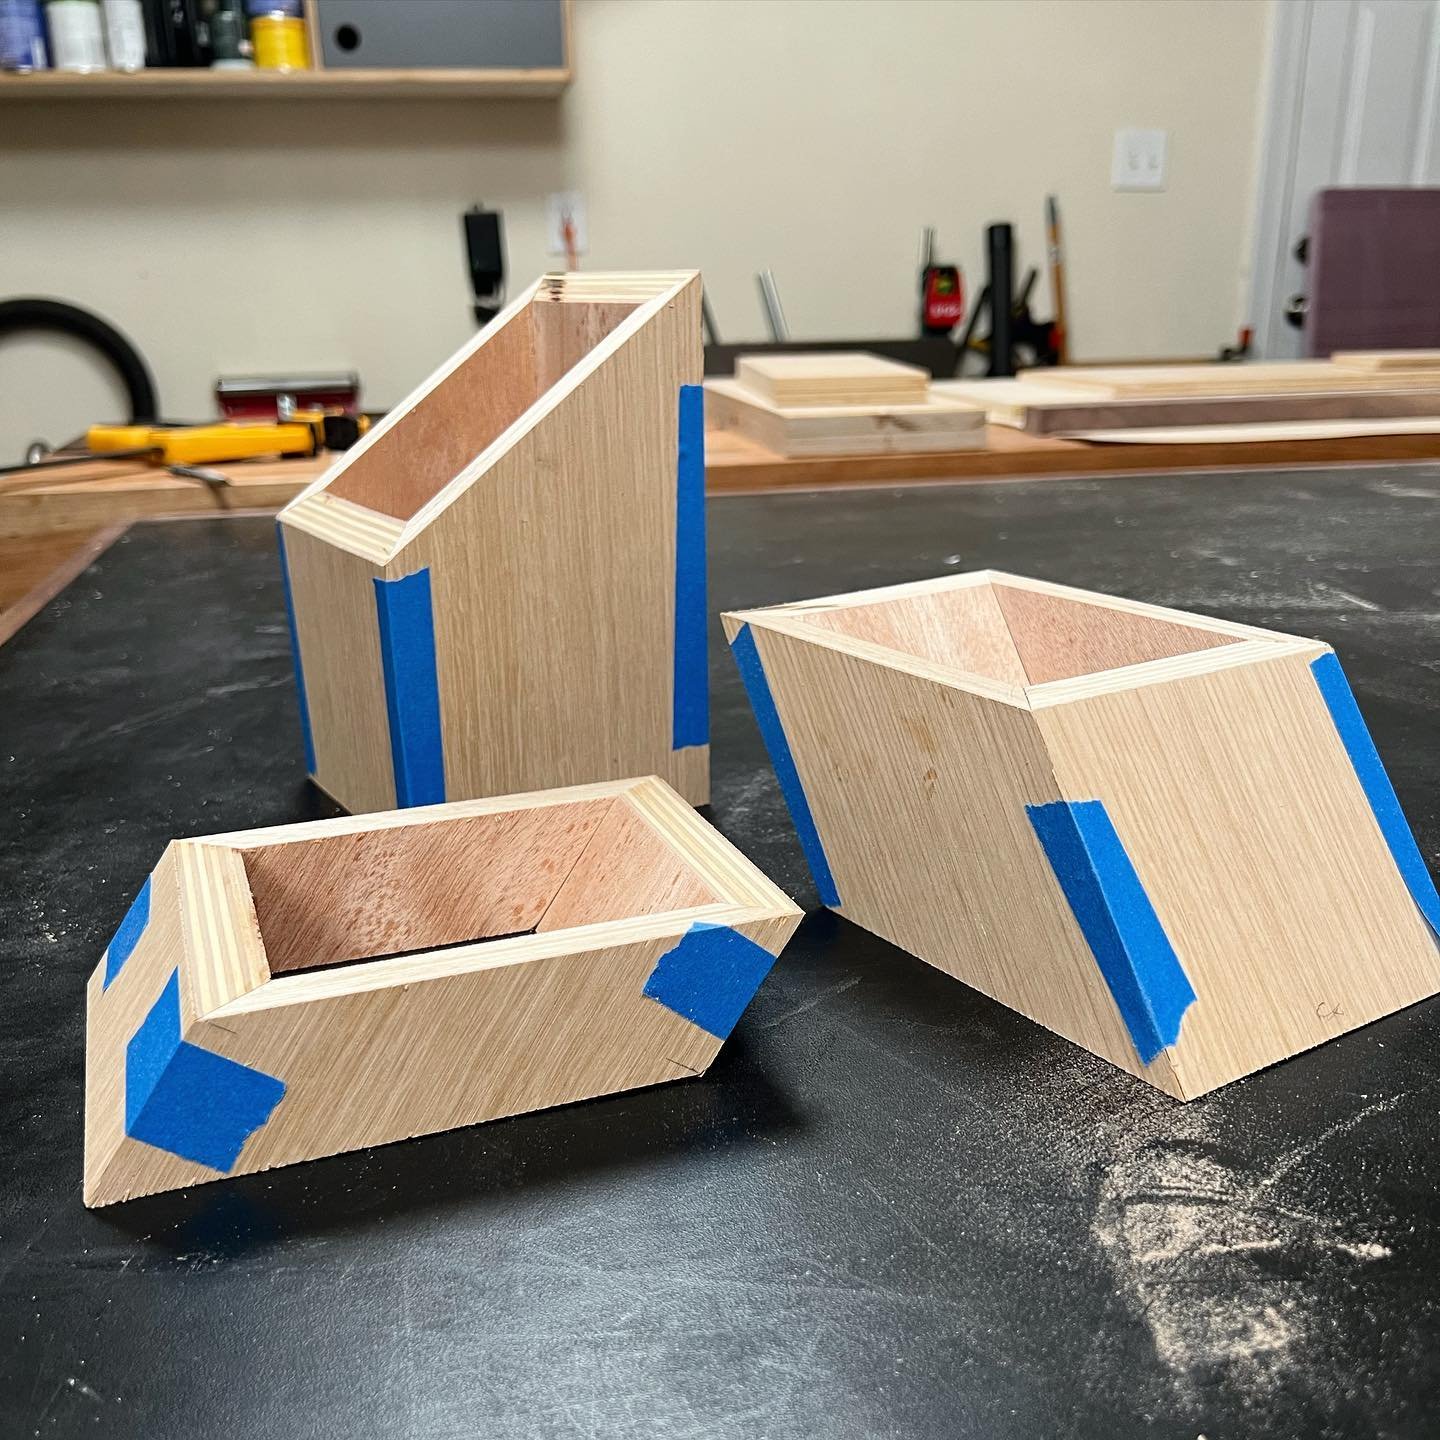
To achieve a flawless finish, it's vital to maintain even pressure and eliminate any trapped air bubbles. This can be achieved by clamping the veneer in place or using a vacuum press. The use of clamps or a vacuum press not only ensures a secure bond but also reduces the risk of warping or buckling as the epoxy cures. For my mailbox project, I mainly used a vacuum press to achieve this. While clamps can be used for smaller applications, you will get more even clamping pressure by using a vacuum press. You will want to give the epoxy a minimum of two hours in the press for fast-setting resin and up to overnight for slower-setting formulas.

Trimming and Sanding
After successfully applying the wood veneer to your plywood substrate, it's time to refine the surface to perfection. Start by trimming any excess plywood with a circular saw or a track saw. Paying attention to this detail will result in a polished and professional look.
Once the veneer is trimmed to your satisfaction, proceed to sand the surface to a smooth finish. Be careful here not to sand through the veneer. I rarely go with anything lower than 180 grit and find that hand sanding tends to give better results than a random orbit sander. Sanding not only enhances the veneer's appearance but also ensures a consistent surface for finishing.
Finishing Touches
To ensure the long-term durability of your weatherproofed wood project, it's essential to apply a protective finish that provides UV protection. UV rays from the sun can cause wood to fade and degrade over time, so a protective finish acts as a shield against these harmful effects. Choose a quality exterior-grade wood finish that is specifically designed to withstand outdoor exposure. Common options include spar varnish, marine-grade polyurethane, or an outdoor-rated wood sealer. Apply the finish evenly and according to the manufacturer's instructions, making sure to cover all exposed wood surfaces. For this project, I used Osmo 420, this is a UV protection oil that is water and dirt-resistant, moisture-regulating, and reduces wood swelling and shrinkage. I used this on the planter boxes and chaise lounge that I built, and it has held up amazingly well.
Maintenance and Longevity
Proper care and maintenance are crucial for maximizing the longevity of your weatherproofed wood project. Regularly inspect the wood surface for signs of wear, damage, or water intrusion. Clean the surface periodically with a mild detergent and water to remove dirt and grime, and avoid using abrasive cleaners that can harm the protective finish. Reapply a fresh coat of protective finish as needed, typically every 1-3 years, to ensure continuous UV protection and water resistance. Understanding the expected lifespan of your weatherproofed wood, which can vary depending on factors like climate and exposure, will help you plan for necessary maintenance and repairs.
The process of weatherproofing wood through the artful combination of wood veneer and epoxy offers a remarkable transformation for your woodworking projects. The marriage of wood veneer and epoxy not only provides weather resistance but also showcases the innate elegance of wood in all its glory. As you've seen, this method is not only effective but also accessible for woodworkers of varying skill levels. I hope this has inspired you to build your own outdoor woodworking project utilizing wood veneer.