Making an LED Seed Starting Station from Concrete and Wood

I'm making an LED seed starting grow station for seedlings in this video, and this hybrid woodworking and concrete project was a blast! The LED lights are hidden and attached to the hardwood shade and suspended from the arm by wire. This makes it easy to adjust the light up and down depending on the needs of the seeds and seedlings.
The stand also features a bridle joint and attaches to the concrete base with a tenon. And that cool (or warm) orange metal cover hides a seed starting heat mat resting in the concrete tray. Using metal allows the heat from the mat to transfer to the seed starting trays, providing the much-needed heat for seeds! And that frame around the seed trays is not just for looks. Some seeds need serious heat to germinate (I'm looking at you, pepper plants), so this wood frame also helps insulate the trays as well. Let's make seed starting look good!
My wife started a garden a couple of years ago and has been using some T5 shop lights attached to some PVC pipe hidden away in the guest bedroom. It was time to upgrade that seed starting station into something that reflected both of our styles. And we both love having plants in the house, so what better way than to make this DIY seed starting station that is both functional and modern that can be displayed! It's time for you to give seed starting a the woodworking upgrade it deserves!
Let me know what you think of the build in the comments. Enjoy!
Project Plans: https://bit.ly/growstation
Supplies
Walnut Hardwood (or Hardwood of Your Choice)
Concrete
1/2” Birch Plywood for Concrete Mold
Table Saw
Drill
Sander
LED Lights
Wire
Wood Glue
MAKE THE CONCRETE MOLD

Concrete Mold
Start off by cutting some 1/2” birch plywood to size for the sides of the concrete mold and the bottom of the mold. Mark out the length for the walls and cut them at the table saw and cut the bottom panel to its final dimensions.


Assemble the Concrete Mold Sides
To assemble to mold, mark a line about 1/4” from the edge and use a countersink bit to pre-drill a couple holes and then drive in the screws. Complete this for all 4 corners of the mold.

Create the Space for the Heat Mat
Next, cut out the relief for the bottom of the mold. This space will be used to house the heating pad for the plants, so I used 1/4” plywood here. Sand the pieces then mark out the placement for the 1/4” piece. Glue to 1/4” piece to the bottom of the concrete mold piece. Use clamps or weights to hold down the piece as the glue dries. To give more space for the cord of the heat mat, measure the diameter of the cord and cut a strip of plywood to that size and glue it to the edge. This will allow the cord to nicely exit the concrete mold.


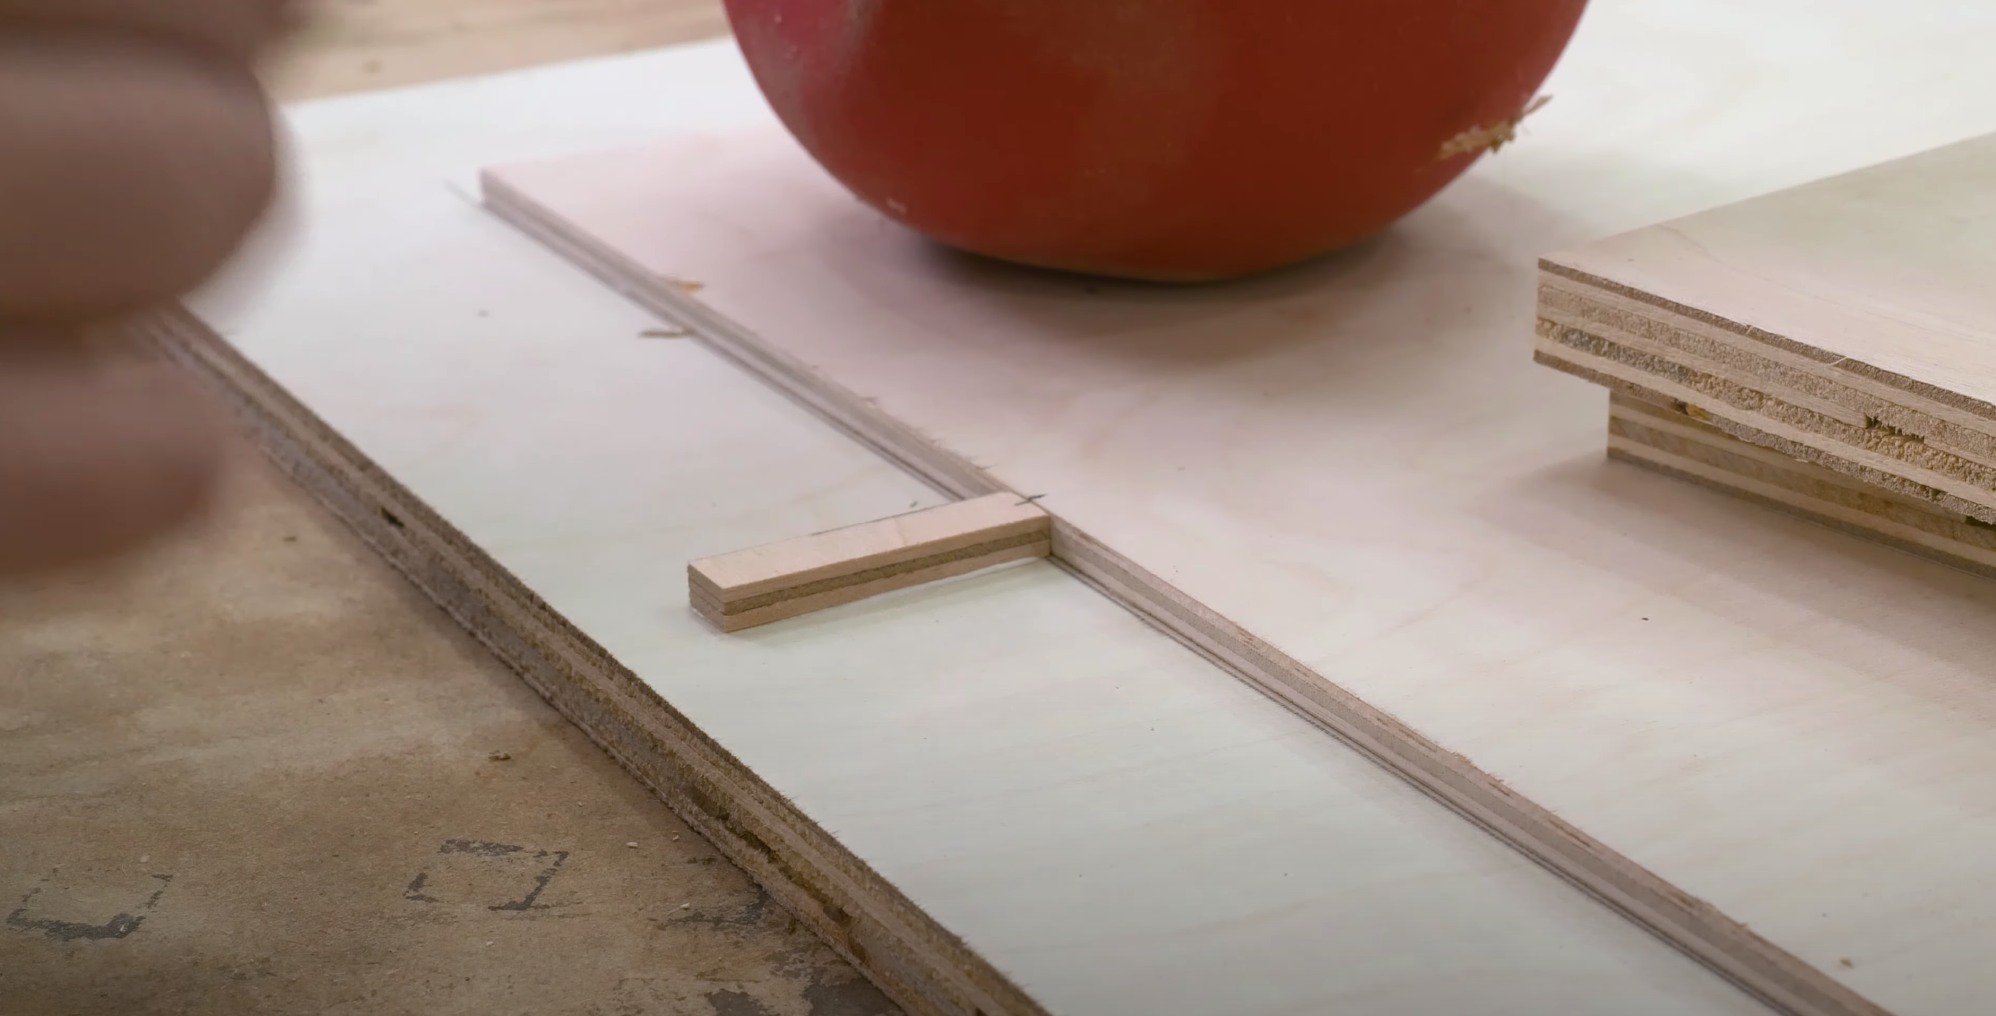
Create the Mortise for the Light Stand
Cut a 1 inch block out of some foam insulation. Layout the placement for the concrete mortise on the mold base.

Attach the Mold Sides to the Base
Just like with the sides, pre-drill some holes and drive in the screws to secure the base to the sides.

Finish the Mold
Apply a liberal amount of paste wax to help the concrete release from the mold. The apply a bead of silicone around the outside border and the corner and then use a sculpey tool to split the bead. This will help create a rounded corner for the concrete base. Once the silicone is dry, use a razor blade to scrape off any excess. Add more paste wax and then hot glue the mortise foam.


MAKE THE CONCRETE BASE


Pour the Concrete
Mix your quick dry cement and pour it into the mold. Spread out the cement with a trowel. Vibrate the mold once you have all of the concrete spread to get rid of any air bubbles. I added another layer of concrete that is self leveling. First, make sure that your base is level and add a few shims to the bottom to level it out if needed. This self leveling concrete is much thinner, but will help achieve that nice even bottom that you are looking for. Now wait for the concrete to harden.

Remove the Mold
Unscrew the screws and gently remove the mold. Chisel out the foam mortise. Sand down the base, making sure to knock down the hard edges.


MAKE THE LIGHT FIXTURE

Make the Lighthousing Panel
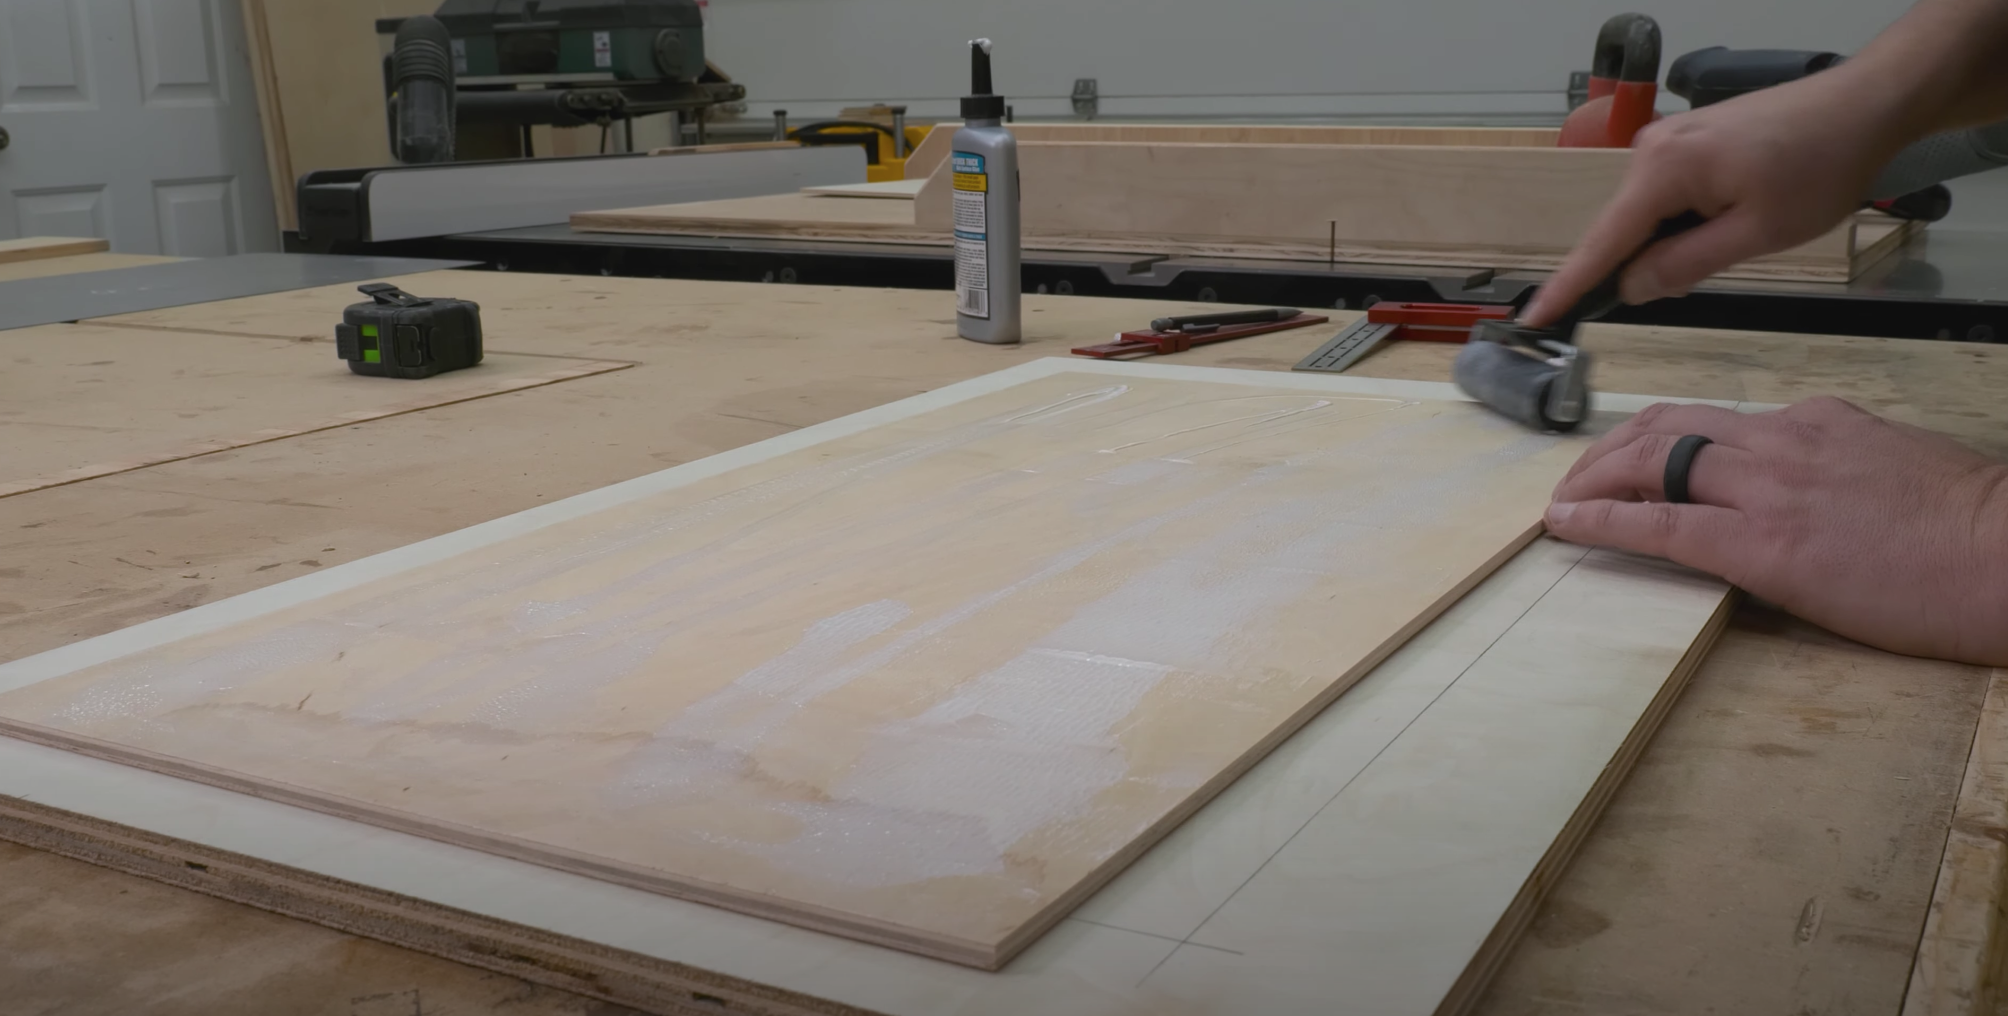
Cut the boards to rough length and mill them down to the final thickness, just under 1”. Add a clean edge to the boards. Then get your boards situation in the direction you like and add a triangle so you remember the correct orientation of the boards. Glue and clamp the boards together. After the glue dries, scrape away any squeeze out with a dull chisel.


Mill out the center of the panel. For this I used a CNC but check out the plans for another way to do this without using a CNC.
Mark out the final length of the panel and cut it down at the table saw. Then sand and round over the edges. Don’t worry about sanding the middle to a fine grit. Not making it completely smooth will help adhere the lights better.


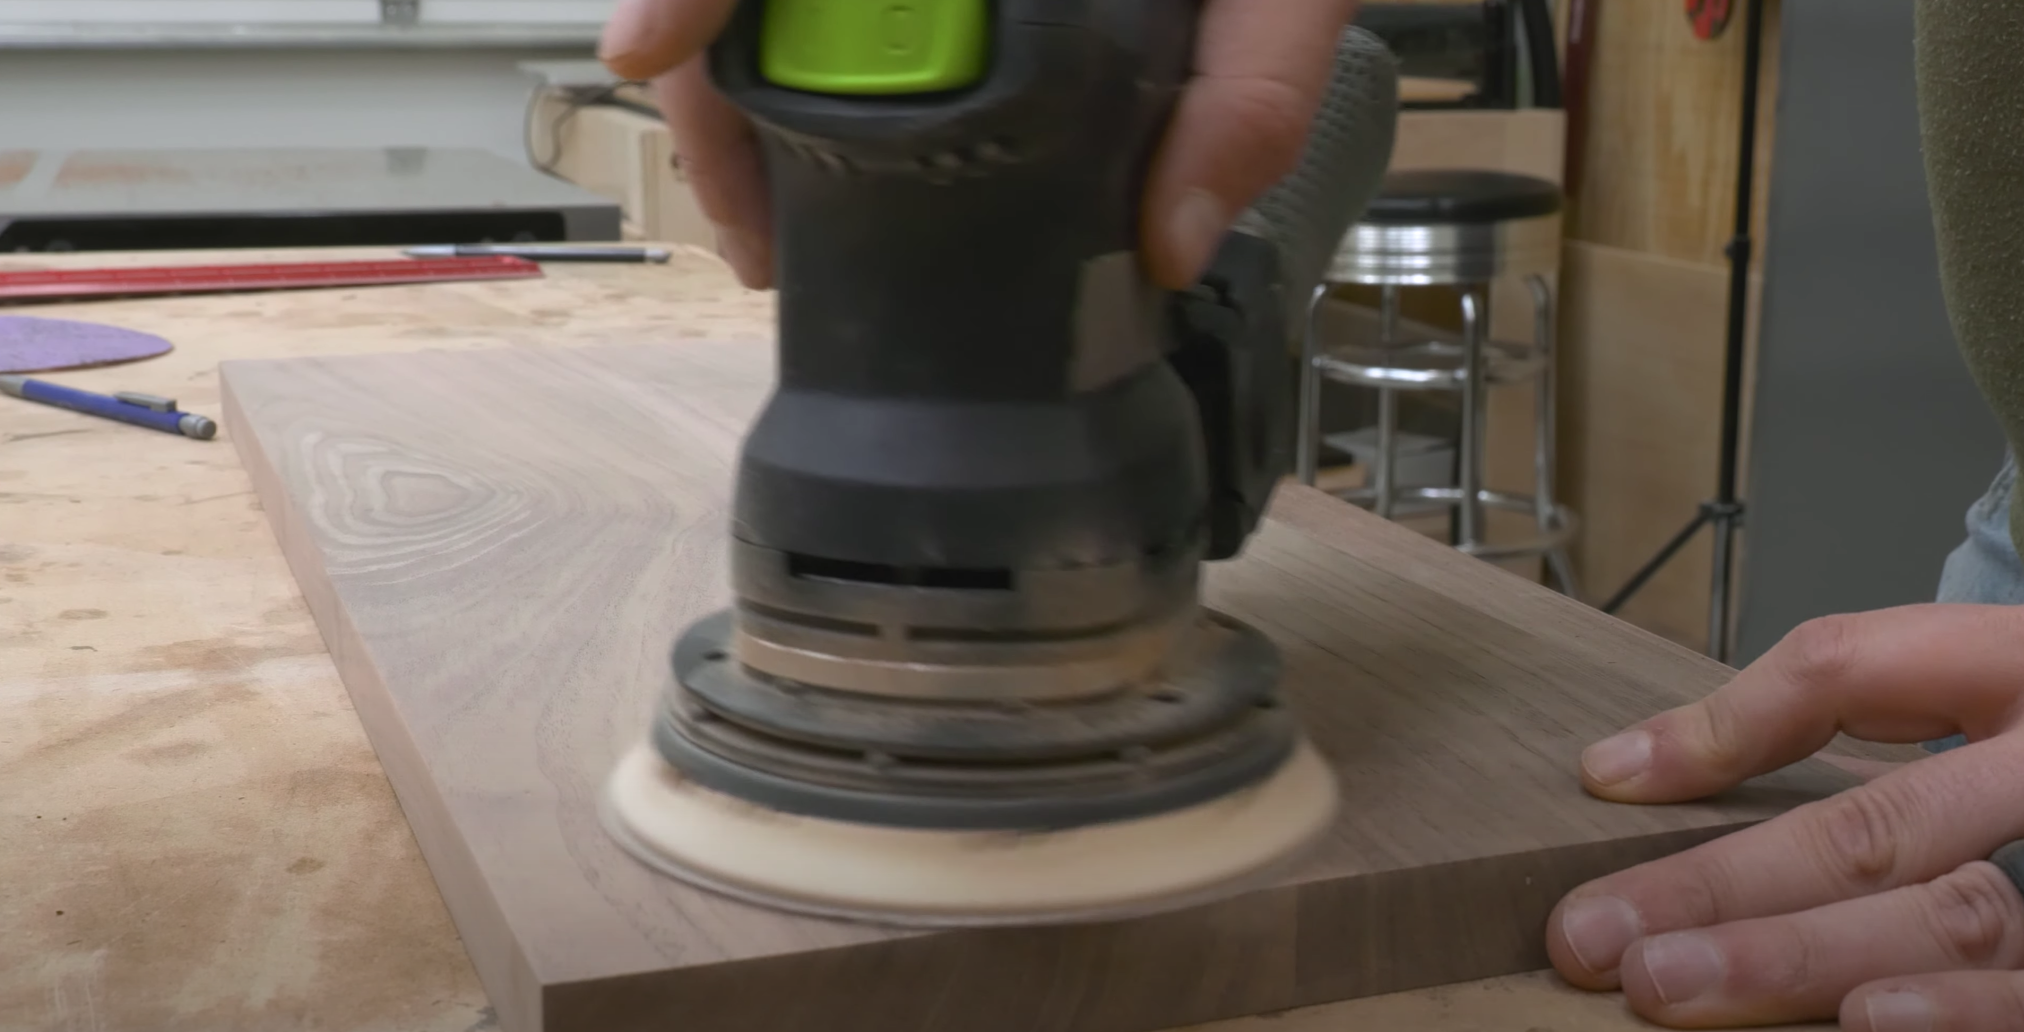
Then mark out the hole for the light cable to feed through the panel and drill out the hole.


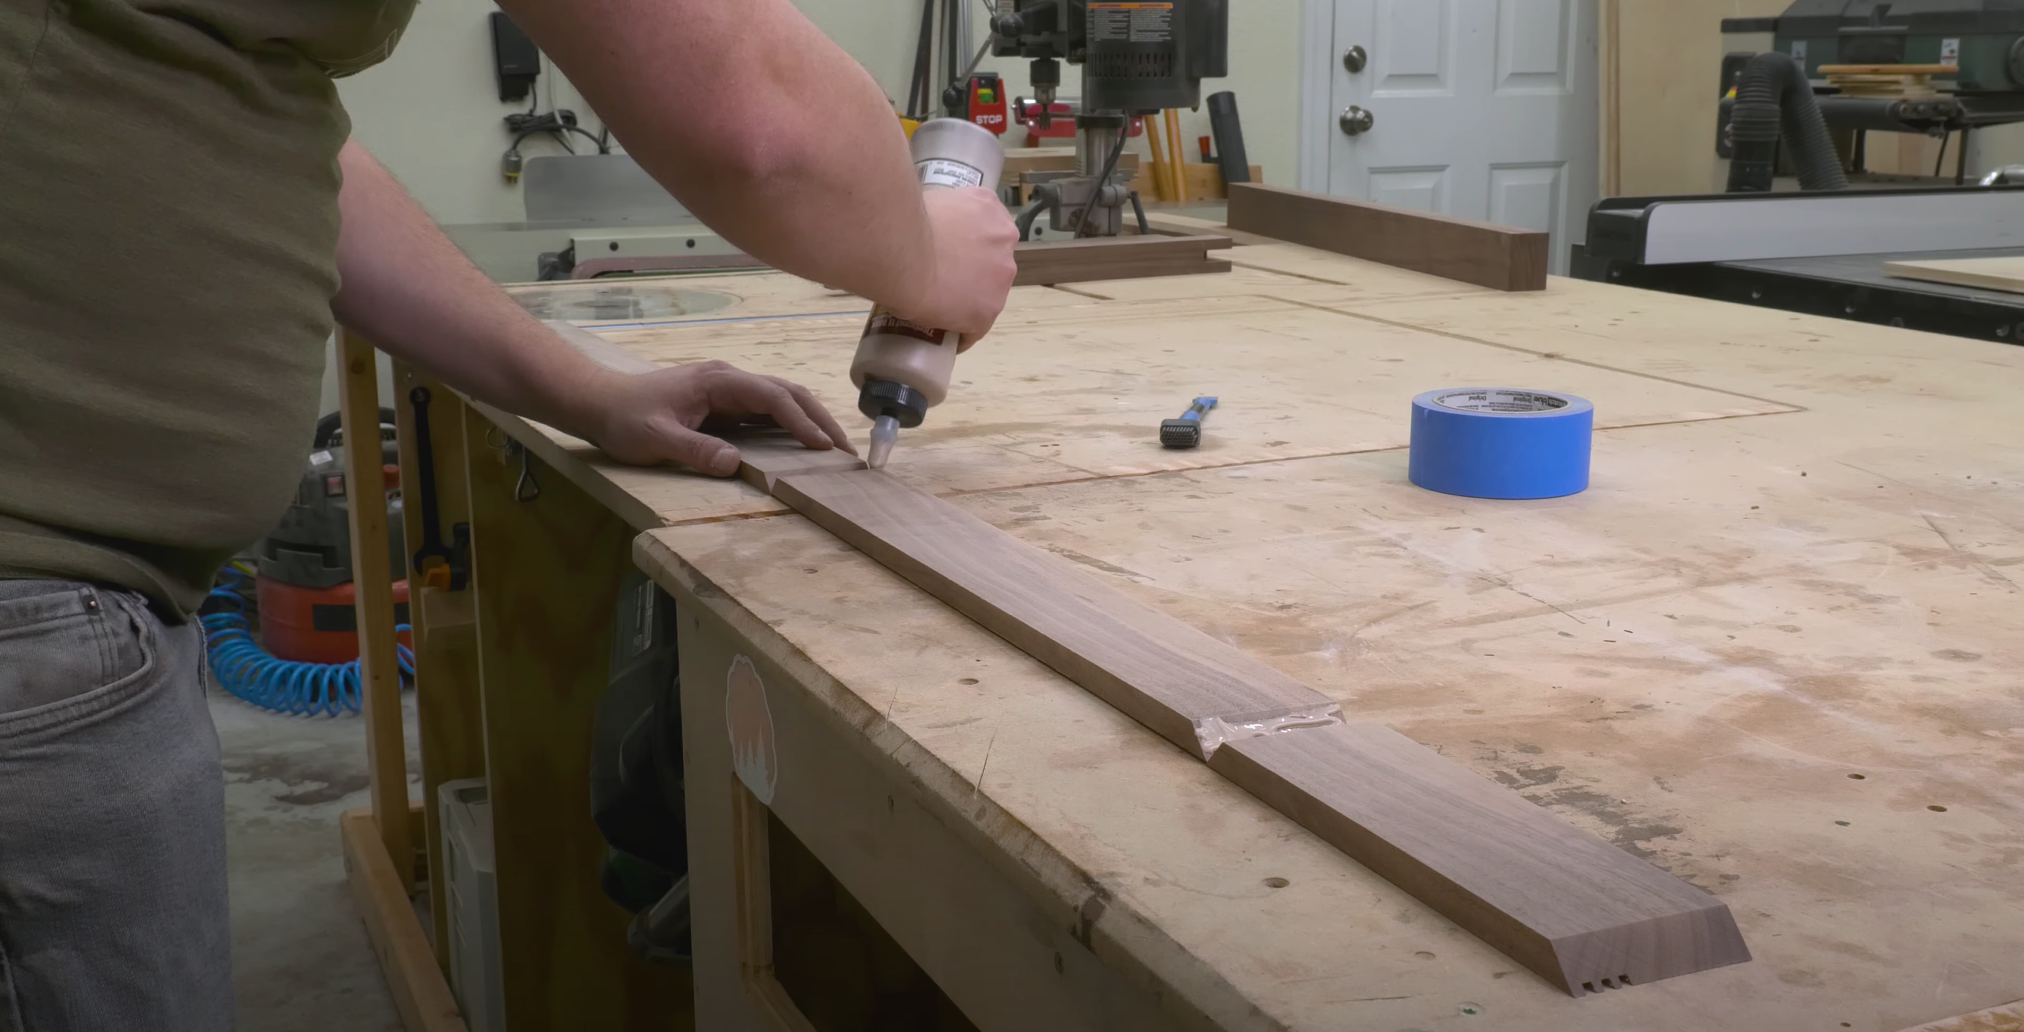
Make the Stand
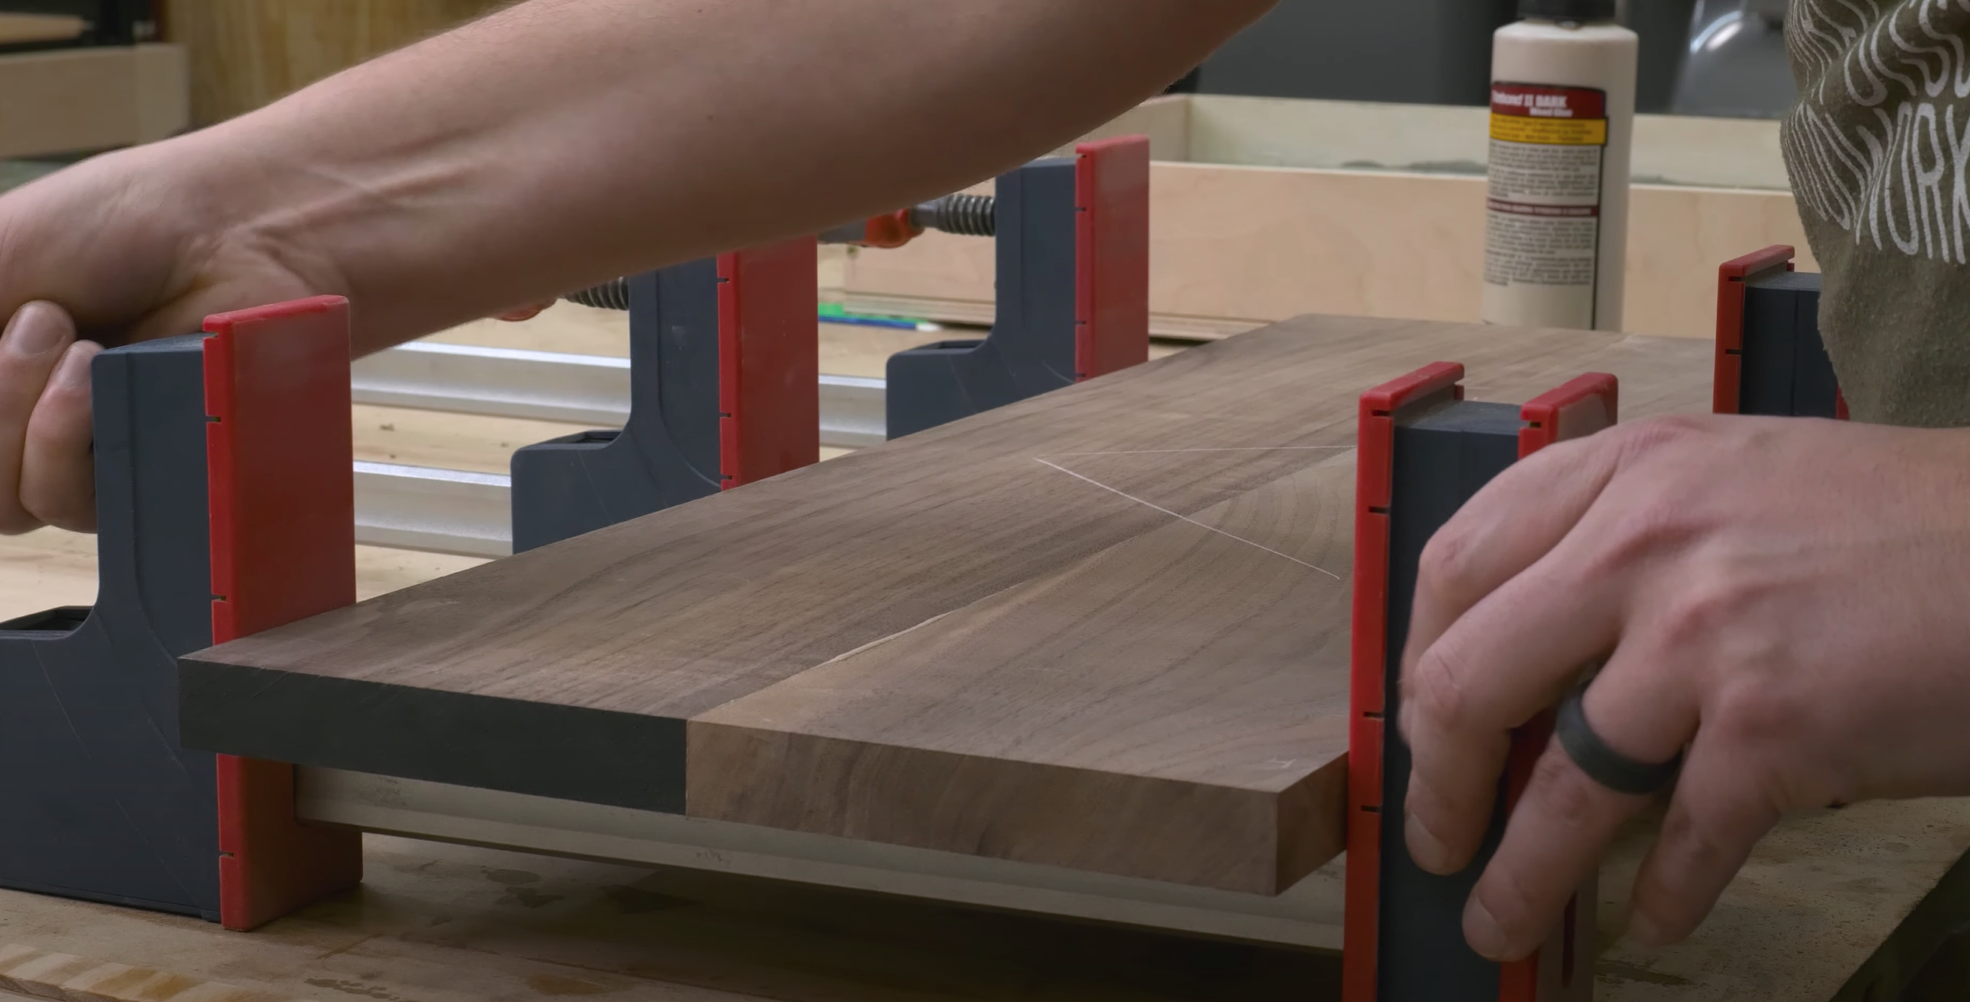
I used some offcuts of some 8/4 walnut for this section. Cut your boards to rough thickness. Then, using a planer, get your piece dialed in to the final thickness.


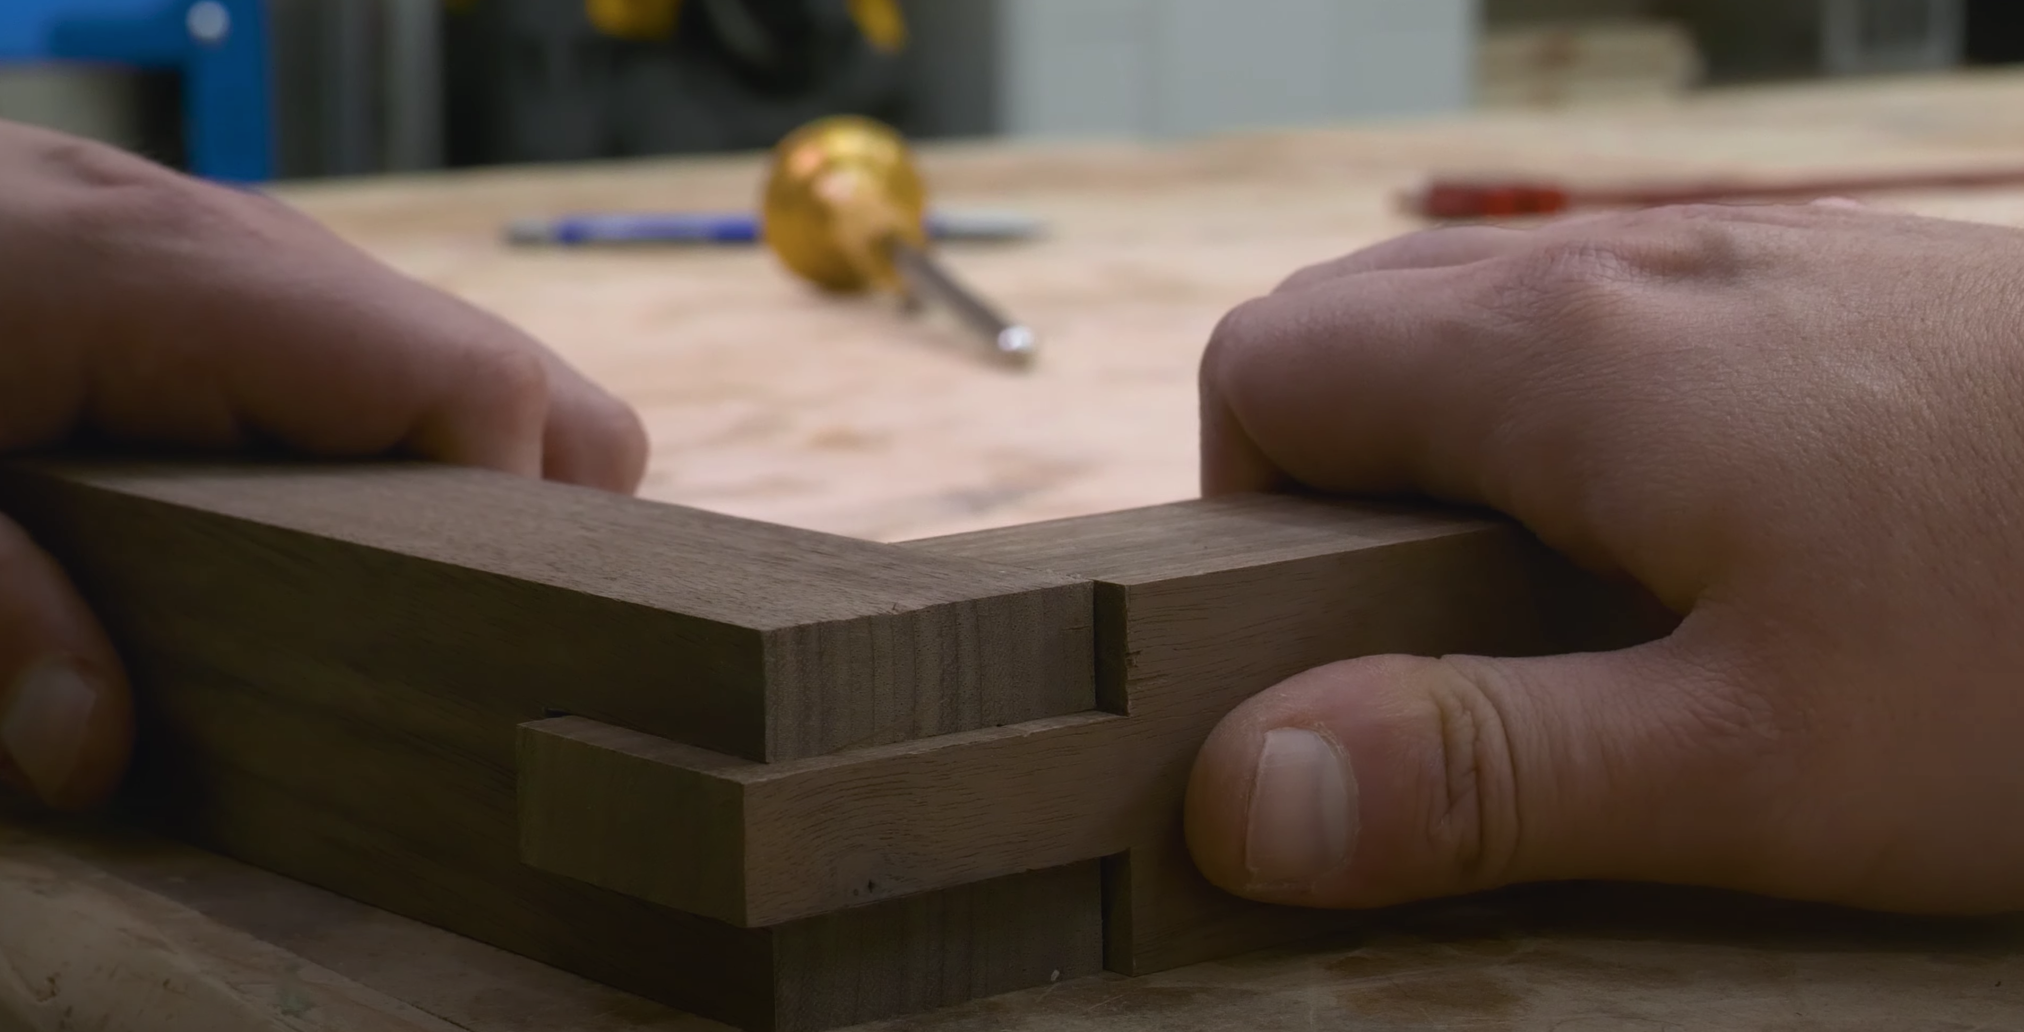
Make the Bridle Joint

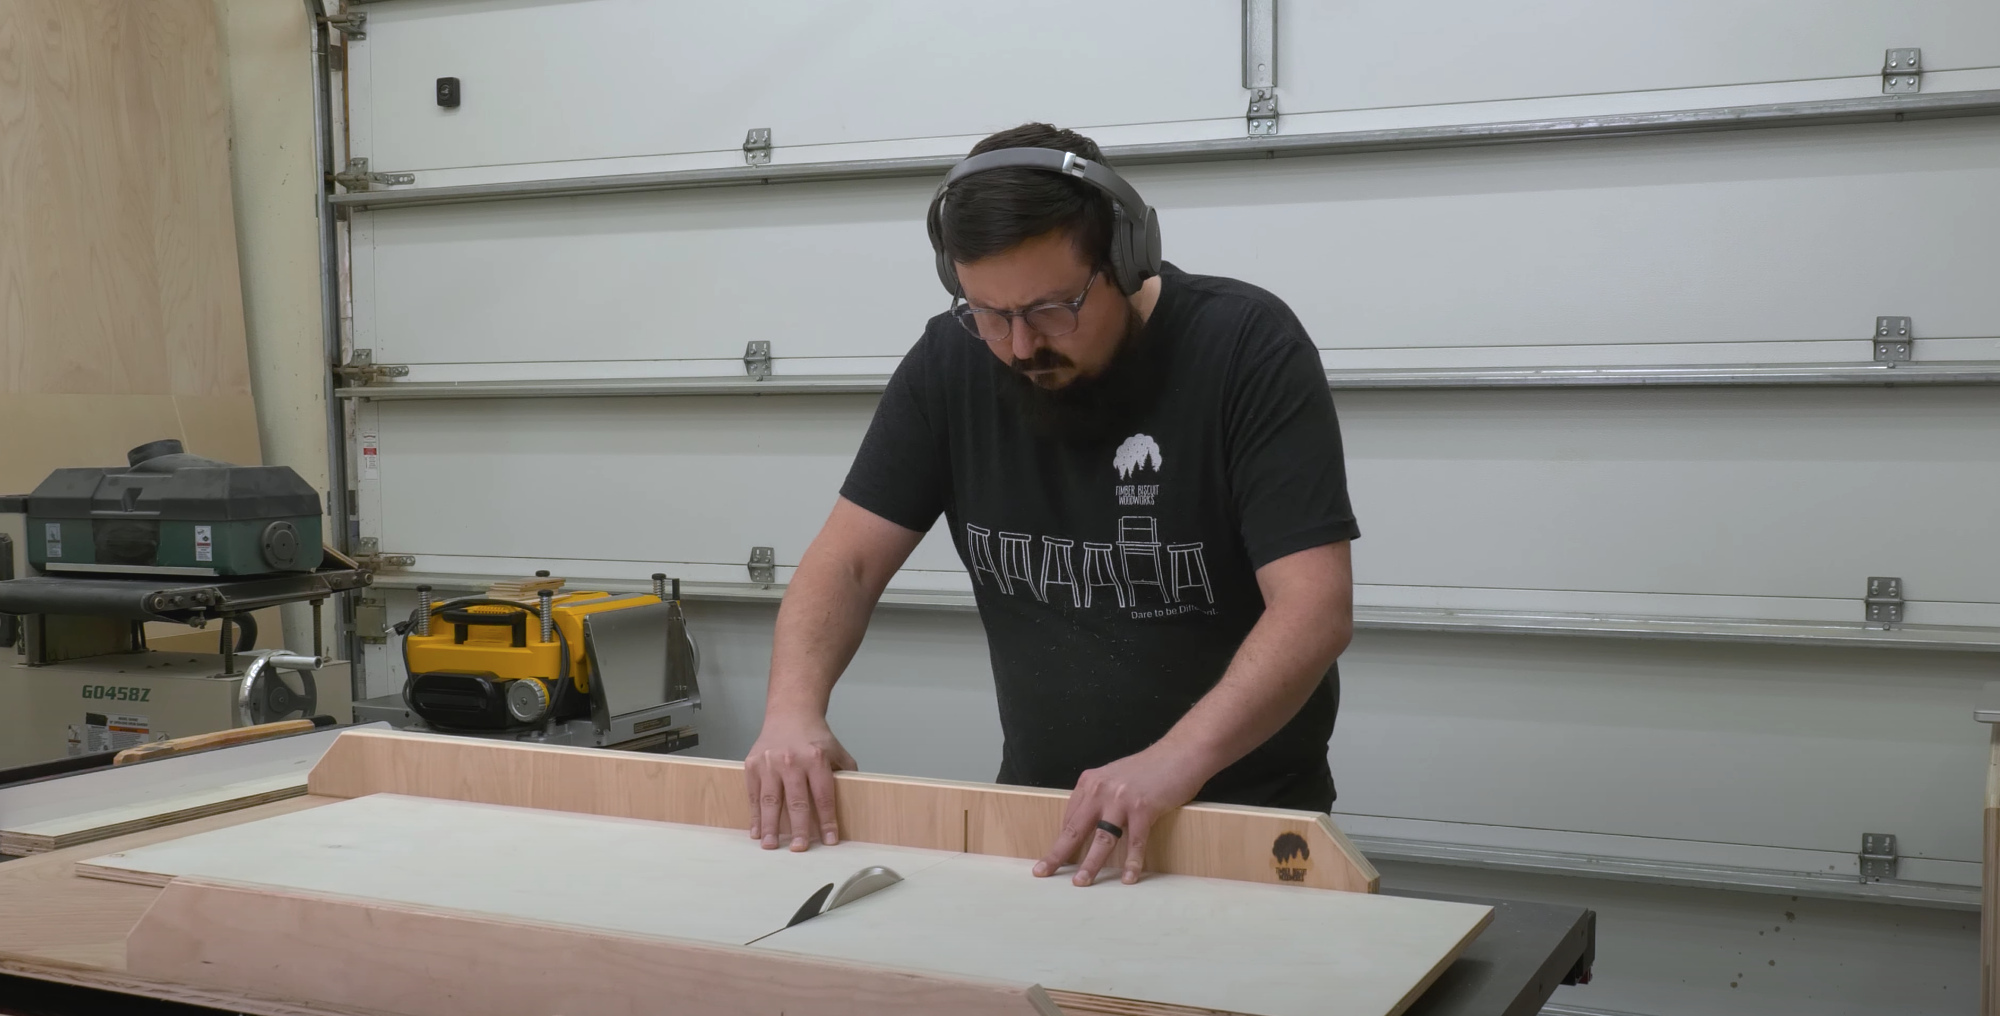
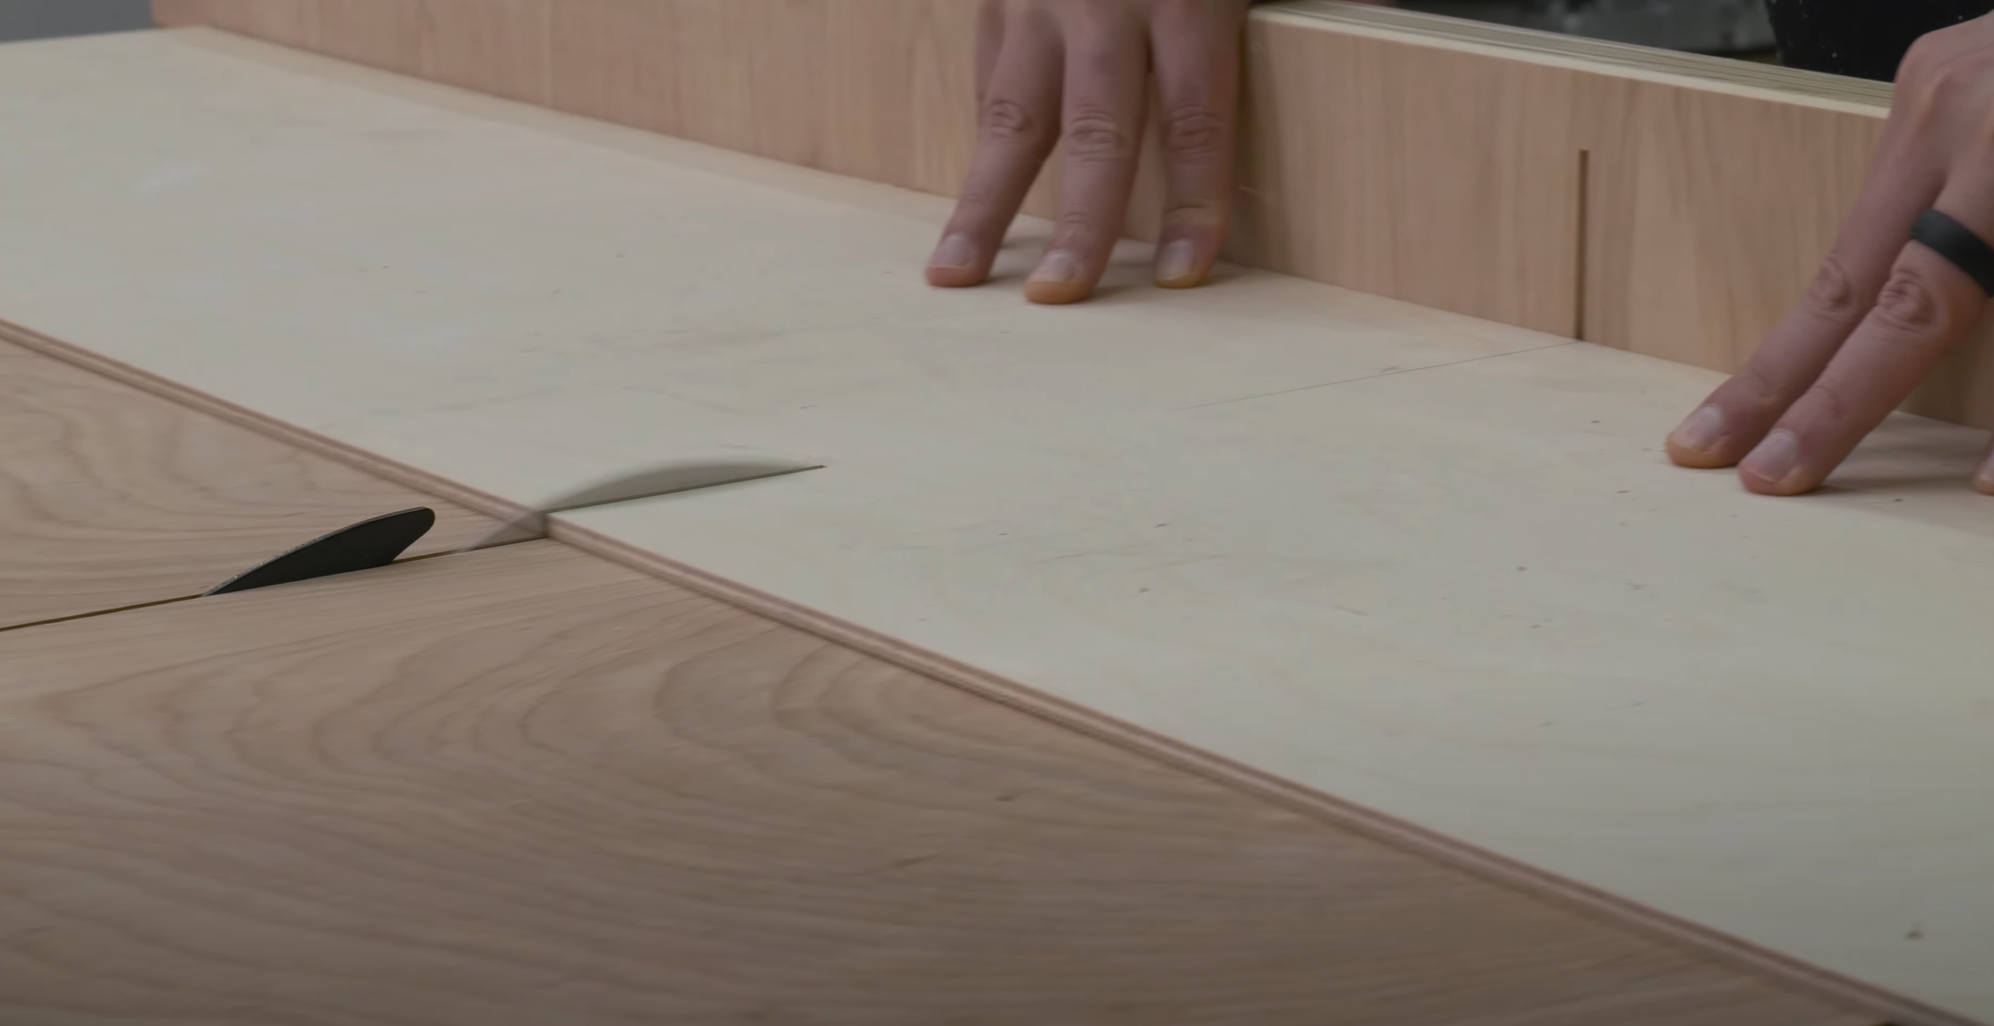
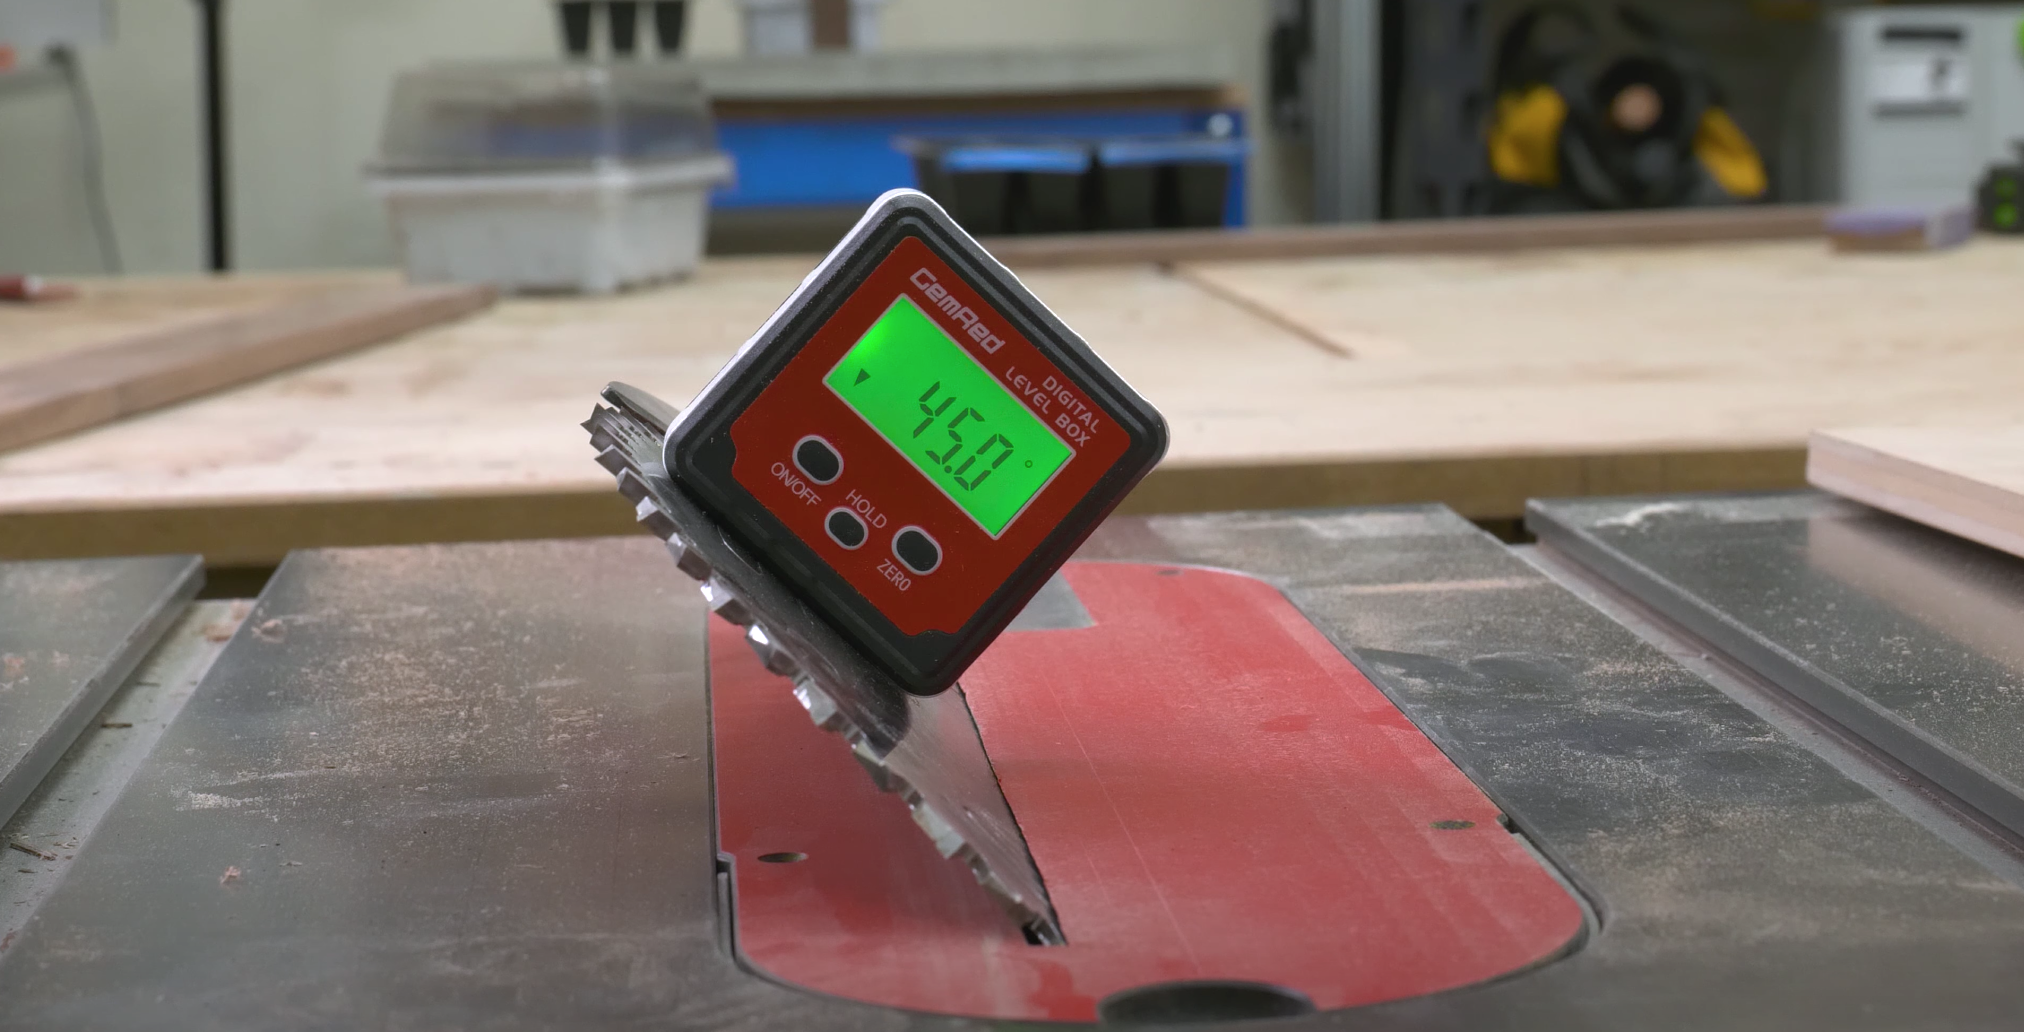
Mark the depth for the tenon and the tenon cheeks on either side. Measure and set the tenon to about 1/3 of the stalk’s thickness. Set the height for the dado stack and align the outside tooth to the edge of the marking. Lock the fence and make the first cut. Rotate the piece 180 degrees and cut the other side. This will ensure that the groove is centered.


Next, cut the tenon using the exact same process as above - making your mark, lining up the tooth to the outside edge of the marking, make the first cut, then rotate the piece 180 degrees to make the second cut. Use a miter gauge to clean up the cheeks if there is any tear out.


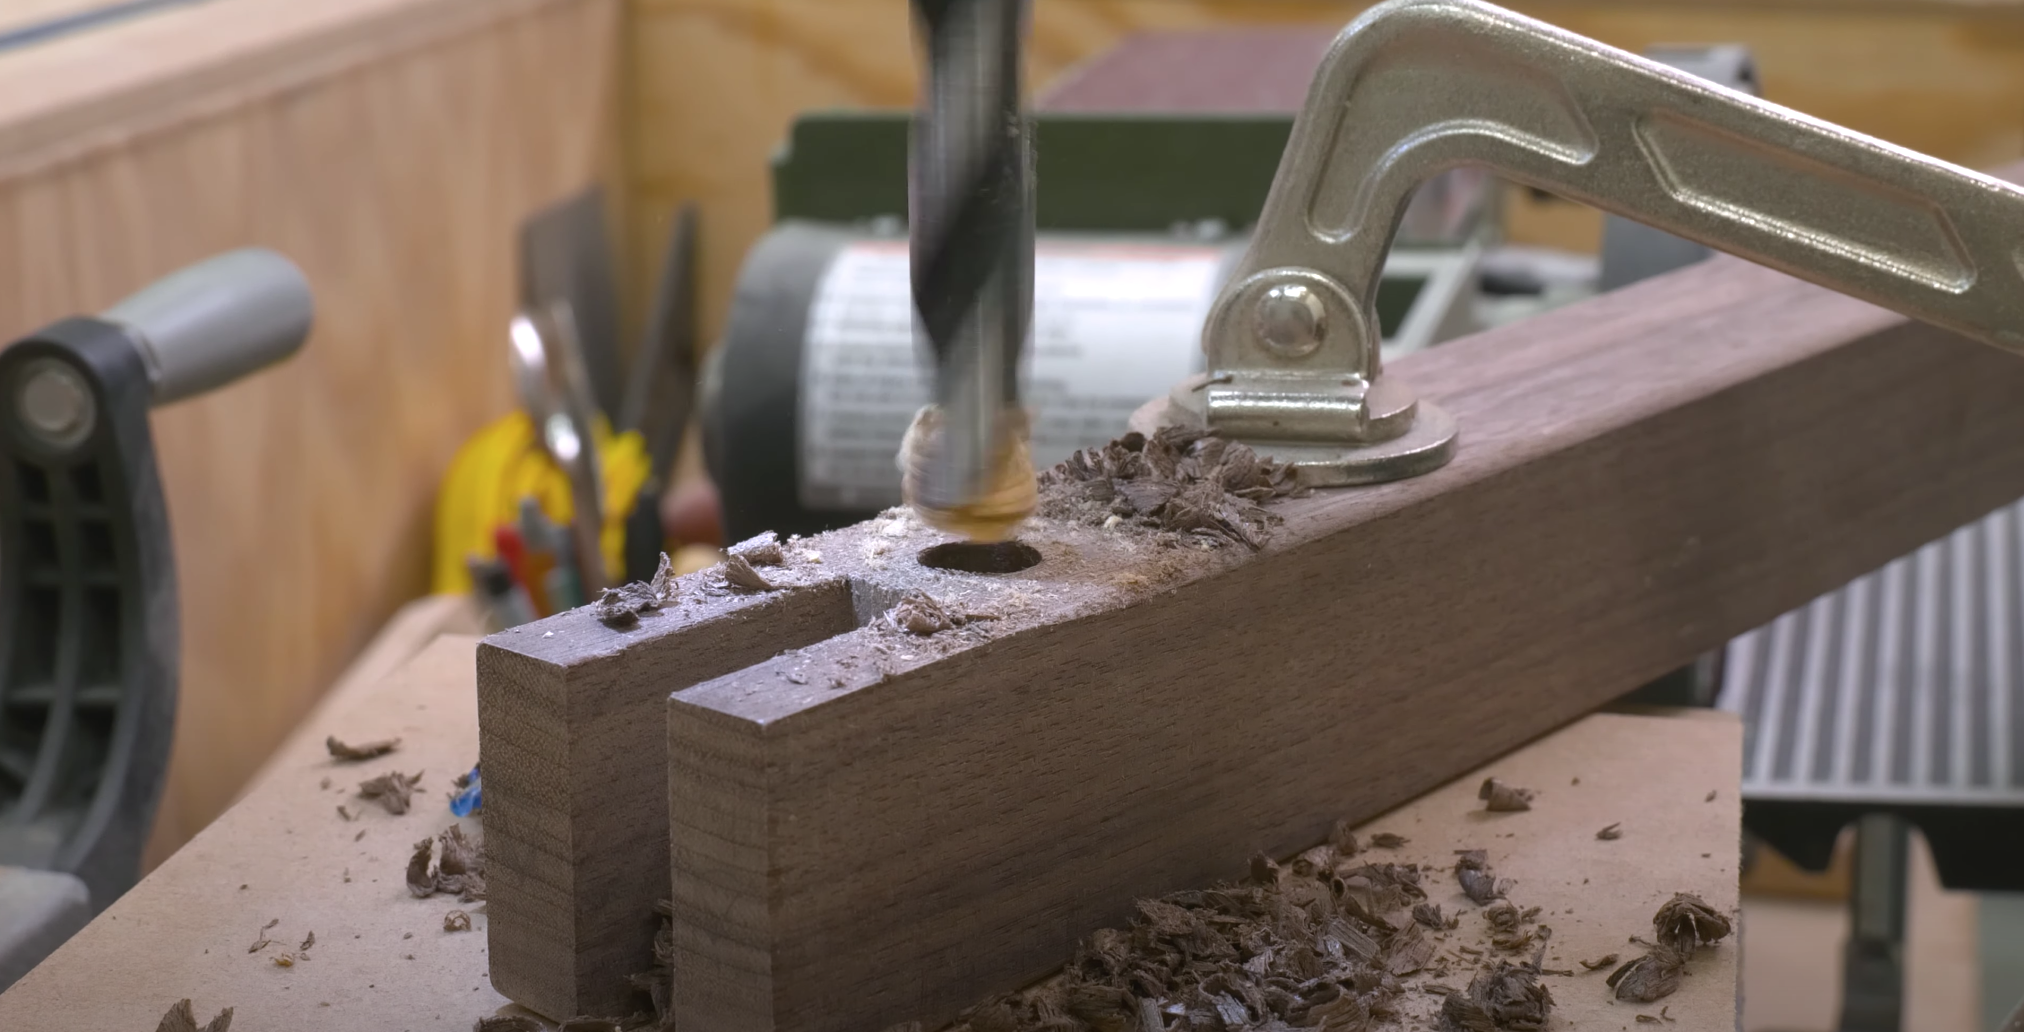
Make the Tenon for the Stand

Measure and mar out the tenon for the stand. I took the measurements directly from the mortise. Cut this tenon in the same process as above for the bridle joint.


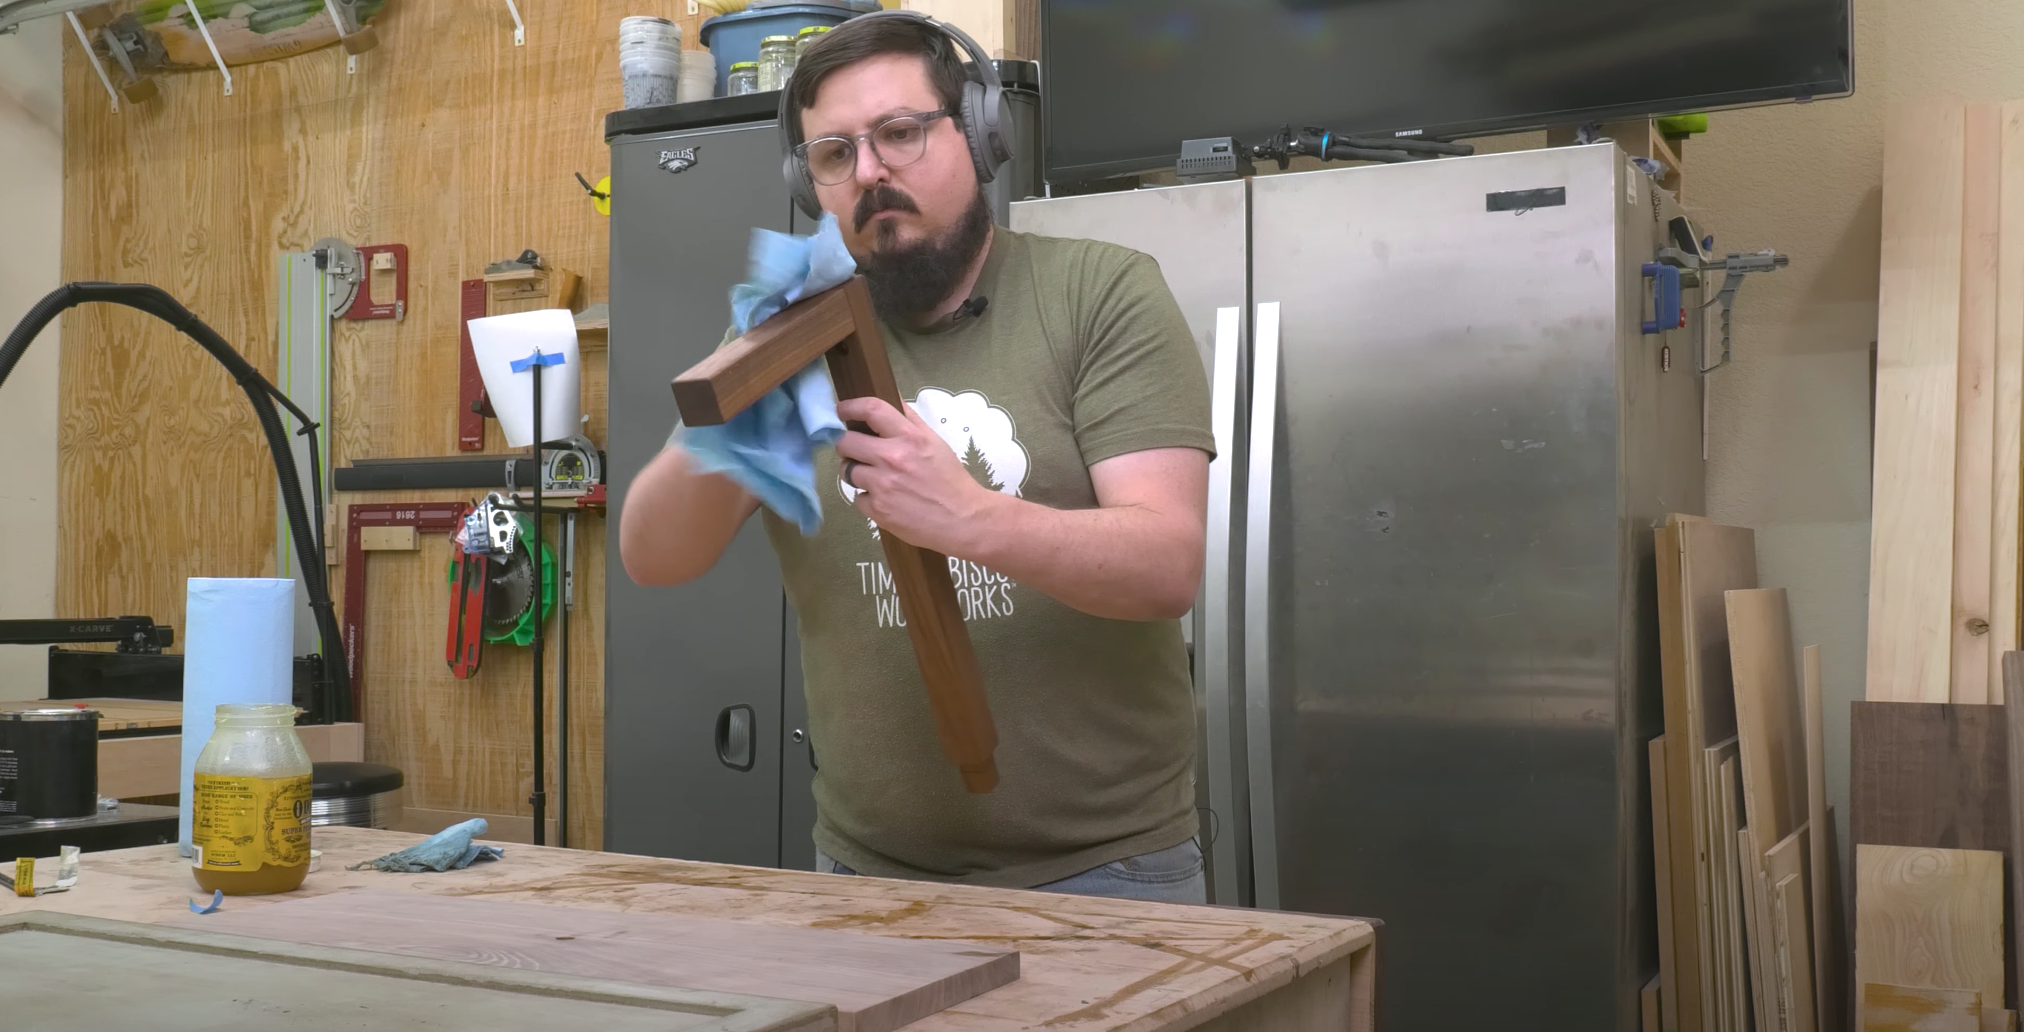
Finish the Stand
Add a roundover to all parts of the stand. Then mark out the placement for the light cable to feed through. Drill out the hole at the drill press.
The glue up the bridle joint.


MAKE THE CONTAINING BOX FOR THE PLANTERS

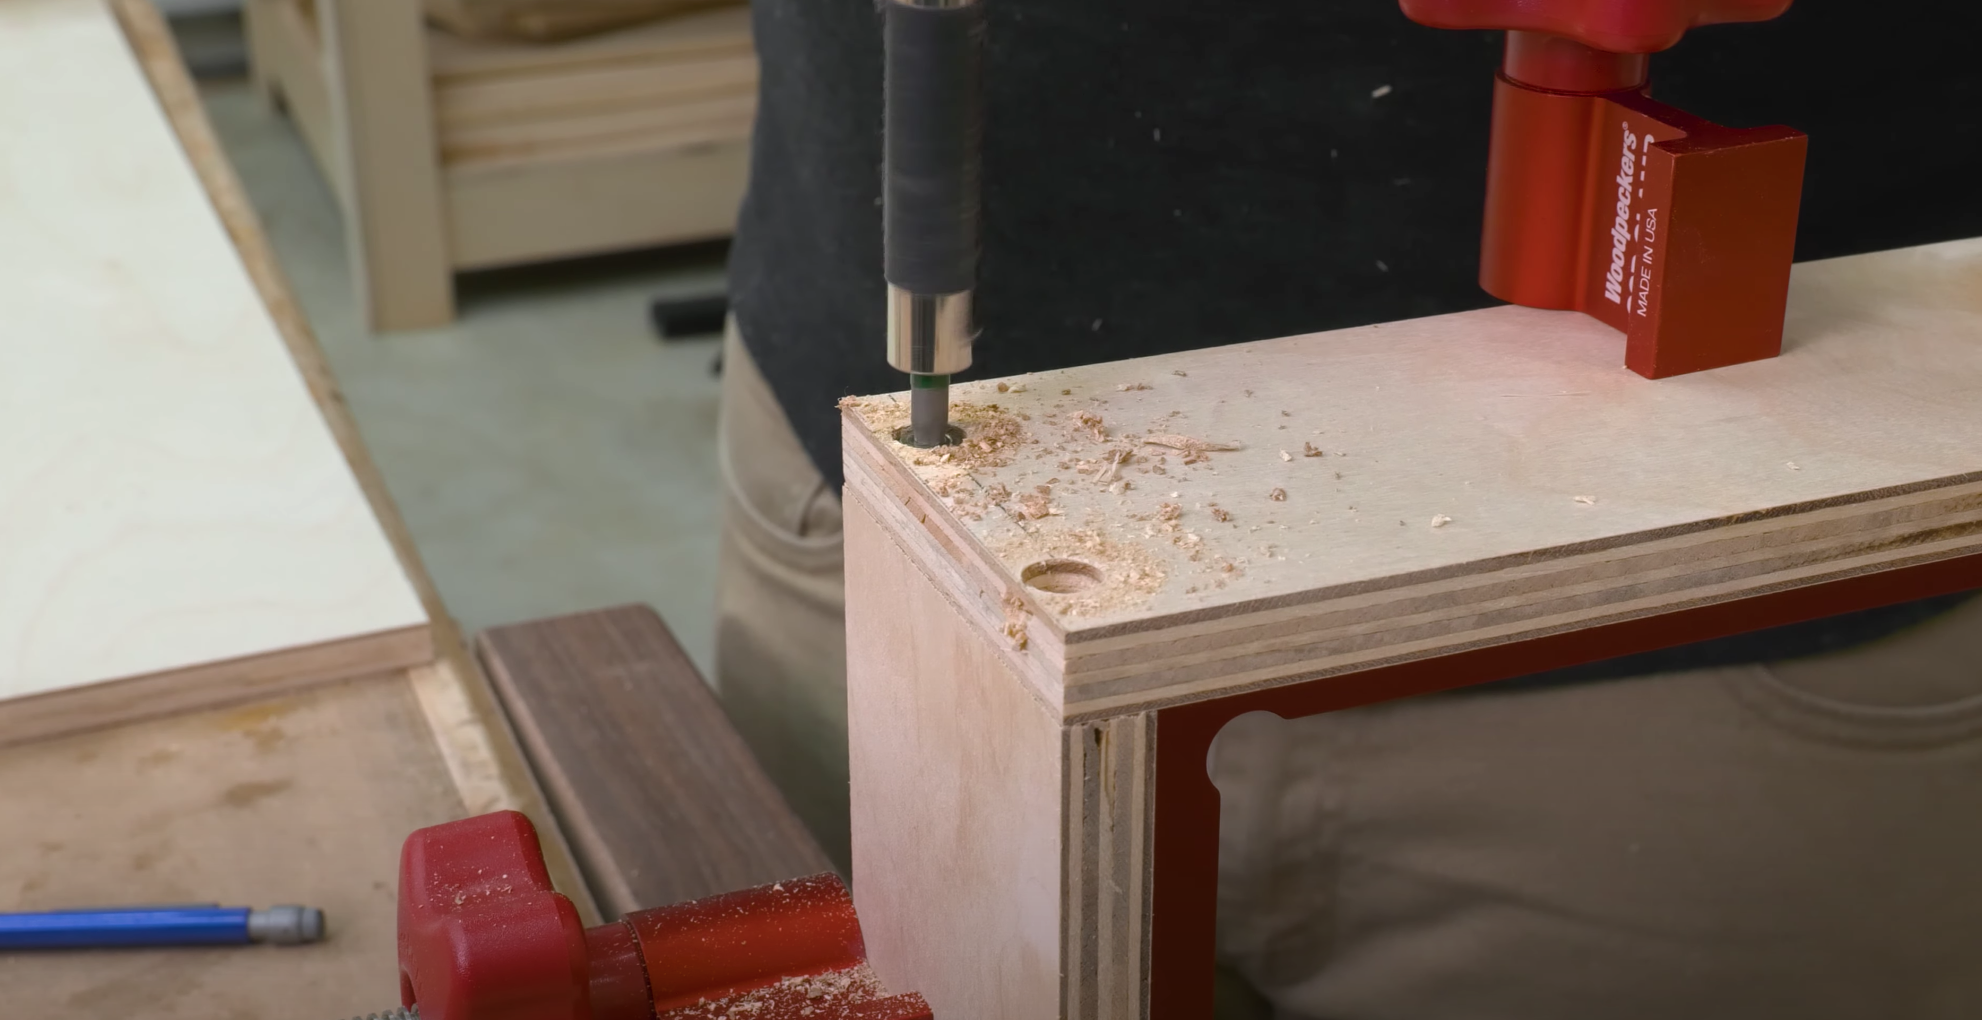
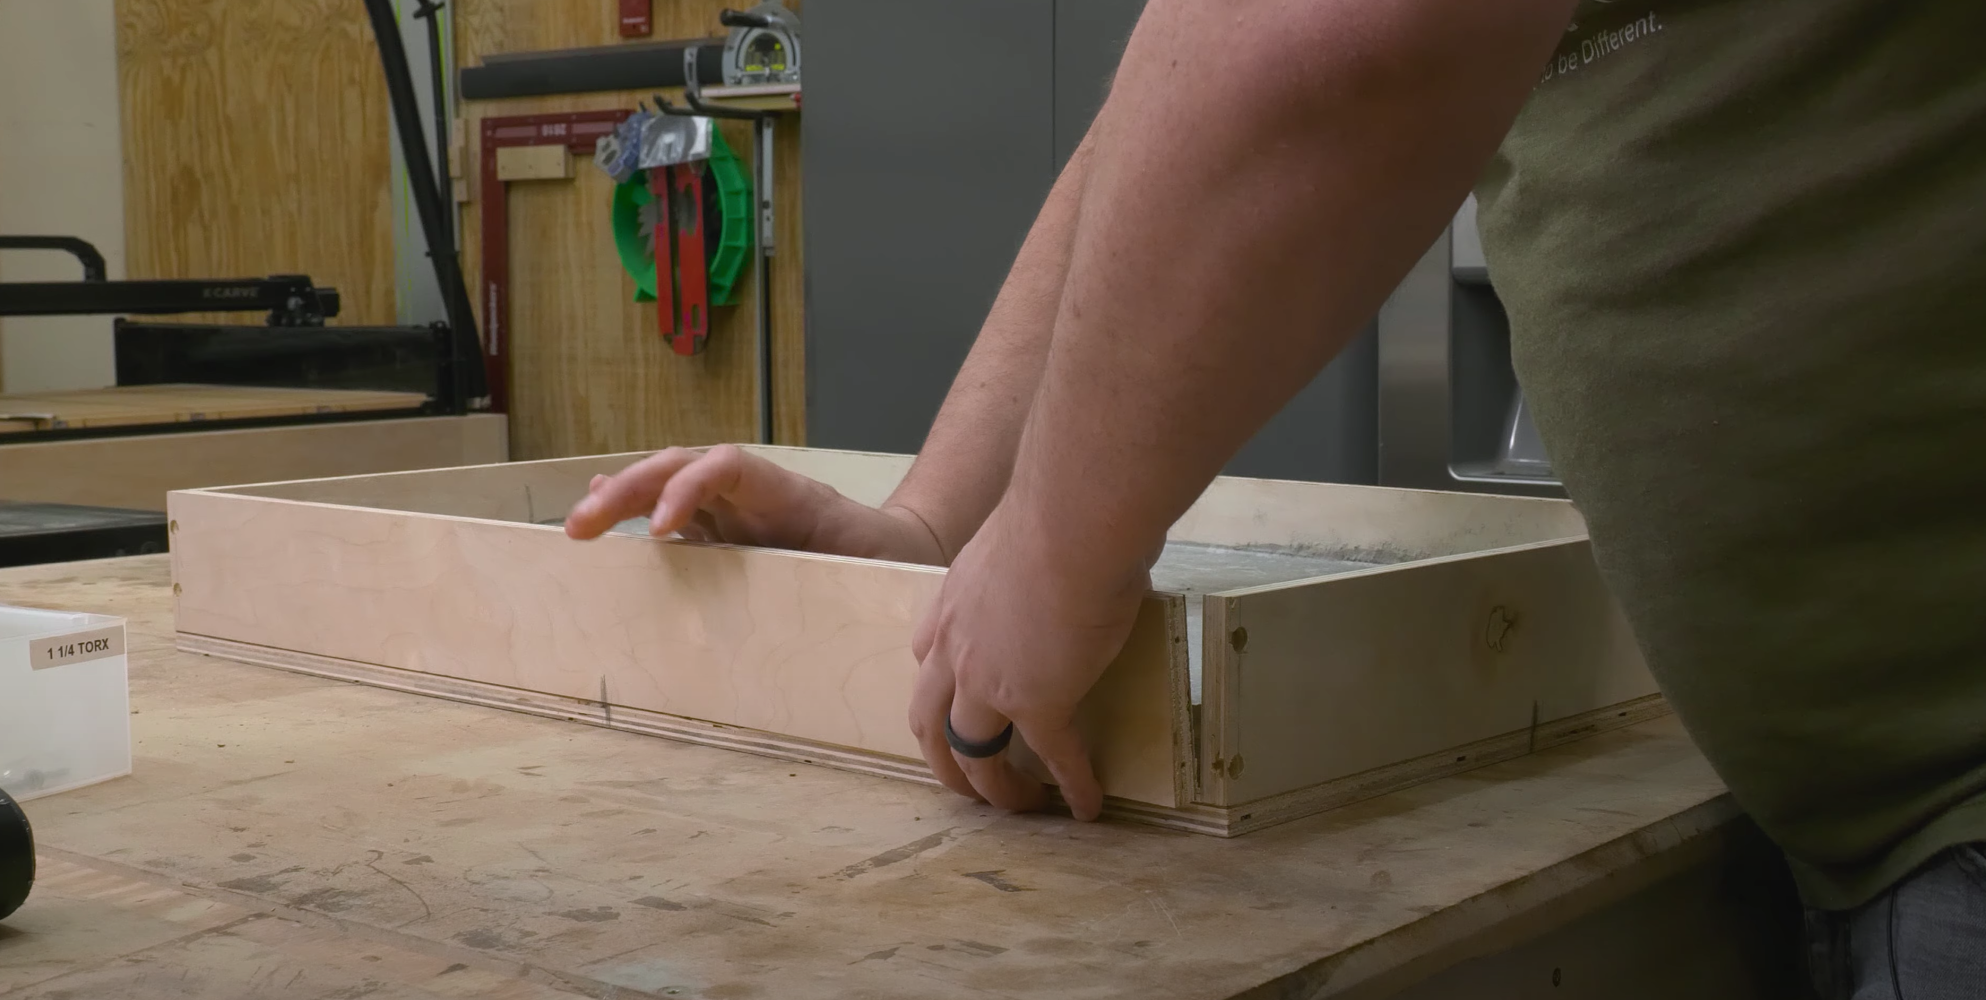
Cut strips of walnut for the box to their final width. This box will not have a bottom to allow the heat from the heat pad to reach the planters. Set the blade height on the tablesaw and cut in the grooves. Using a miter sled, cut the ends off and then measure and marl off their final length. Then cut them to their final length.
Glue up the box using the blue tape method. Apply blue tape to the miter joints, apply glue to the joints, and form the box, using the blue tape as a clamp.


MAKE THE HEATING PAD COVER AND FINISH THE GROW STATION


I used 22 gauge steel for the heating pad cover. I sprayed the metal with an orange spray paint for a pop of color.
Apply a penetrating oil to the concrete base. and the wooden light fixtures.
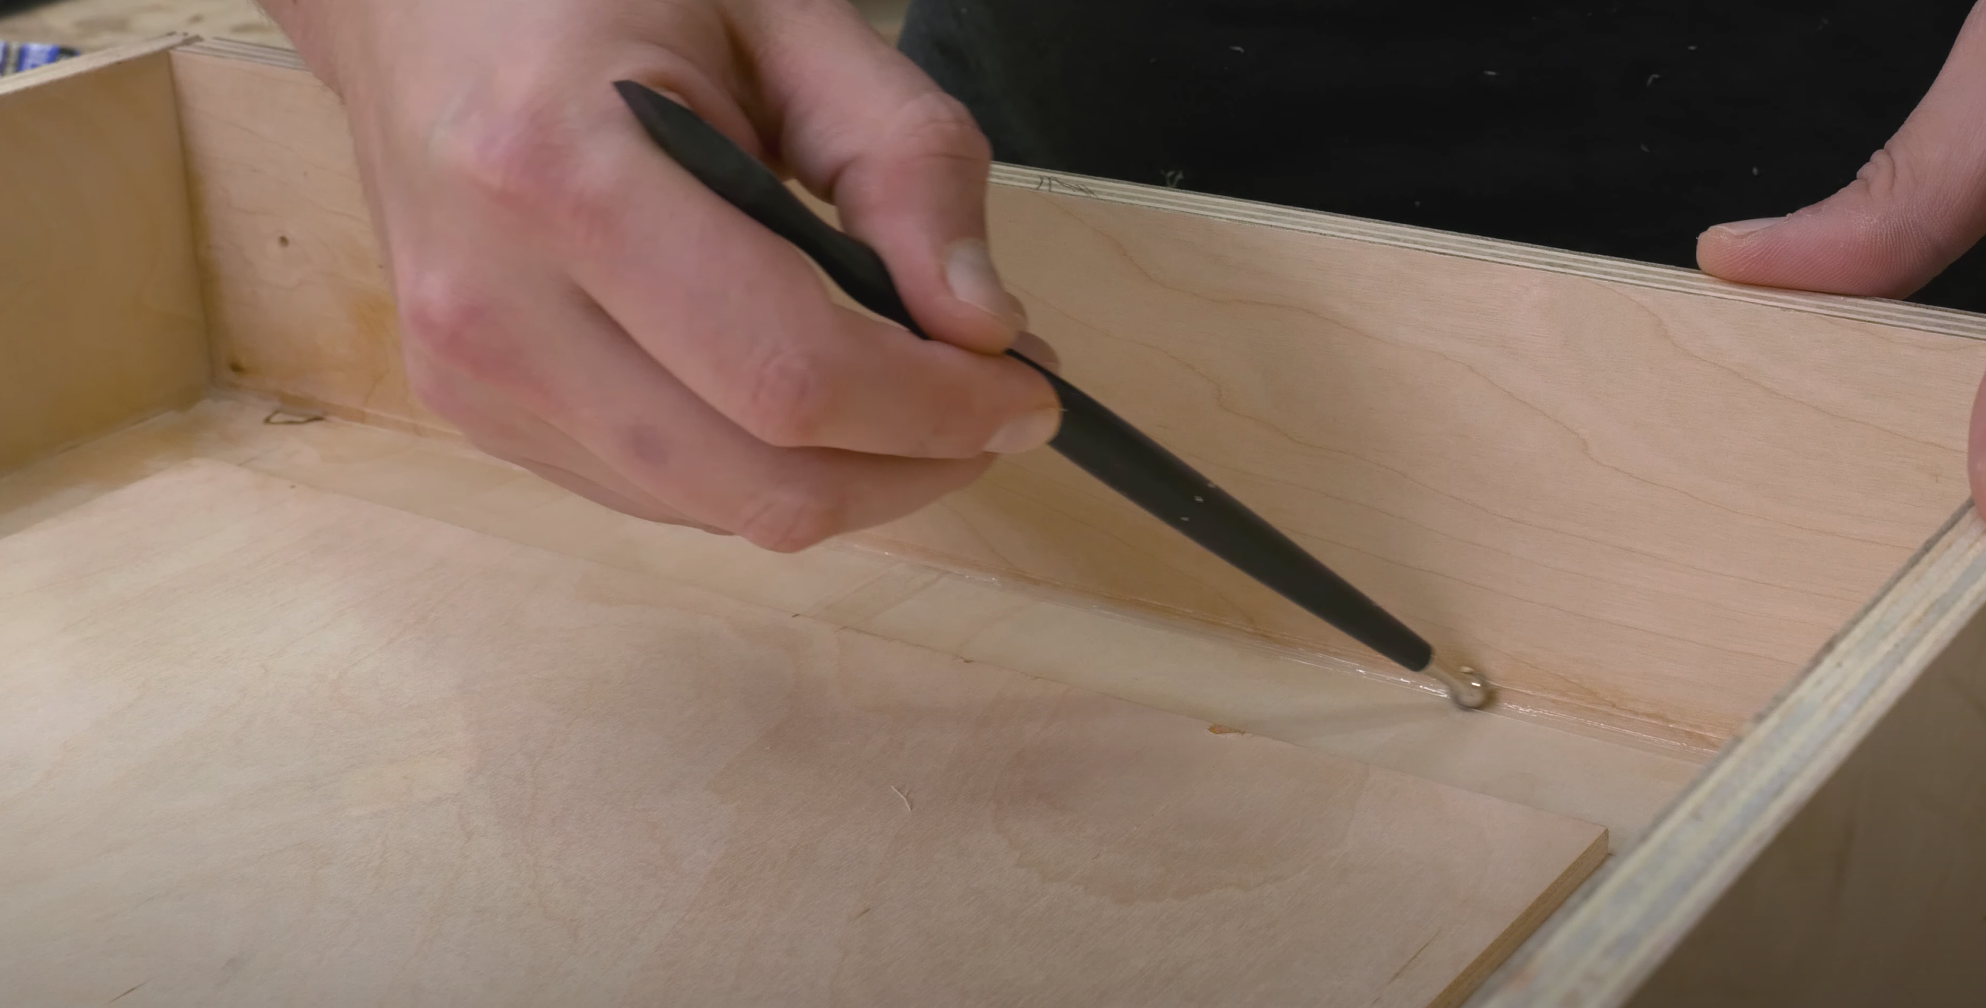
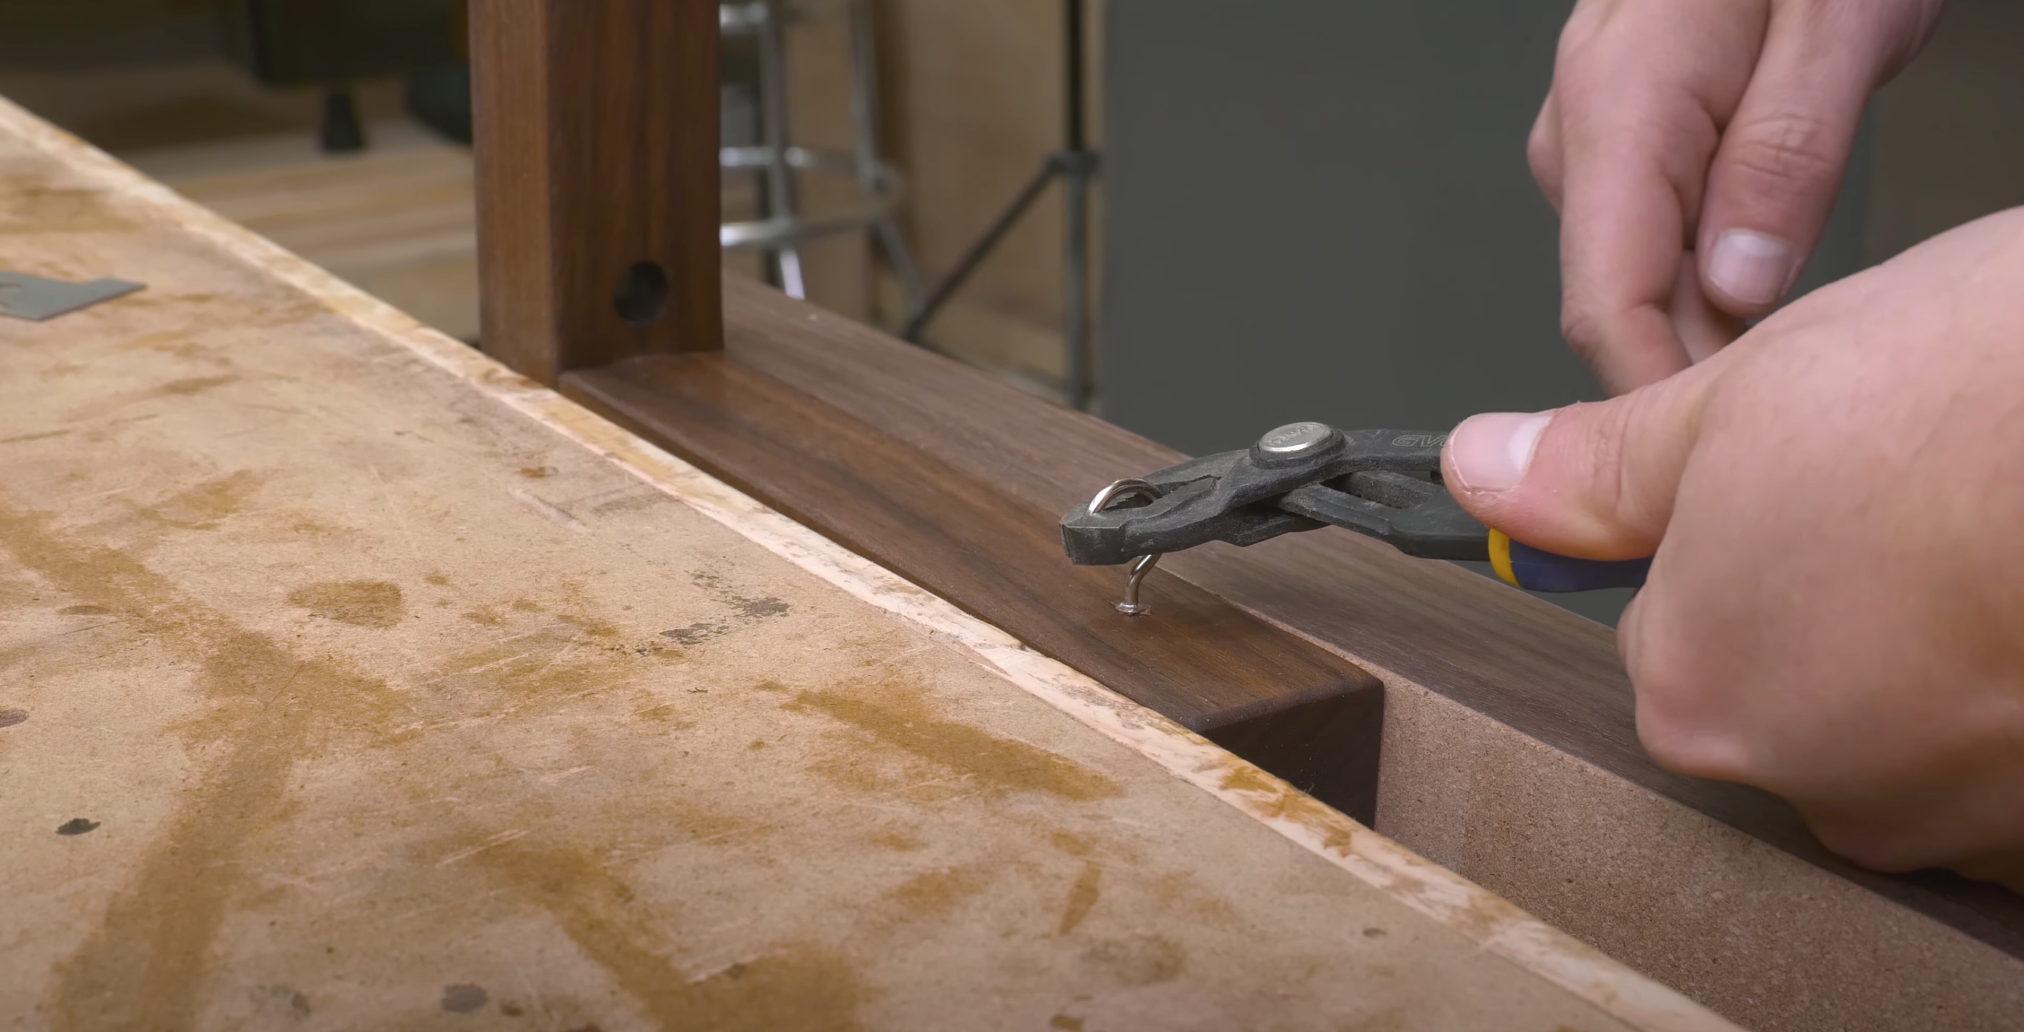
Attach the eye hook that will help suspend the light canopy and hold the light cable.
Drill a pilot hole in the center of the stand to anchor it to the base. Place the stand into the base and screw in some washers to hold the stand in place.


Add a couple felt furniture pads to the bottom of the concrete base.
Attach the lights to the hosuing using some starbond CA glue. Attach 4 smaller eye hooks to the top corners of the light housing. These will be used to hold the wire and balance the fixture. Thread the wire through the eyehooks.
Lastly will be to place the heating pad, and top it with the metal piece and planter box. Now it’s time to start growing some seeds!


Start growing your plants!
There is a complete build video on my YouTube channel (Timber Biscuit Woodworks), so you can follow along.
The approximate cost for building the birdhouse as designed with all of the bells & whistles is ~$125 (this will, of course, vary for everyone)
Tag me on social if you're building this project (@timberbiscuitwoodwork on Instagram) with the hashtag #BiscuitBuild - Happy building!