Quick and Easy Planer Tune-Up Guide
The planer does one thing, and it does it well - getting boards to their proper thickness. So make sure you follow these tips for how you can give your thickness planer a tune-up, so it’s always ready for you when you need it. Proper maintenance will prevent snipe and give you smoother boards, so don’t put this off in your shop. It’s 15 minutes well spent.
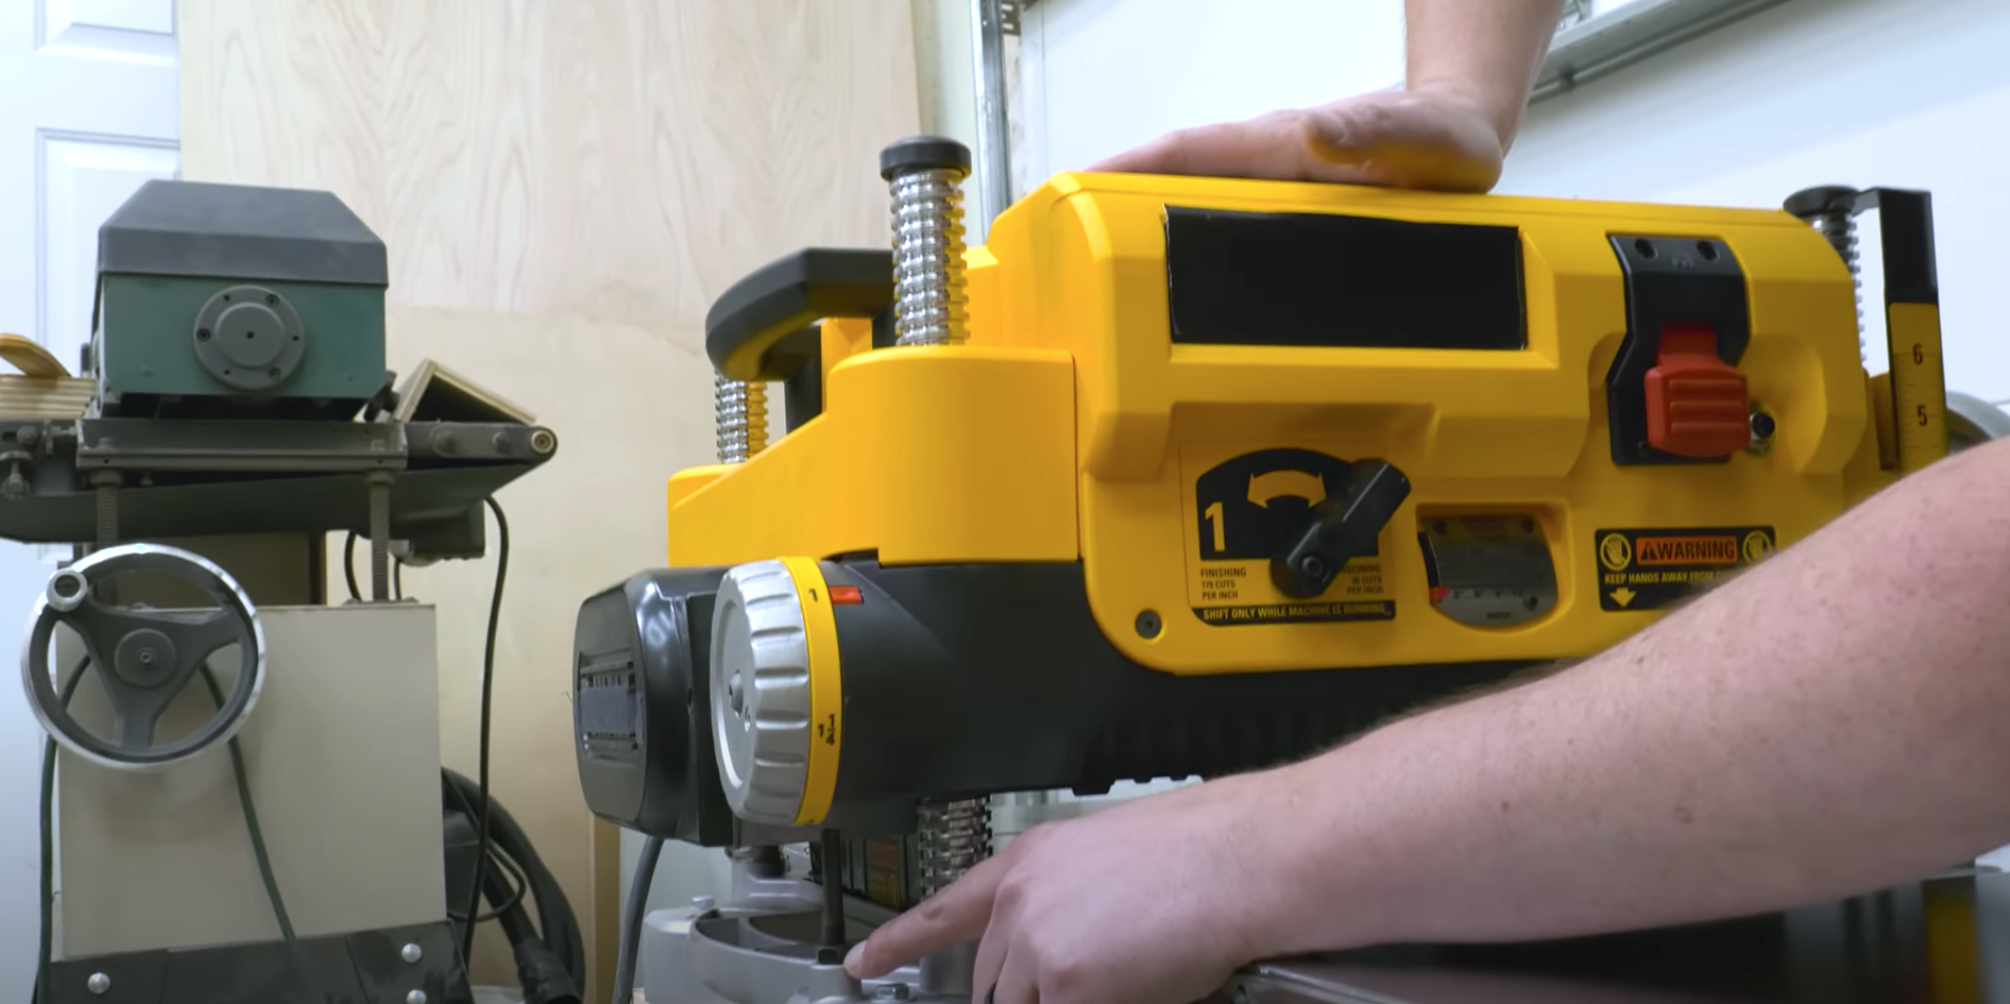
I’ll show you how to do a quick and easy tune-up on your thickness planer that will have your machine running like new in just a few minutes. I will show you how to change the blades, clean the rollers, and adjust the cutting depth stop, preventing snipe and giving you smoother boards. These steps will keep your thickness planer running smoothly, prolong its life, and give you outstanding results the next time you run a board through it. The planer I use is the Dewalt DW735, so let’s get started.
APPLYING PASTE WAX TO THE BEDS AND LUBRICANT TO THE HEIGHT ADJUSTMENT SCREWS
It’s always good to start with clean tools, so first, unplug the planer and clean off any sawdust and debris, I like to use compressed air. Apply a layer of paste wax to the beds next. When cleaning underneath the body, be careful not to knick or cut your hands on the blades.
With the beds cleaned up, add a dry film lubricant to the posts so that they slide a little easier. Then open the top and blow out any sawdust and debris.
I don’t lubricate the chain inside the planer. This will just cause more gunk to get caught up in it. Just blow it off really well with air and it will be good to go.
CHANGING THE BLADES AND LOOKING FOR KNICKS
To work on the blades, take out all of the screws and hardware to get to the blades, then remove the screws that hold the blade in place. Make sure you keep track of the screws so none of them get lost - I like to use the tray on the top of the planer for this. The Dewalt tool has 2 little magnets that allow me to safely get the blade out. Once the blade is out, check to see if needs to be replaced. One thing to note is that the blades have 2 sides so you can rotate them if there are any issues on one side and just pop them back in. If there are knicks on the blade, there are indexing pins on either end that allow you to offset the blade to one side or the other so you don’t exacerbate the issue.
As far as sharpening the blades go, I generally just buy new blades because they are so long and are not expensive enough to justify the work it would take to sharpen them.
DUST PORT TIP
Make sure you blow out the dust port. I use an elbow on the end of the port to allow the hose to run on the outside of the outfeed table so it is not getting in the way of the boards.
CLEANING THE ROLLERS
I use Simple Green to clean the rollers. Again, watch your hands and fingers when doing this! When you have one section done, turn on the planer so it will rotate the rollers and you can get the next section.
ADJUSTING THE IN FEED AND OUT FEED TABLES
Next is to make sure the in feed and out feed tables are parallel to the table in the middle. Use a straight edge and check that it sits flush. If one or both of the tables are not sitting level, use the screws on the sides of the infeed and outfeed table to adjust it higher or lower.
ADJUSTING THE TURRET STOP
The last thing to check is the turret stop. If the stops are off, you can fix it with the bolt under the turret. First lossen the nut and then adjust the stop bolt to the correct position. This will take some testing and measuring.
Finally, test out your tune-up by planing a board and checking your results, I think your’e going to like them.


