Building a Modern Bread Box
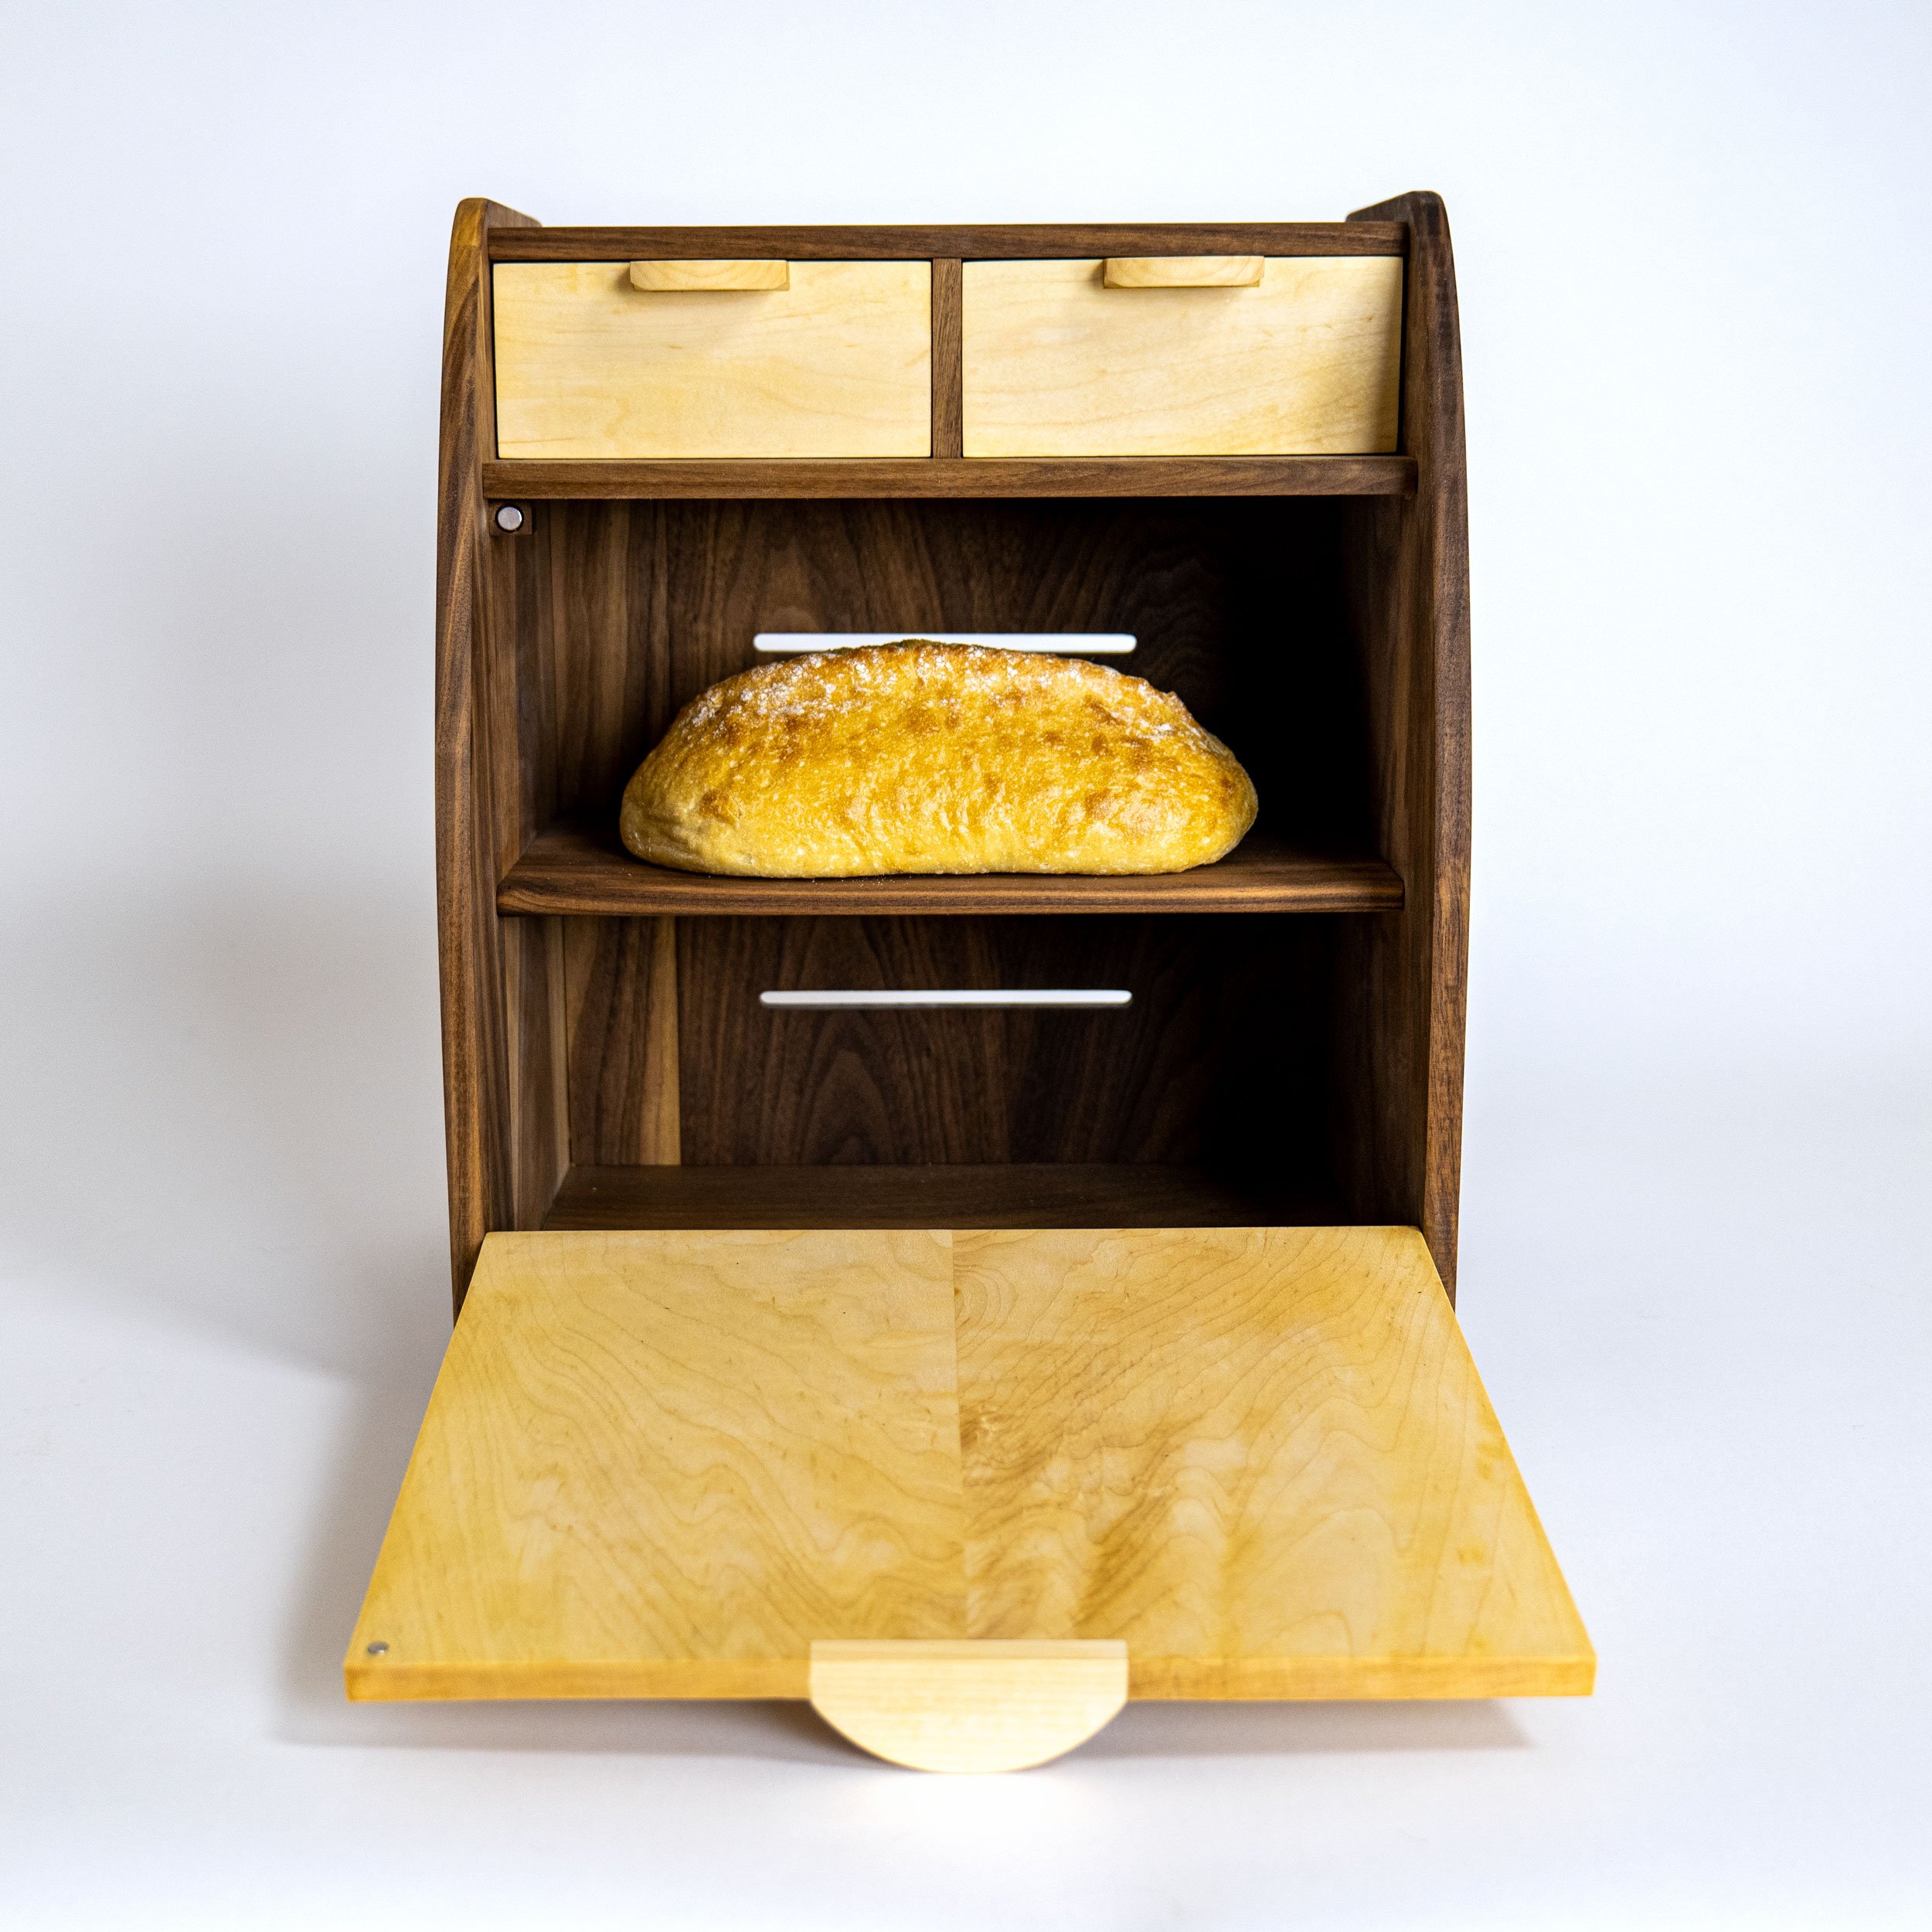
So you want to make a bread box, huh? Well, you're in luck! Because today I'm going to cover how to build a modern bread box. Now bread boxes have been around since the late 1800s, so it's about time they got the modern makeover that they deserve. This bread box features classic mortise and tenon joinery and uses traditional woodworking tools and techniques with a few modern amenities. This bread box isn't your grandma's bread box, so let's get started!
Get the Project Plan Here: Bread Box Plan
Supplies
Walnut Hardwood and Maple Hardwood (or Hardwood of Your Choice)
Table Saw
Band Saw
Clamps
Router and Bits
Sander
Wood Glue
MILL THE LUMBER
Break down your lumber for the bread box. For this, I used walnut and hard maple to give the box some contrast. Because the lumber I had was not quite wide enough I created some book matched panels. Doing this also allows me to camouflage the glue seam as well as emphasize some of the nicer grain pattern.
When resawing at the bandsaw, using a nice feather board and taking it slow will allow you to resolve really large pieces like this one. You can also check out my video about tuning up your bandsaw if you are having any issues.
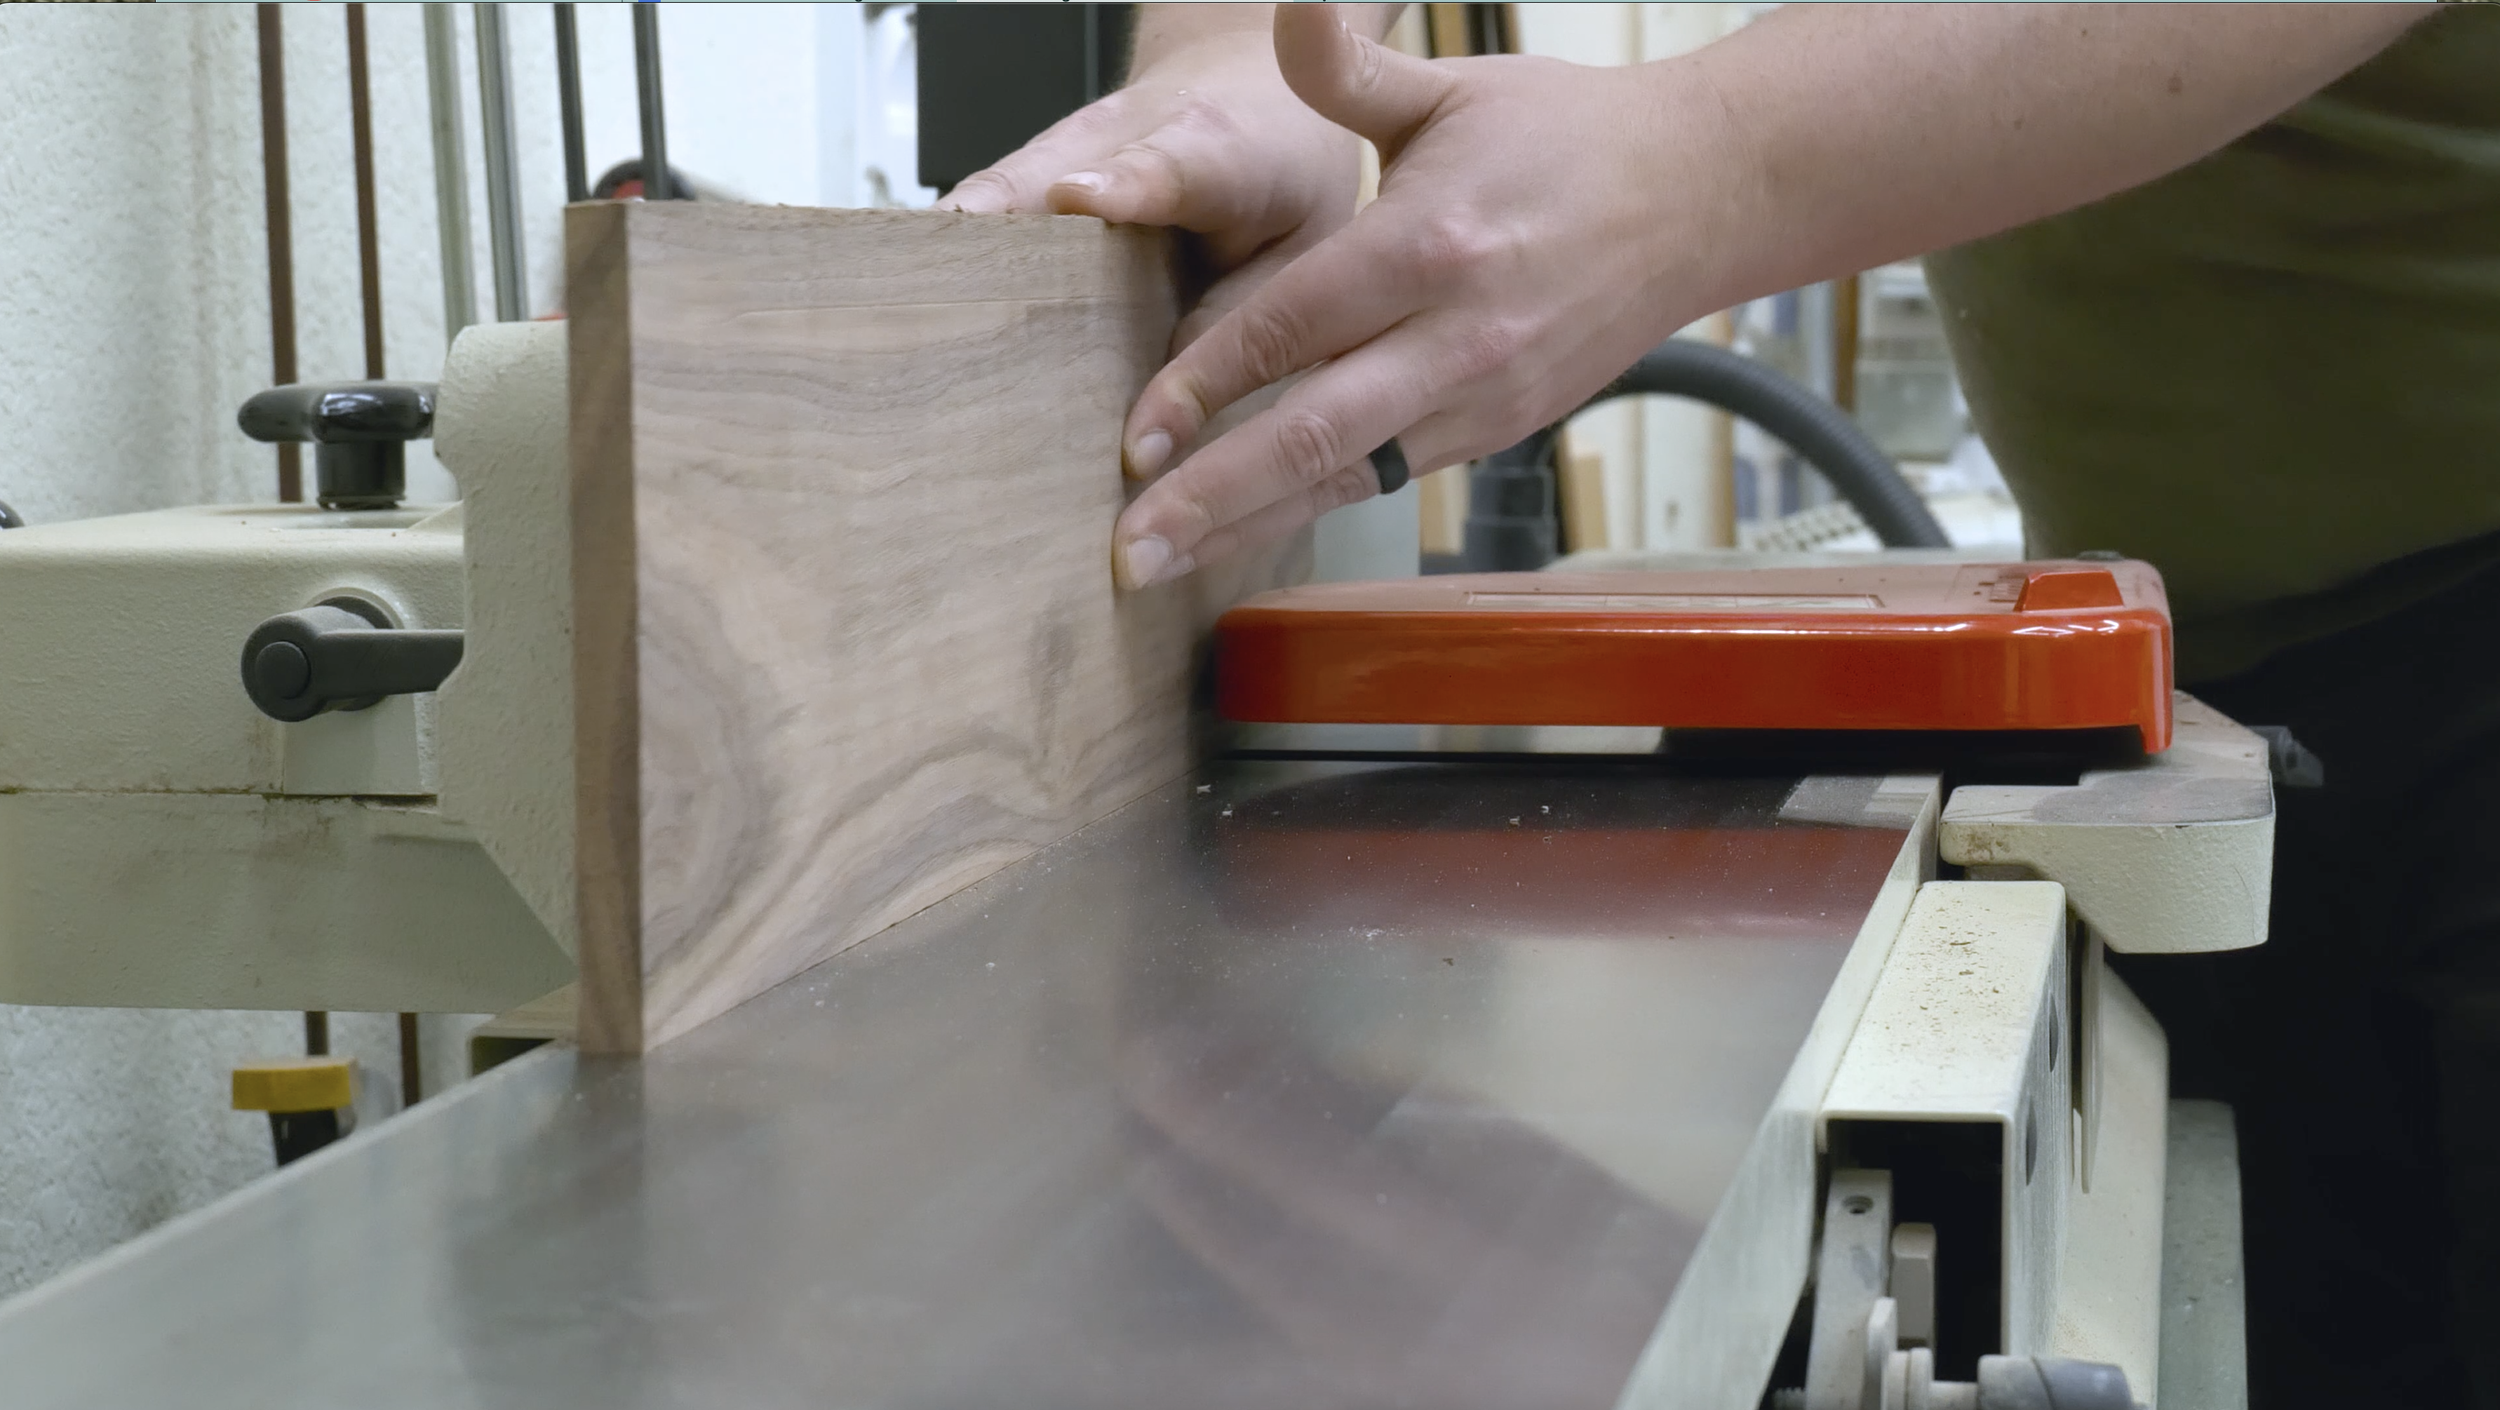
At the planer, I thicknessed them down to ½” and took them over the joiner to clean up one edge.
With one edge joined on all the boards, clean up the opposite side at the table saw. Because these panels are going to be book matches, make sure that you take material away from the outside edge of the panels. This way you don't cut into the book match and mess up that grain pattern.
GLUE UP THE PANELS
Glue up all six panels. Because the panels are so small, there is no need for dominos or dowels. Just make sure not to clamp down hard enough to insert a bow into the pieces. And then use an F style clamp to apply some opposite pressure. If you do run into issues with your panels bowing or warping, try adding a few culls to hold things flat. The most important thing is to have a nice flat reference surface, so I like to push against the parallel clamp to make sure the boards stay nice and flat.
After a couple minutes, remove any excess glue squeeze out with a dull chisel. And once the glue is dry, remove the boards from the clamps and use a card scraper to smooth out the glue seam. Using a card scraper is faster way than sanding to remove that uneven edge.
Next, take out any high spots on the board using a number four smoothing plane. Once all of the panels are pretty flat, finish them off with some 150 grit sandpaper.
MAKE TEMPLATE AND CUT OUT PIECES FOR THE BREAD BOX
Make the Templates
I cut my templates out at my CNC but this can be done with a paper template and plywood. Check out this chaise lounge build where I go into more detail on how to do this.
Cut Out The Pieces
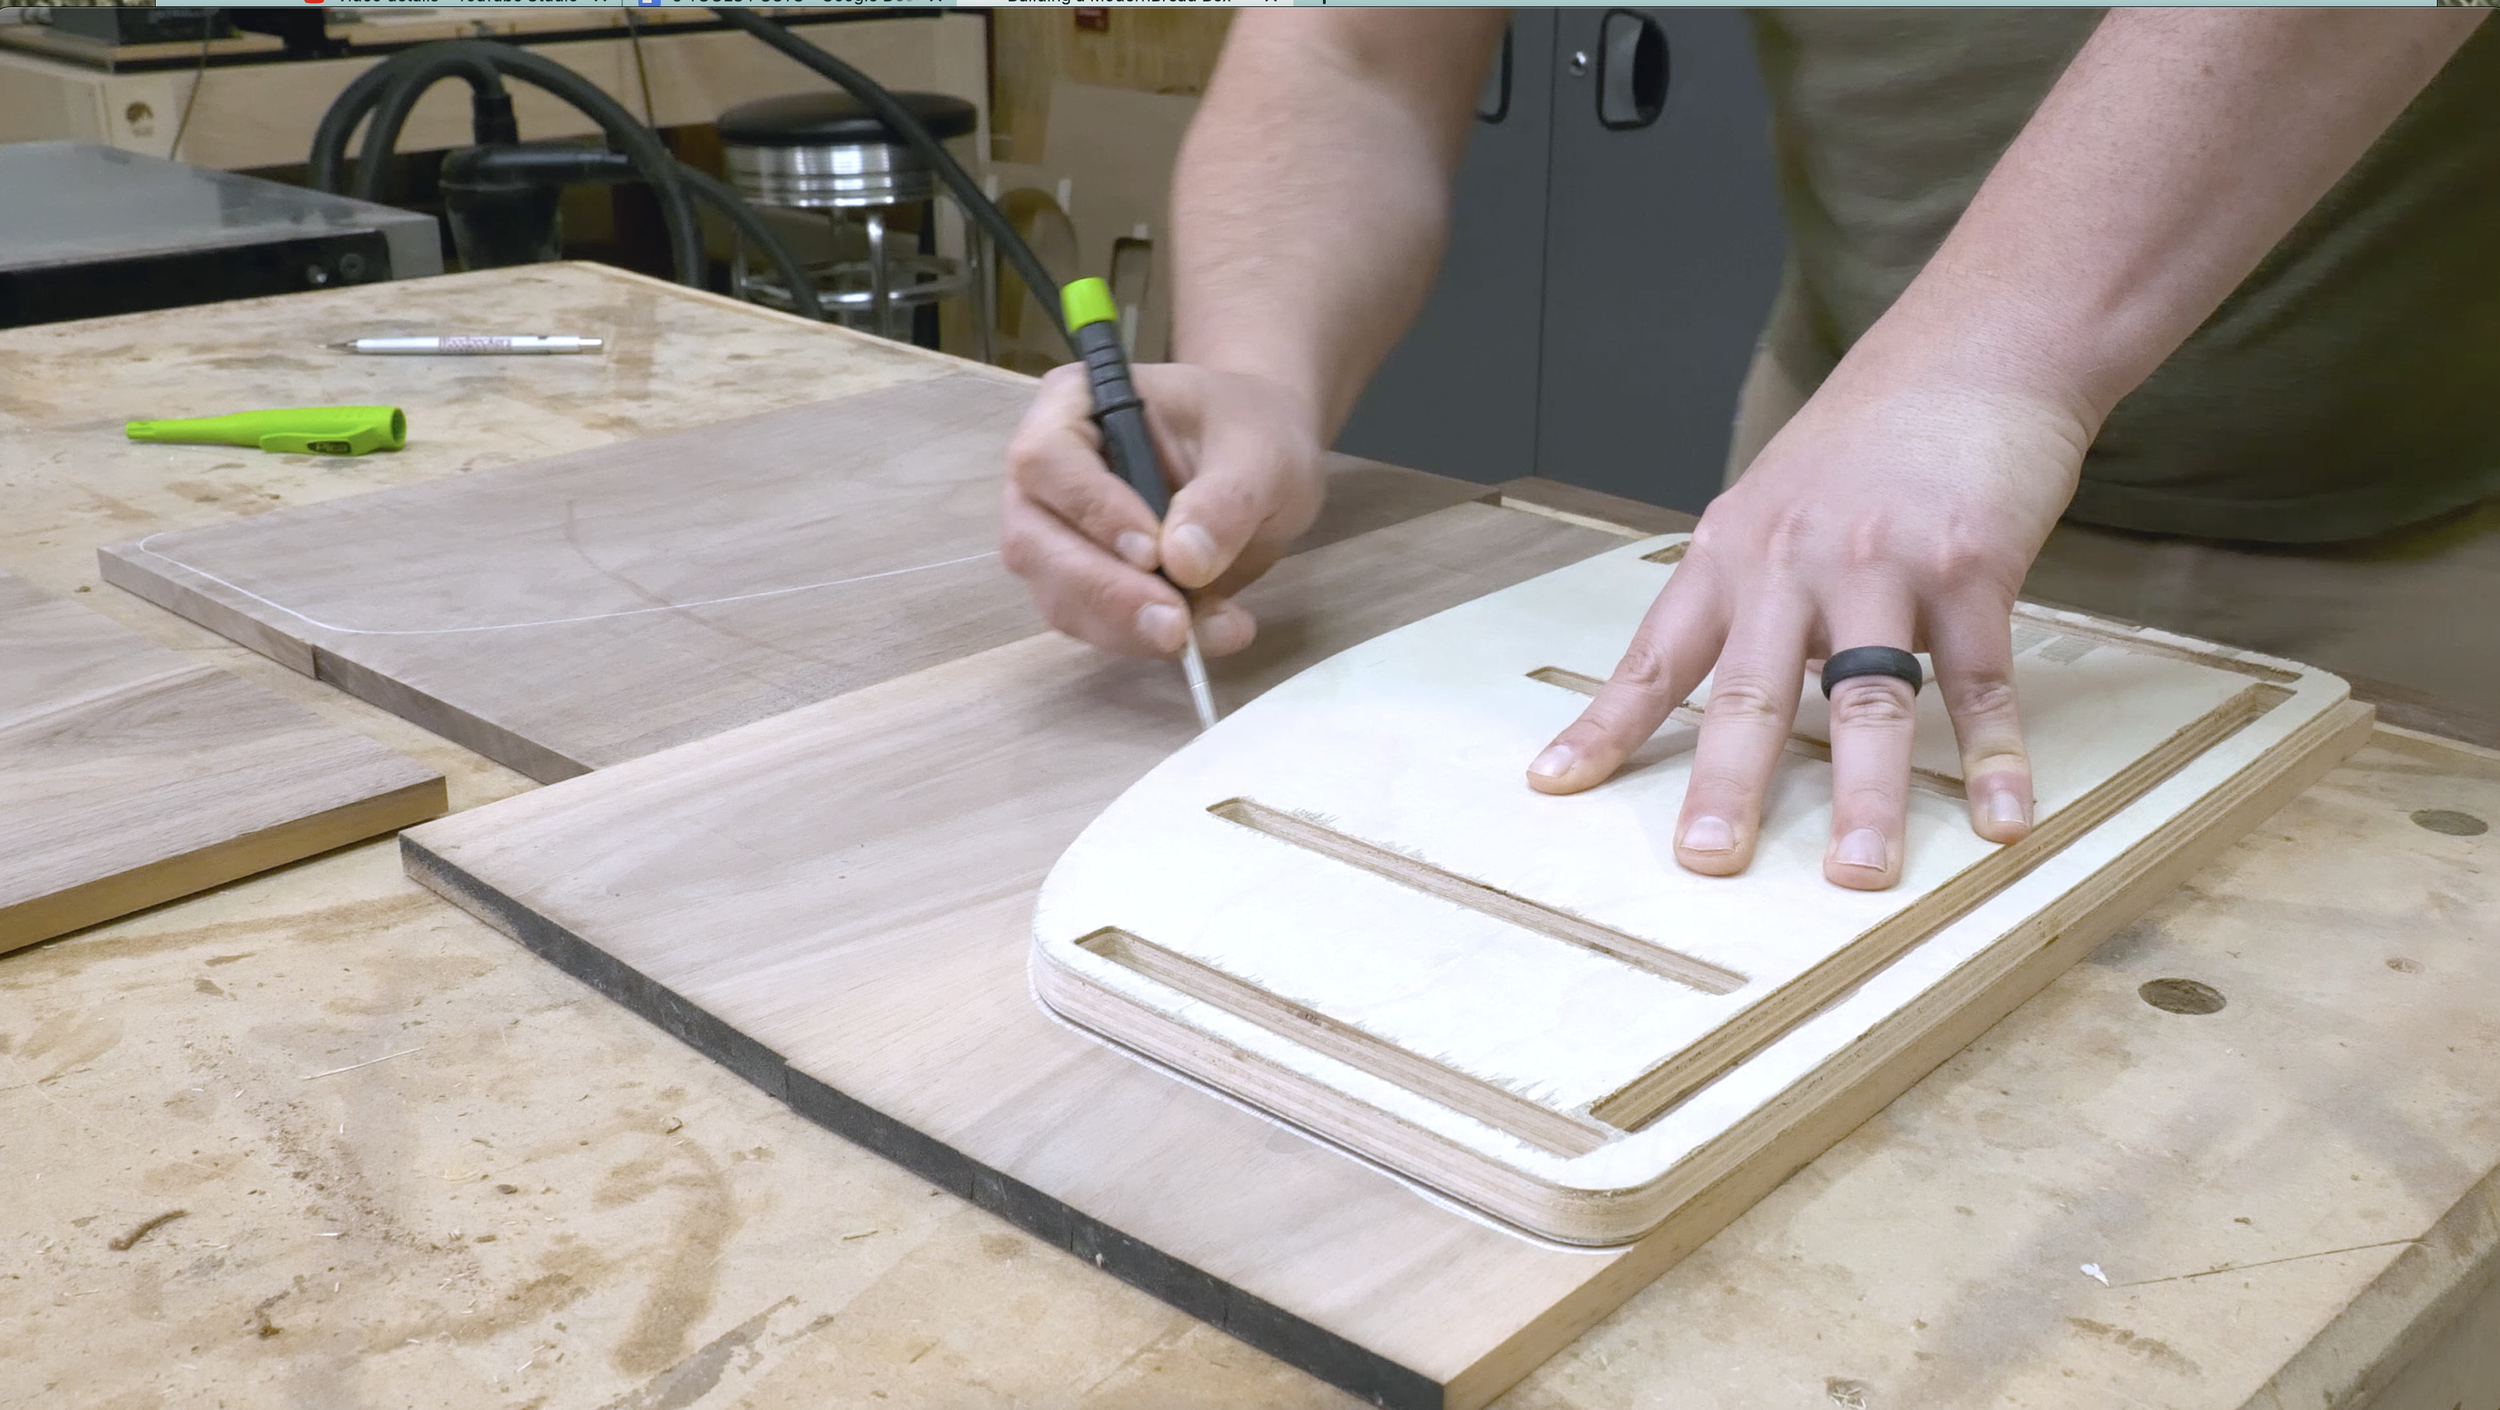
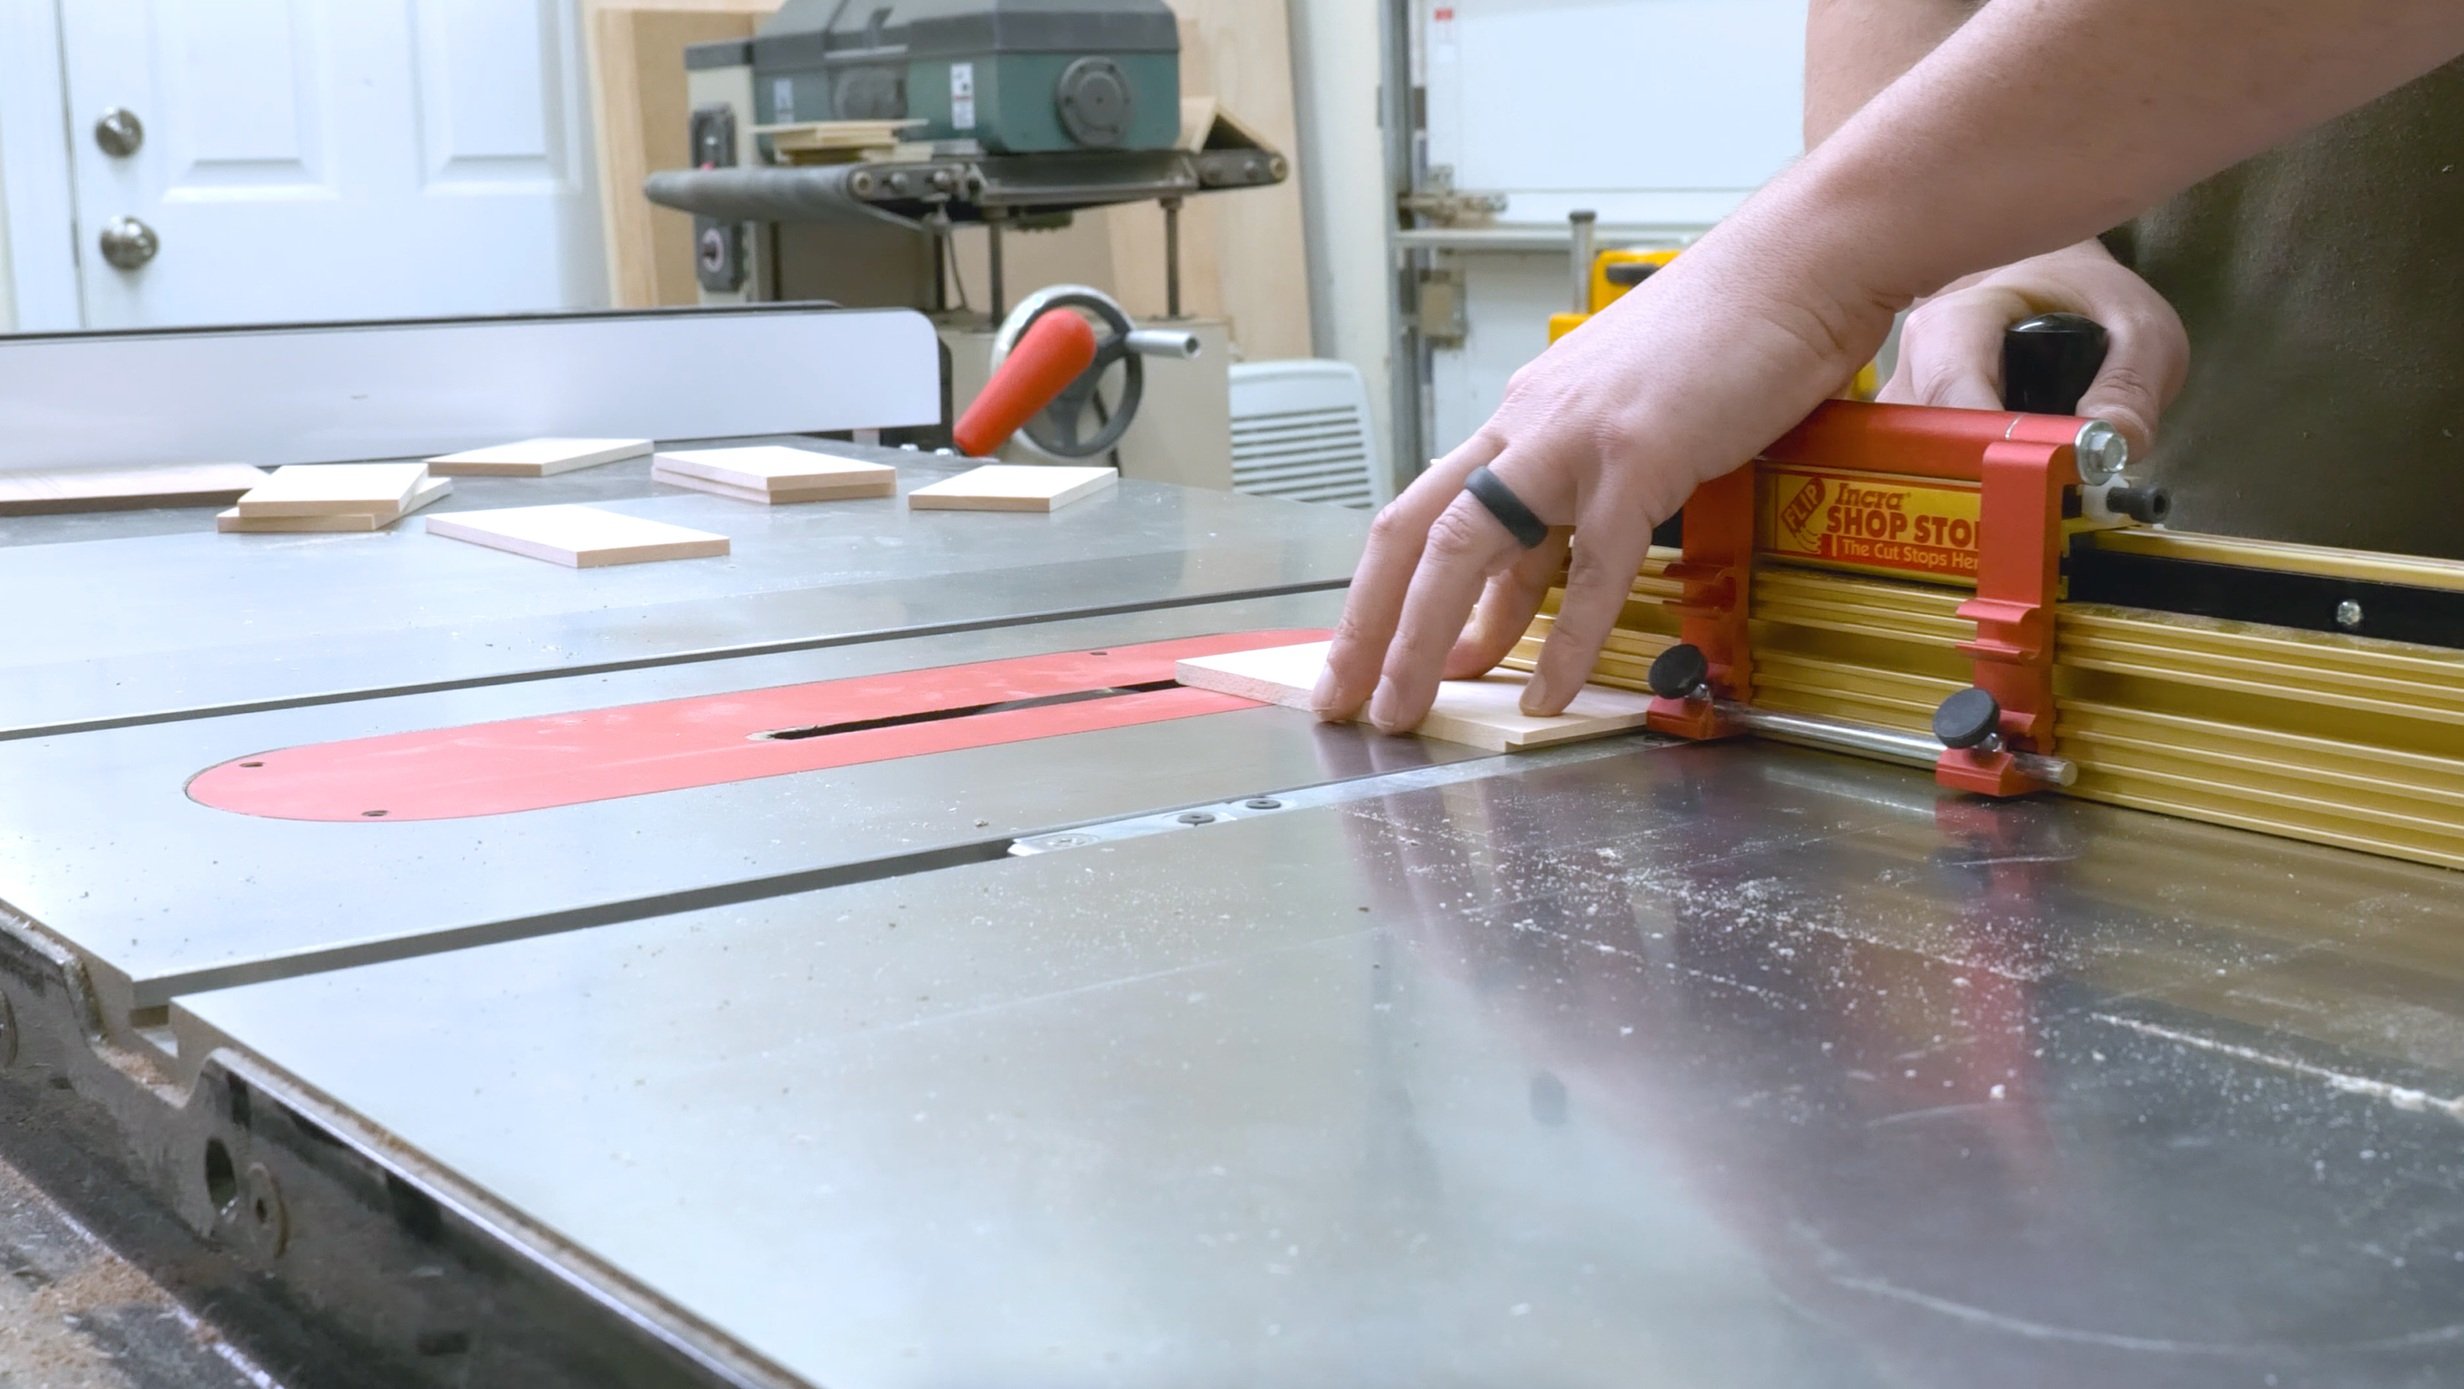
Once you have your template, mark it out on the panels. Then at the table saw, rip down the pieces. I like starting with my rip cuts first and then working my way back to the cross cuts as it allows for me to have a nice clean edge reference against my fence. When making those crosscuts, leave the boards a little wide so they can be planed back to the exact width later on.
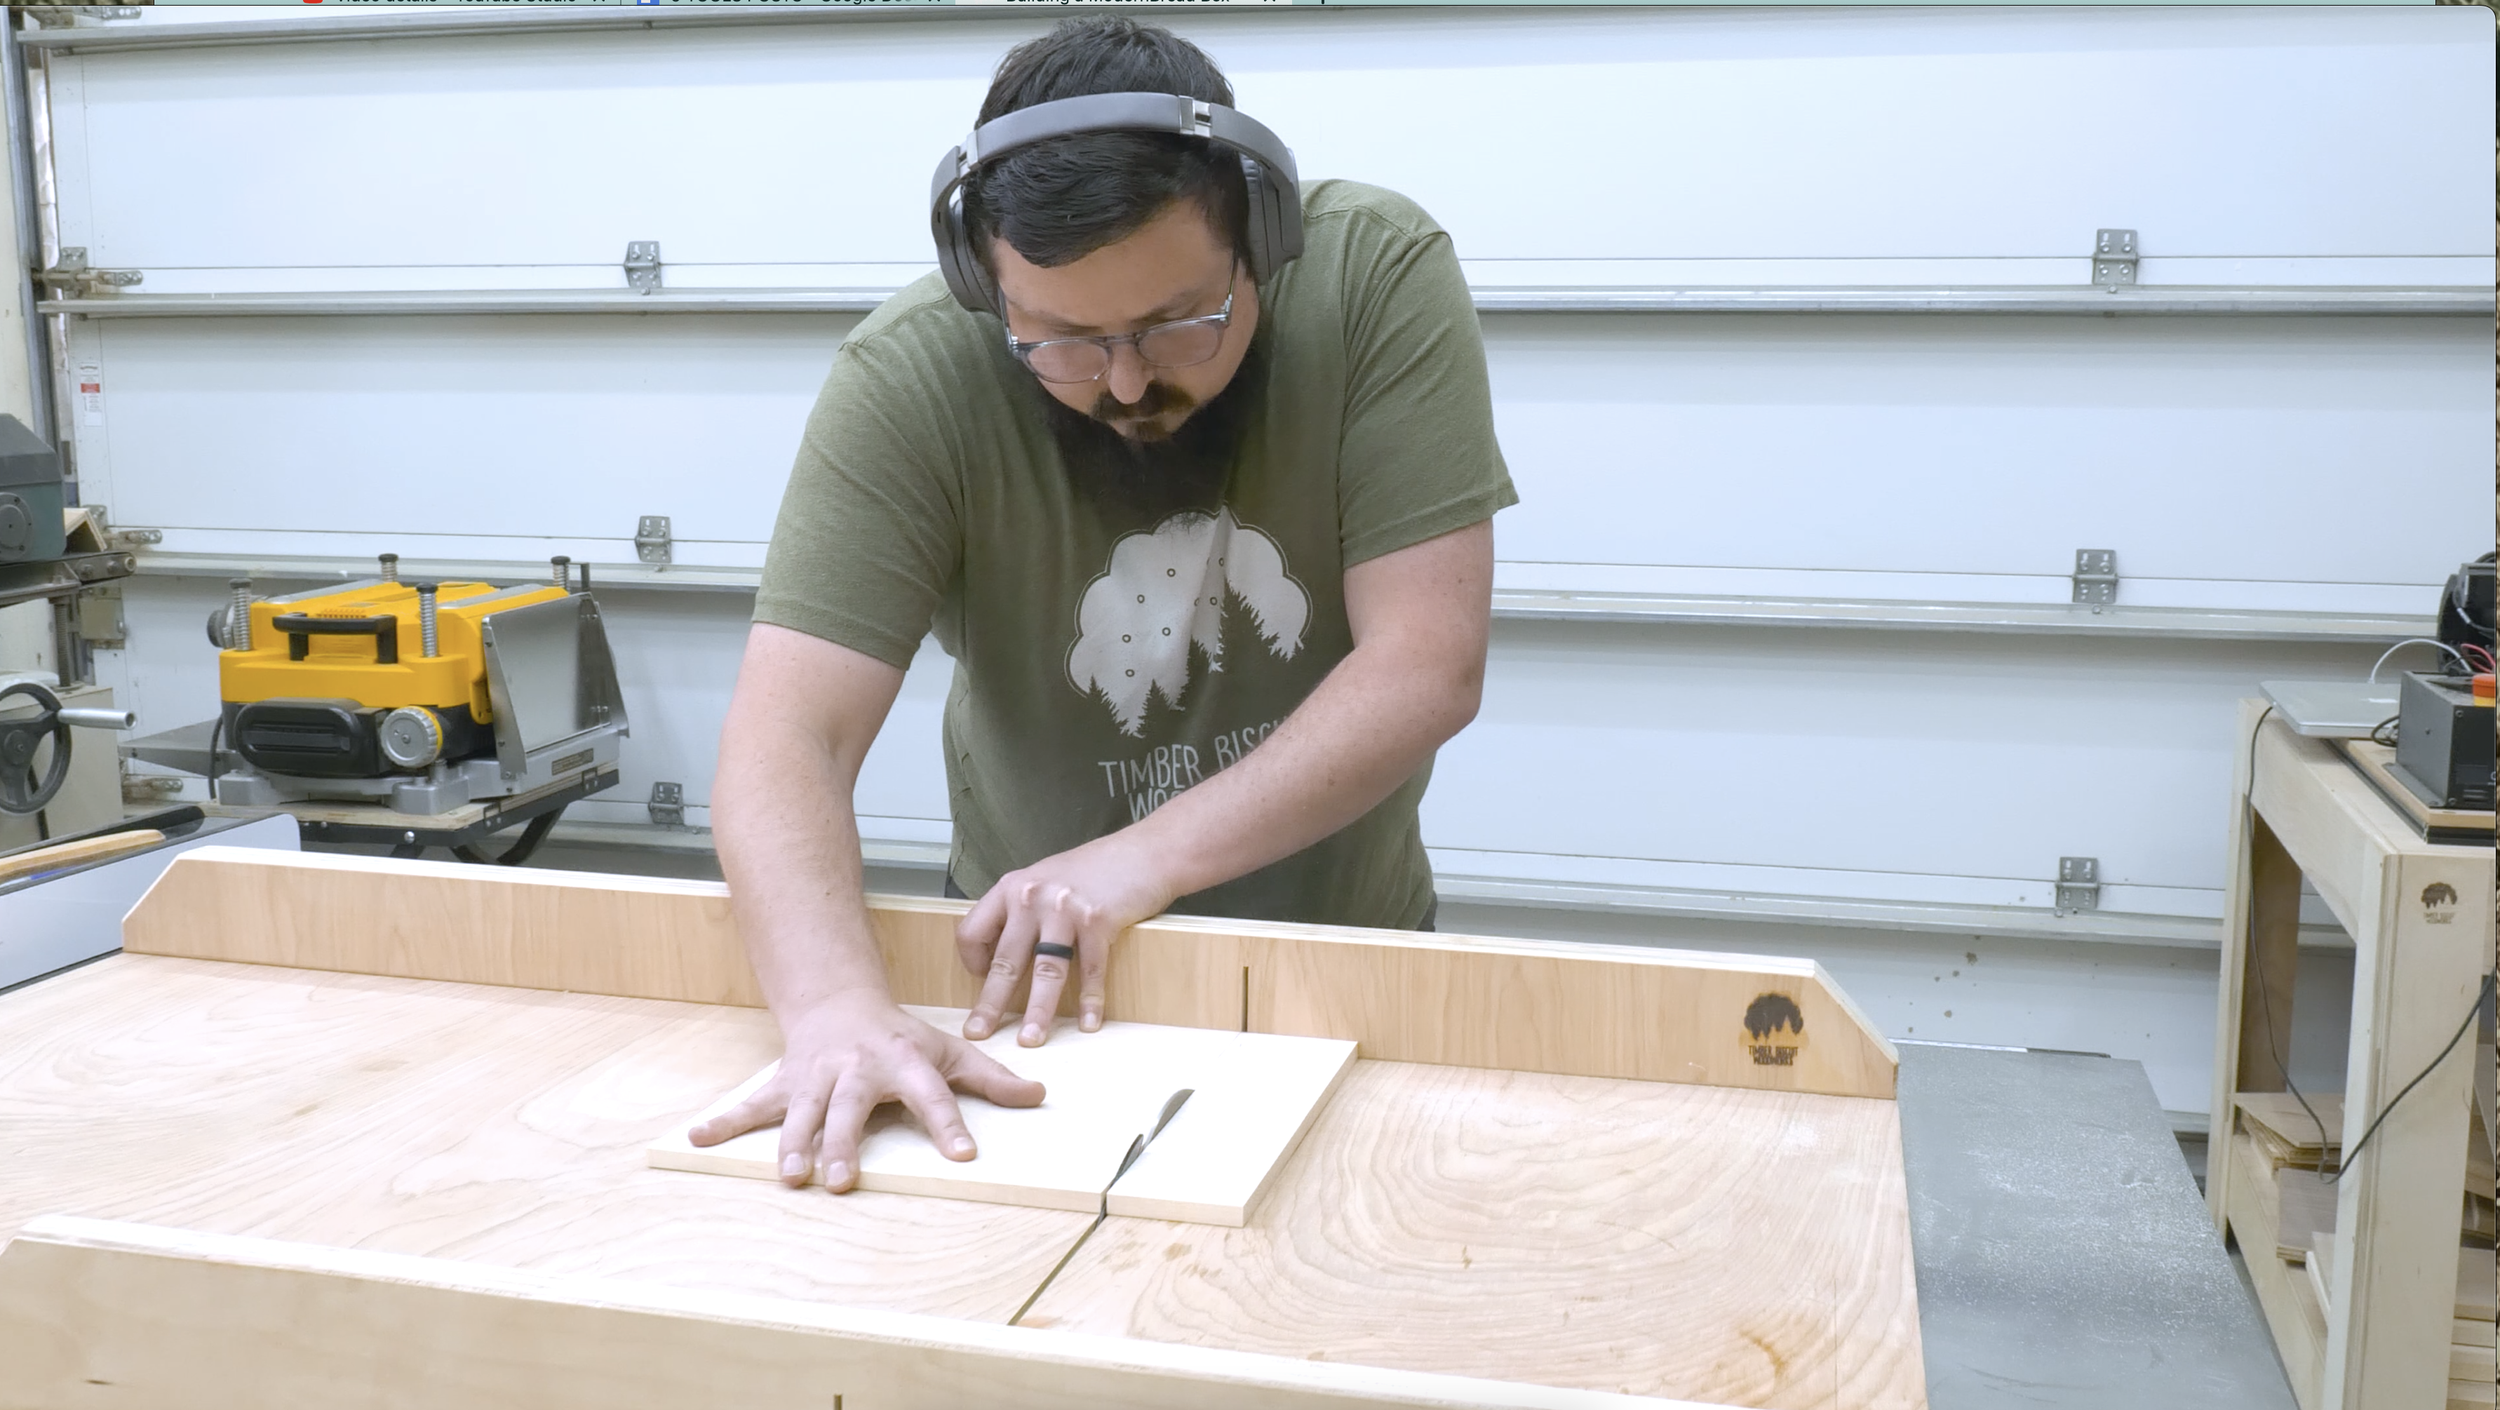
Once the pieces are ripped down, cross cut one clean edge onto each of the sides. Next, use a miter gauge to cut all the interior pieces the exact same length. This way you don't have any issues with any tenons being too long or any boards being too wide. All of the boards will also be the exact same width so if any measurements are off, they're going to be off exactly the same across all the boards.
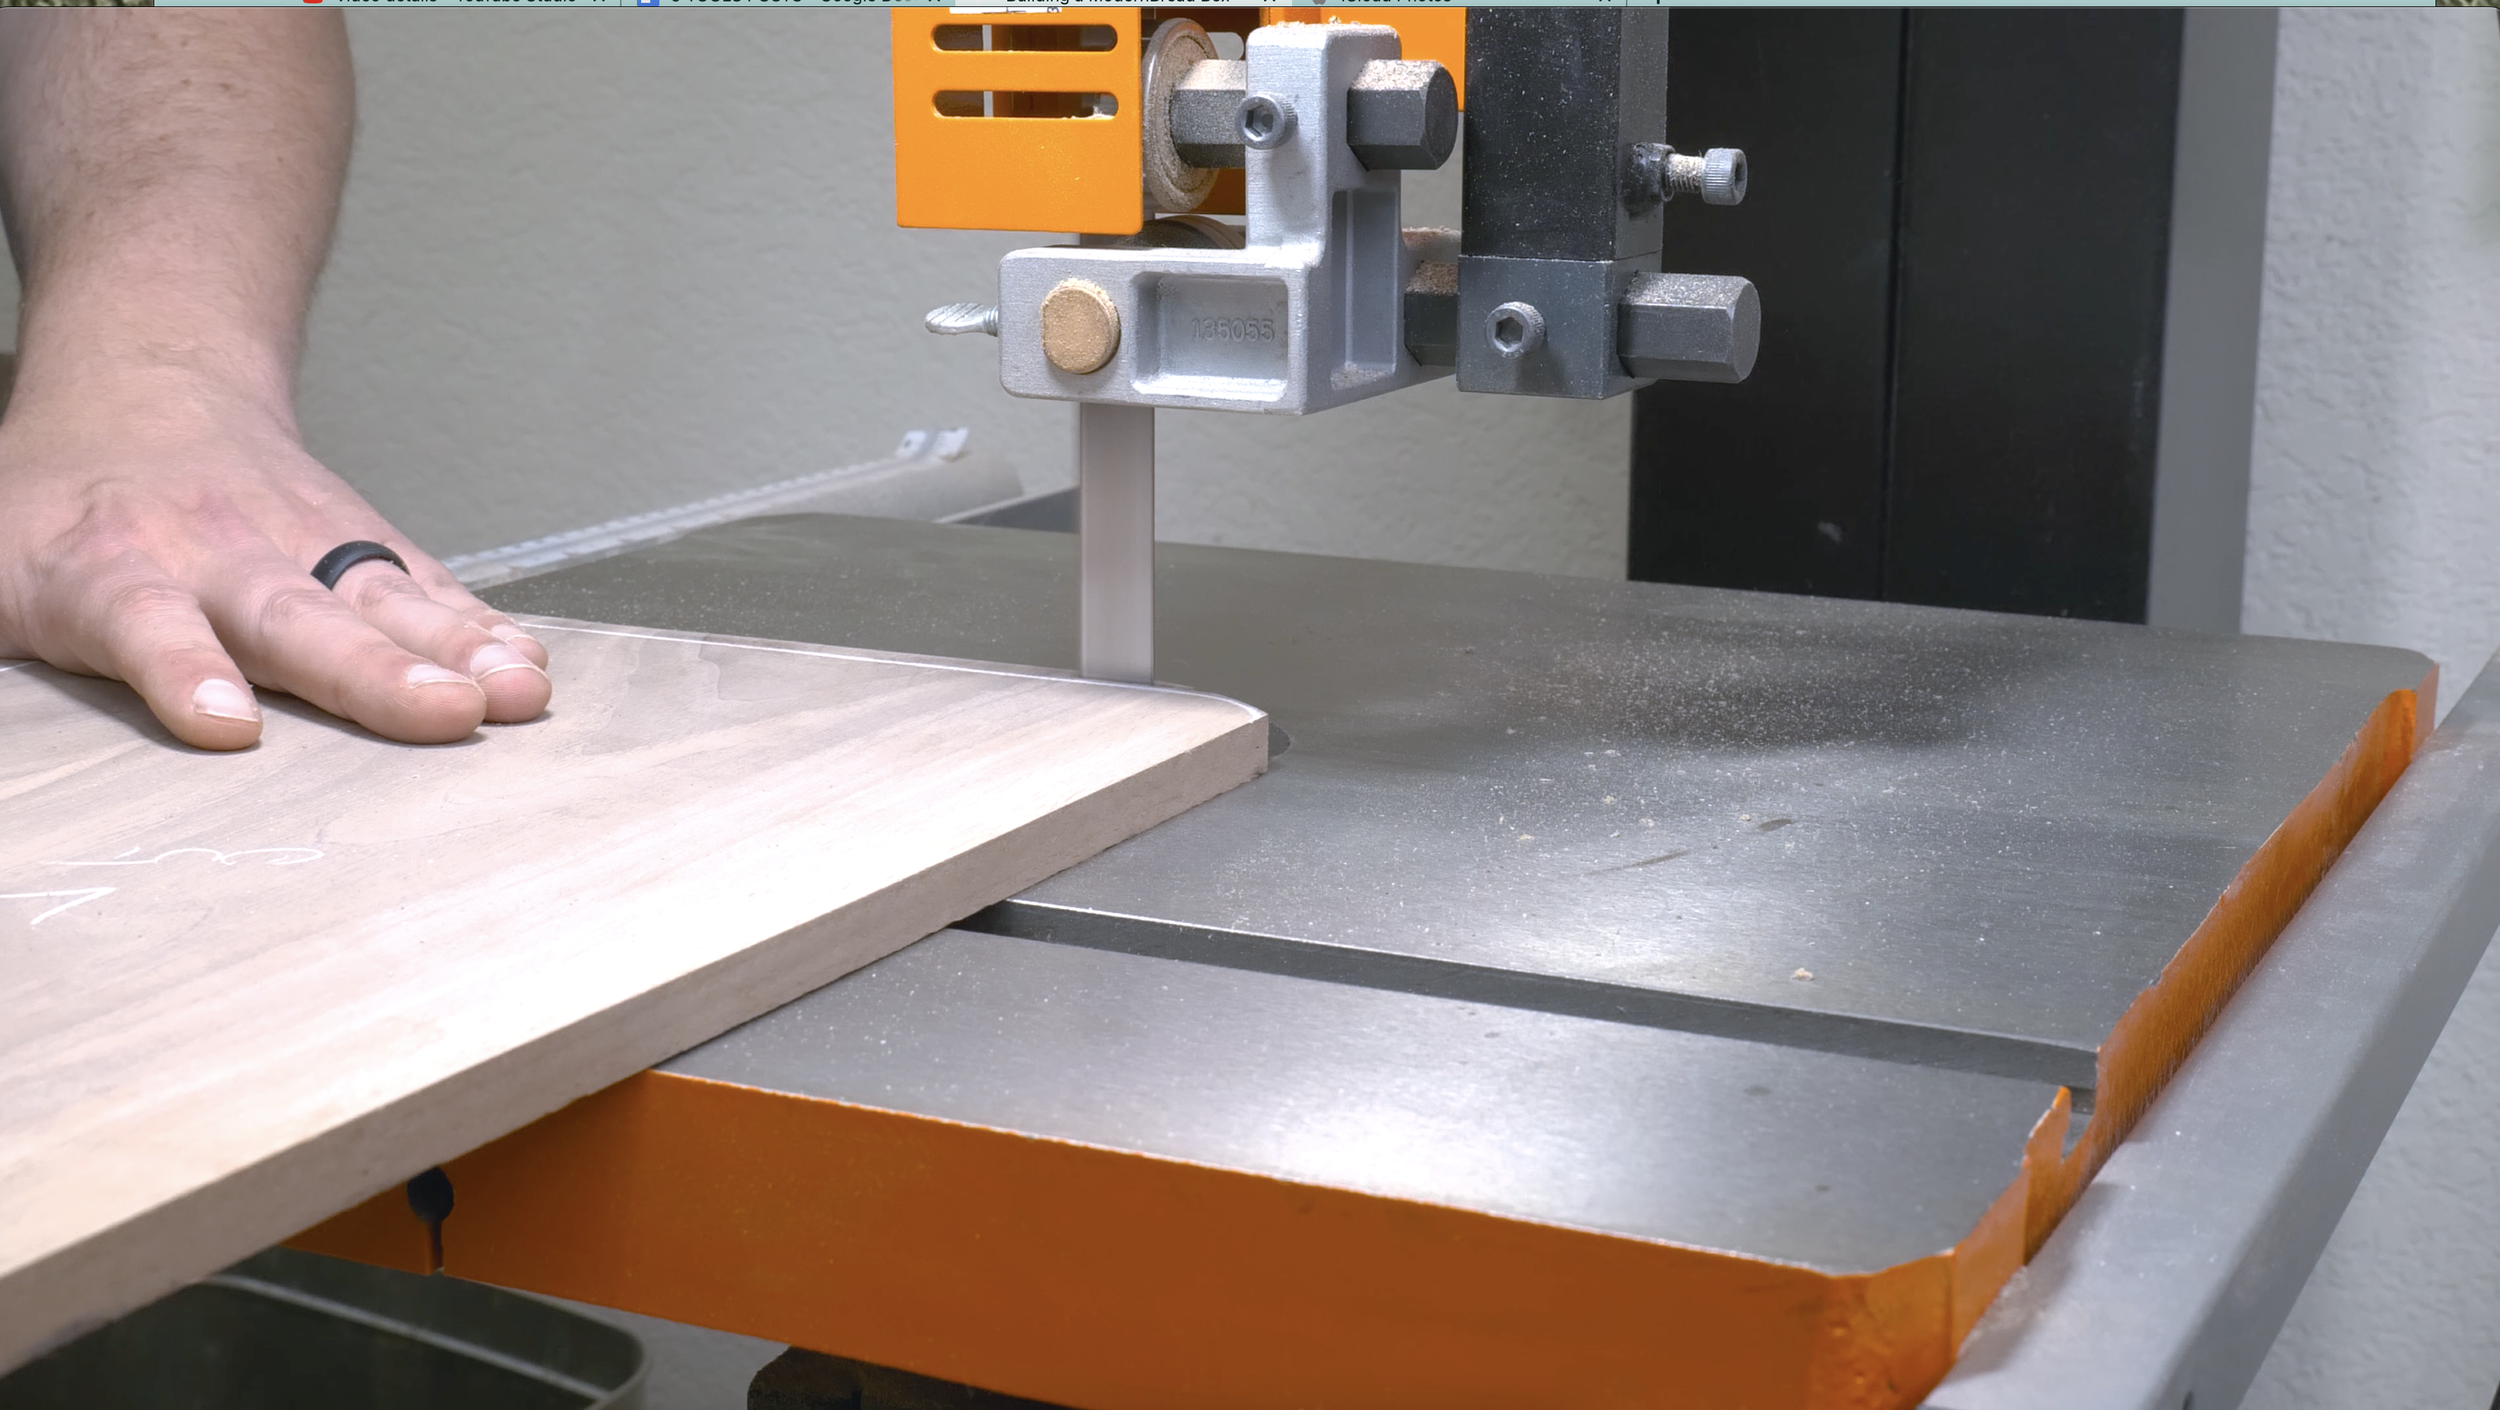
Once you have all the straight cuts done, use the bandsaw to rough cut the curved side panels. brought the curved side panels. Try to cut these pieces to an eighth inch from the line.
Route the Templates
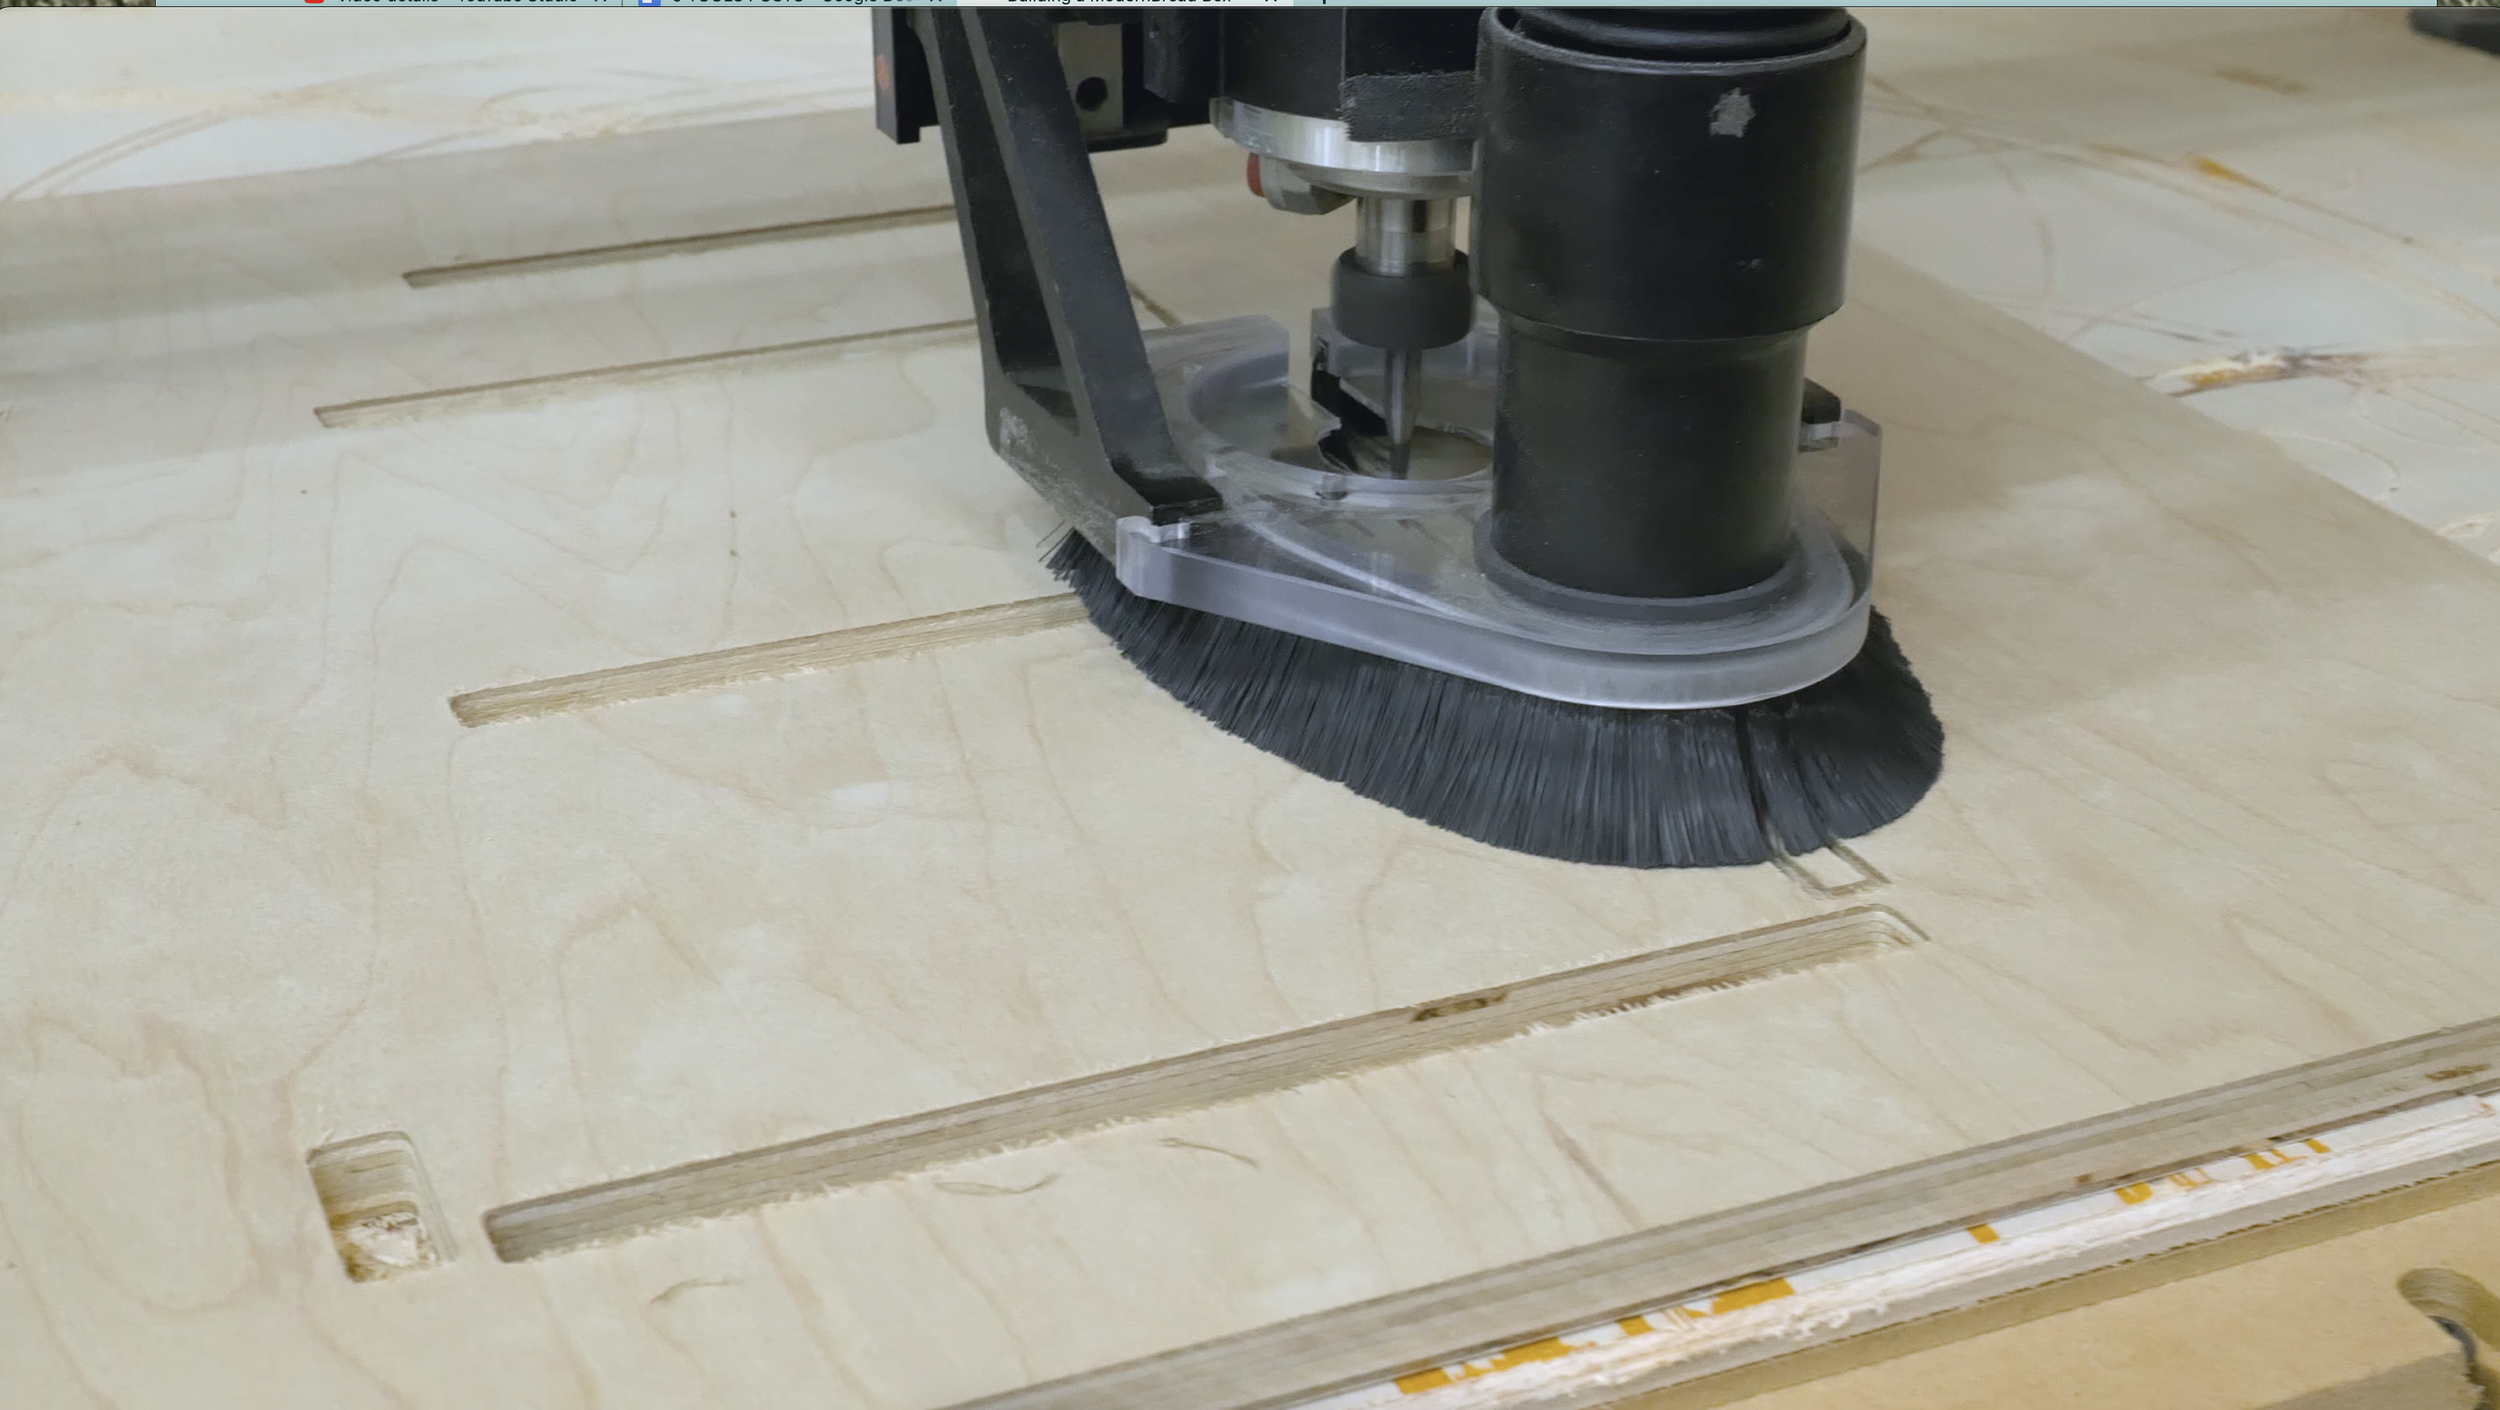
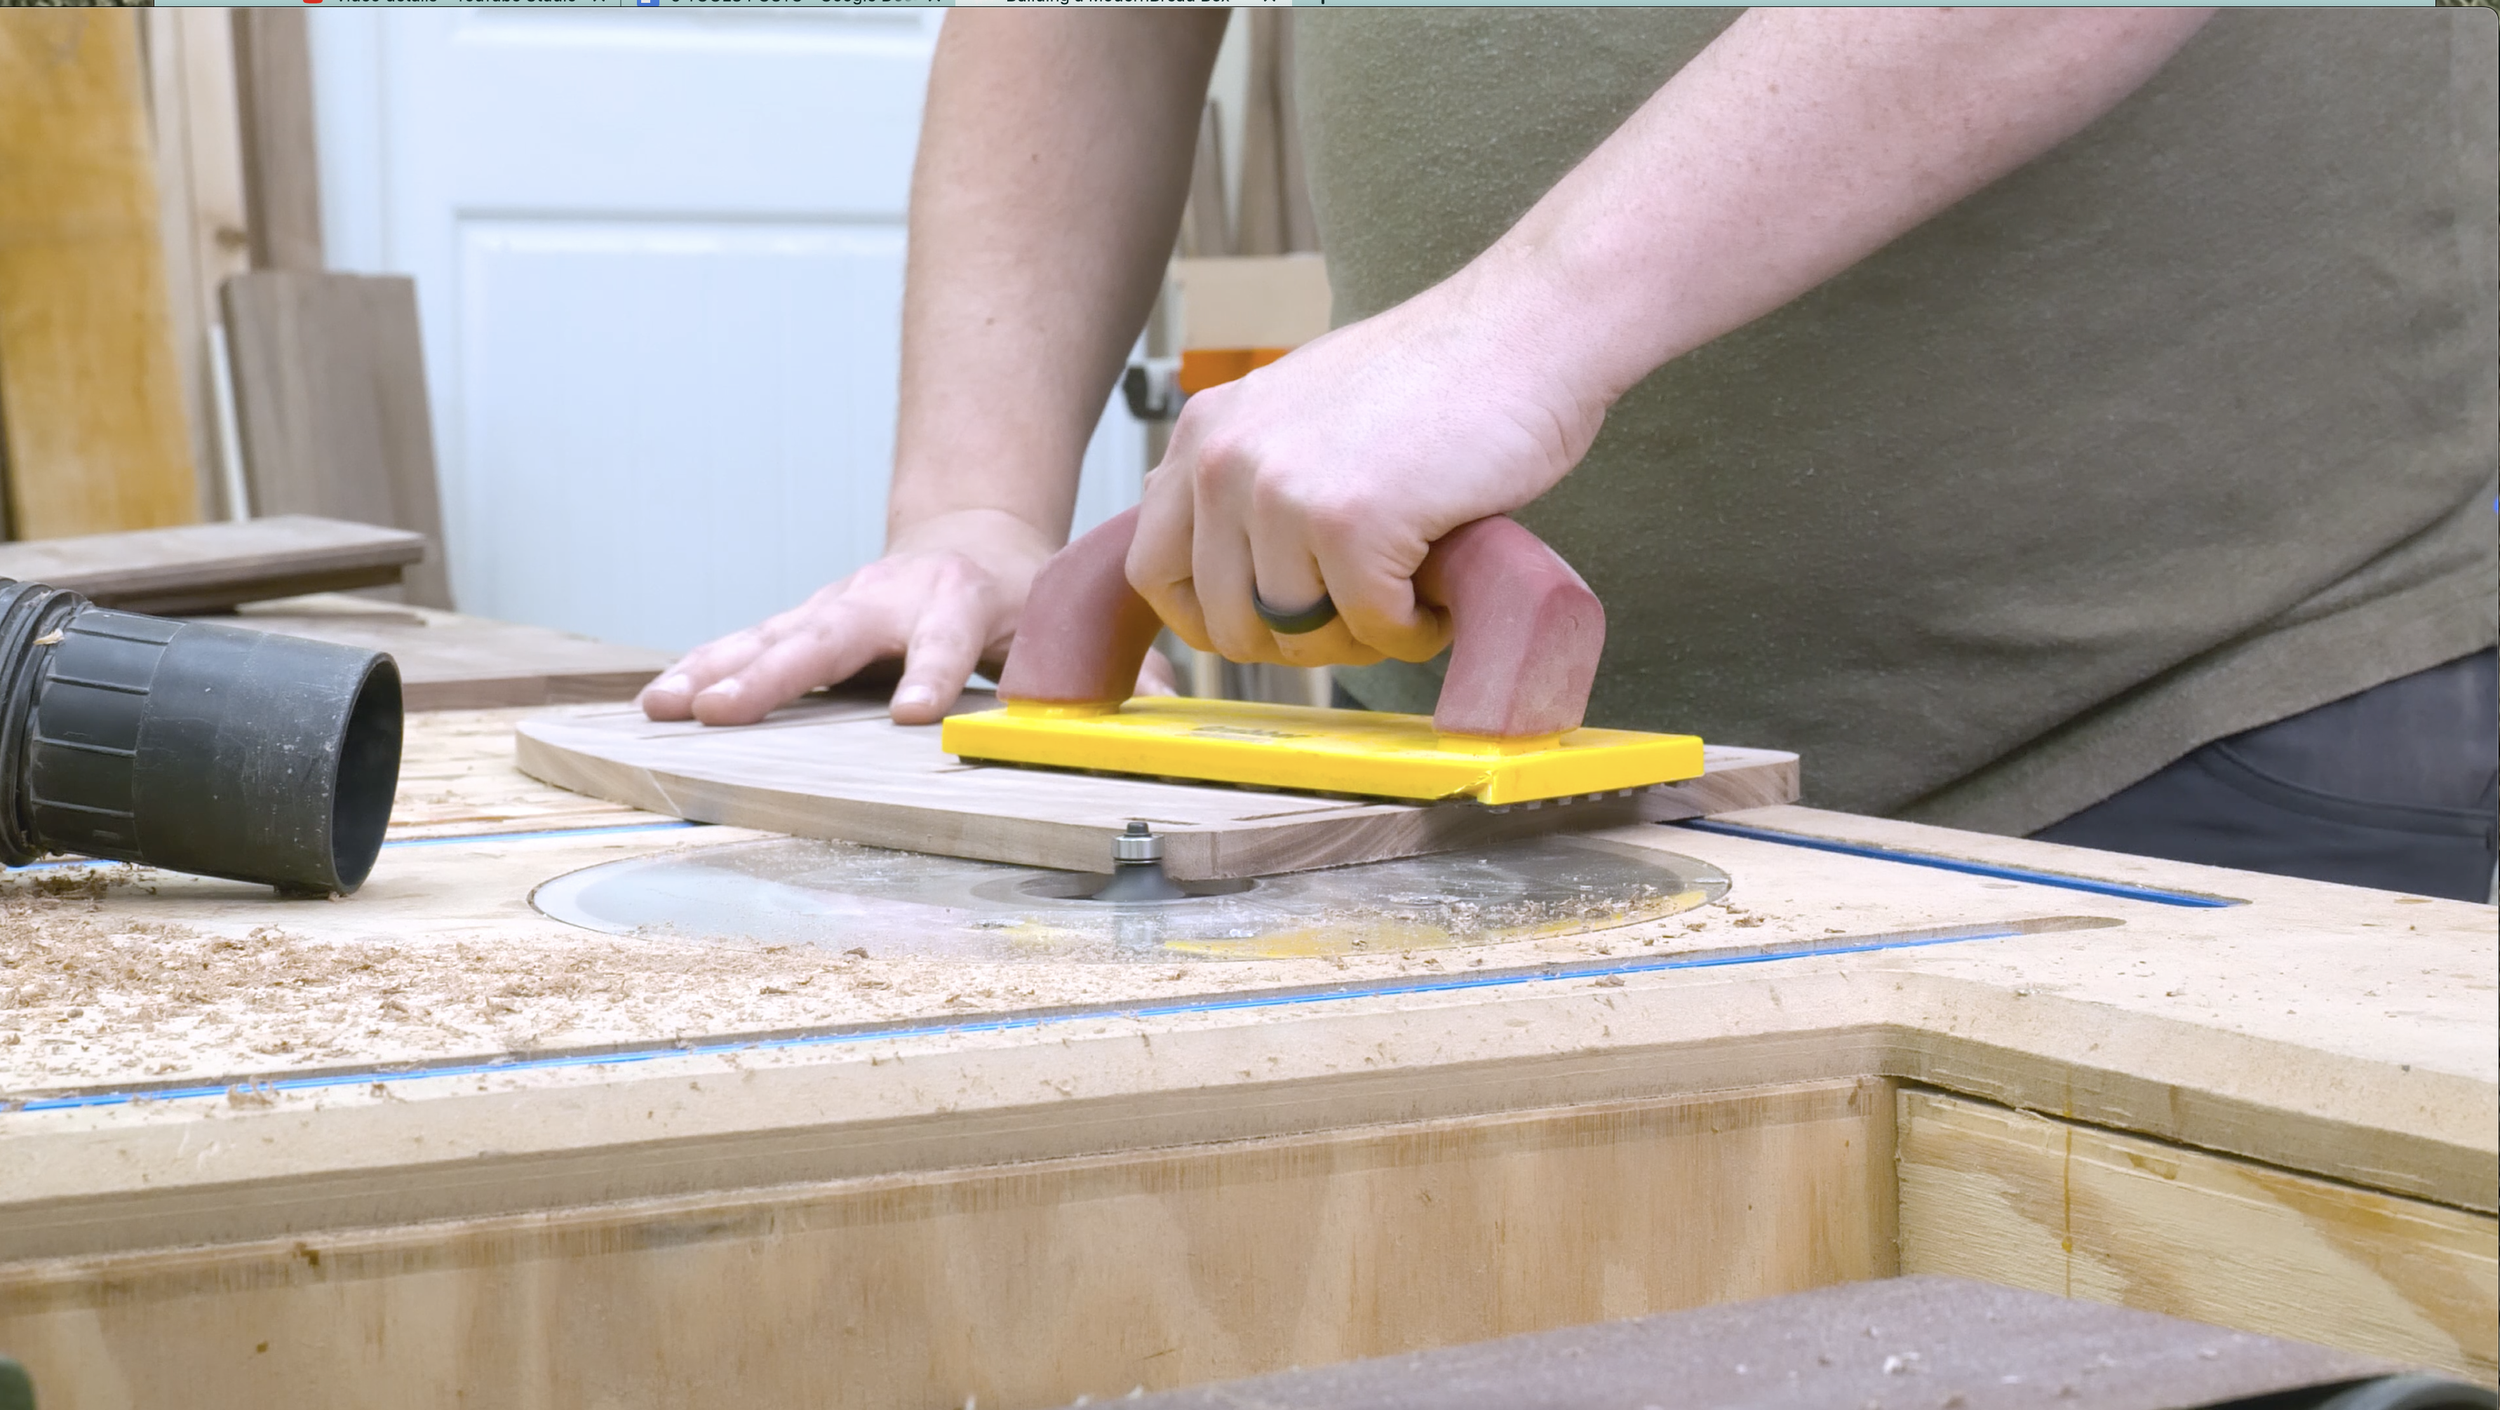
Attach the templates using a few strips of double-sided tape. I also added a couple of half inch off cuts to avoid any bowing that might occur. Set the height of the flush trim bit and route around the template. For template routing like this where the grain is running in a few different directions, compression bits really work well to avoid tear out.
CUT THE MORTISES, TENONS, AND VENTS
Cut the Mortises
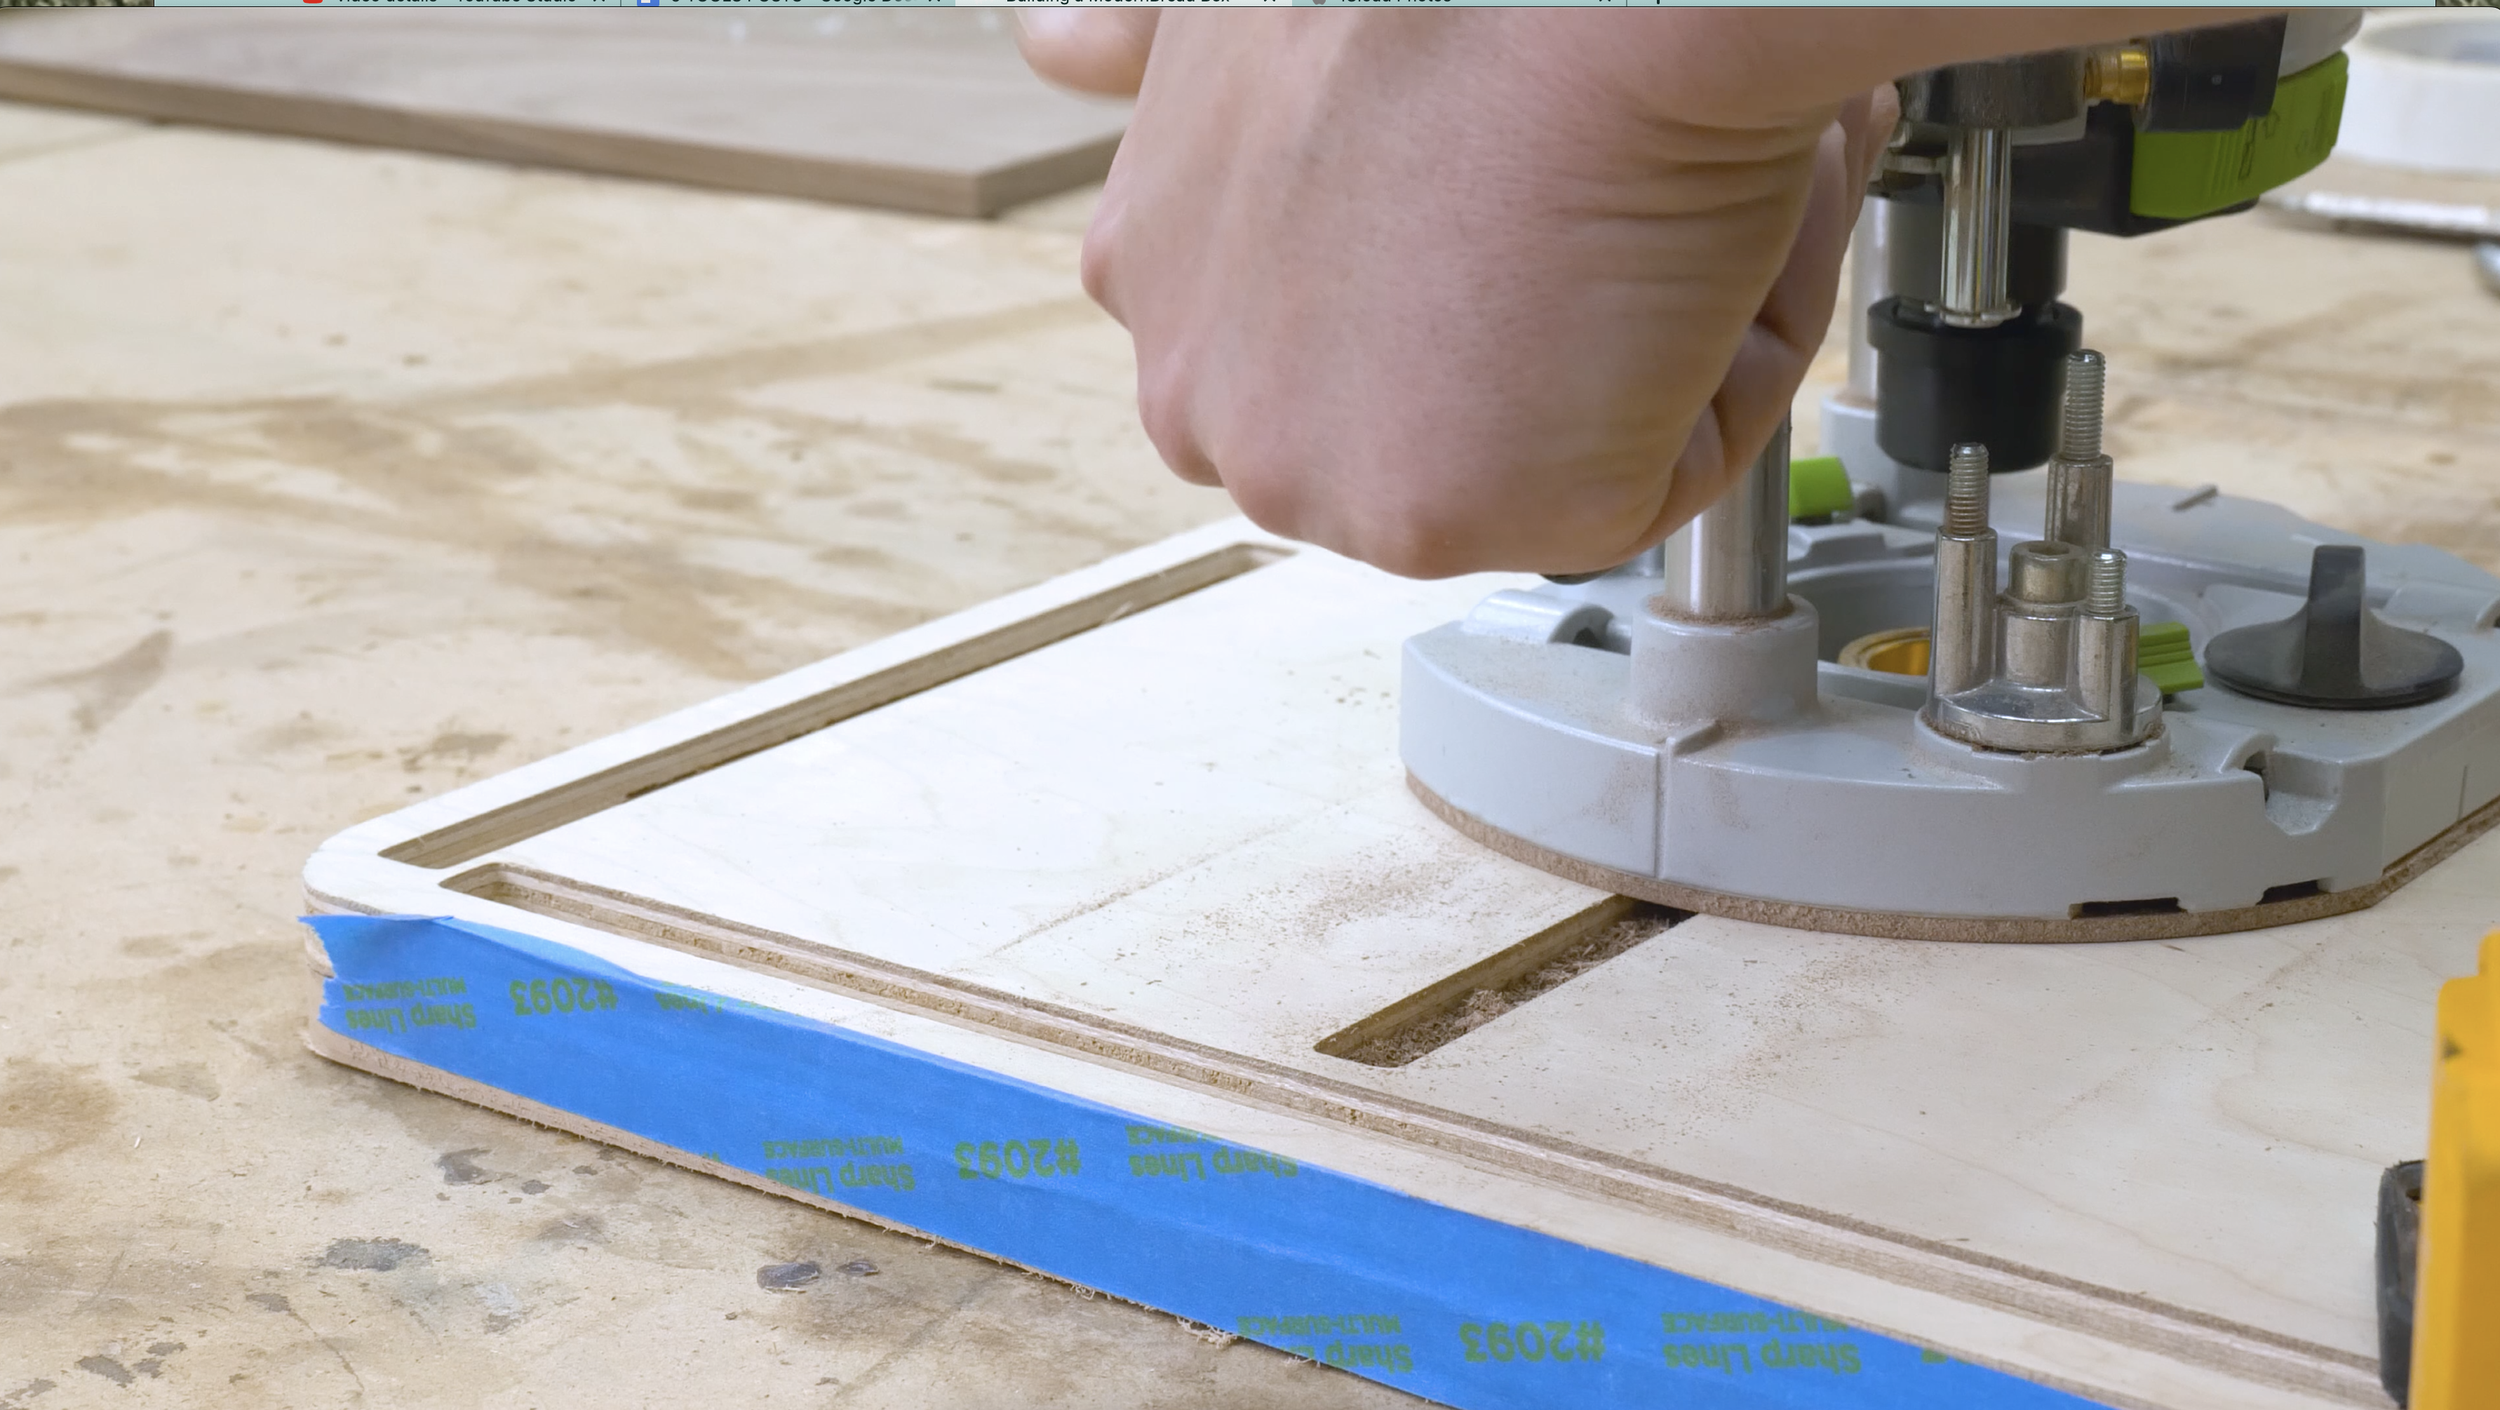
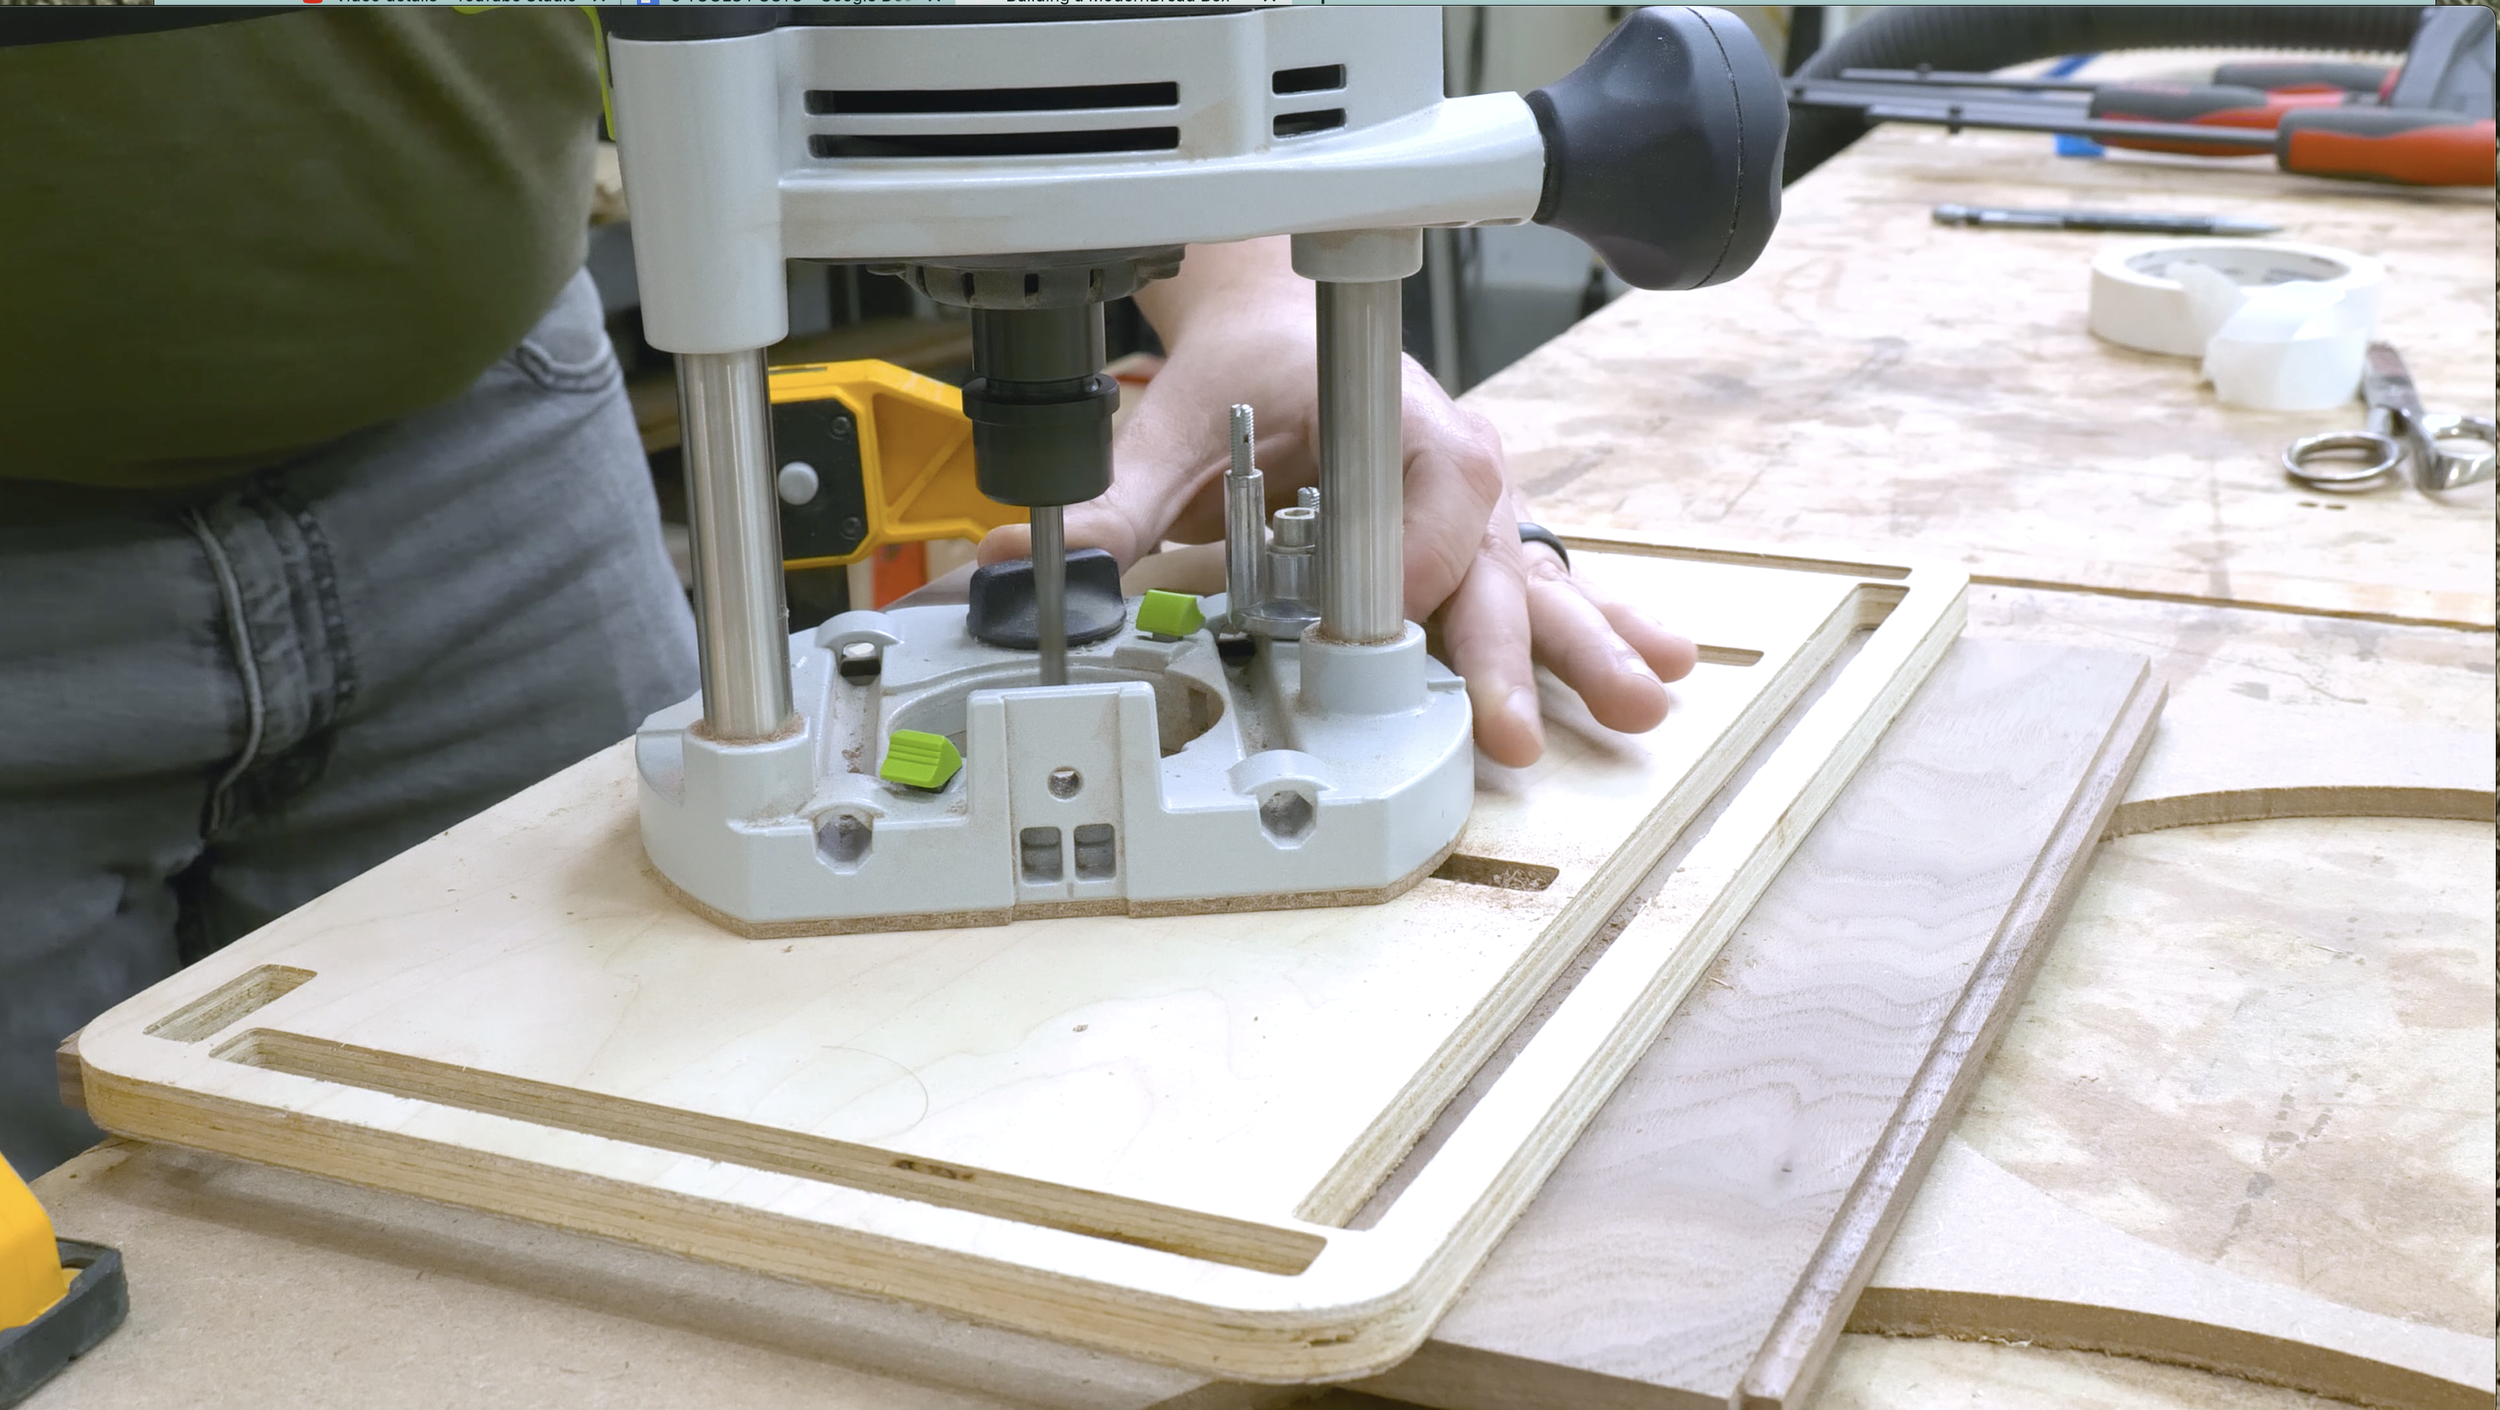
With the templates still attached, use the pre-cut grooves to cut in the mortises using a plunge router and a ½” guide bushing with a quarter inch down cut bit. With the depth set to a ¼”, plunge the mortises. Make sure you take your time and plunge all the way down so you don't have too many inconsistencies in the depth of your mortise. Be careful to pull the router towards the inside of the template to make sure you don't blow out those edges.
With the mortises cut, square off all the rounded corners left by the router bit using chisels. Do your best to keep those corners square. Alternatively, you could leave these rounded over and then round over the tenons.
Once the rounded edges were cleaned up, use a router plane to flatten out the bottoms of the mortises. This allows for the tenons to sit flush across the entire mortise.
Cut the Tenons
Now it’s time to plane back the boards that we left long to their final dimension. This way, when fitting things together, you don't have some pieces that are a little too wide or a little too short. With smaller projects I like to use hand planes because the tolerances are so small and I feel like planing back your pieces allows for a much better fit (plus any excuse I get to use to hand tools is a good one).
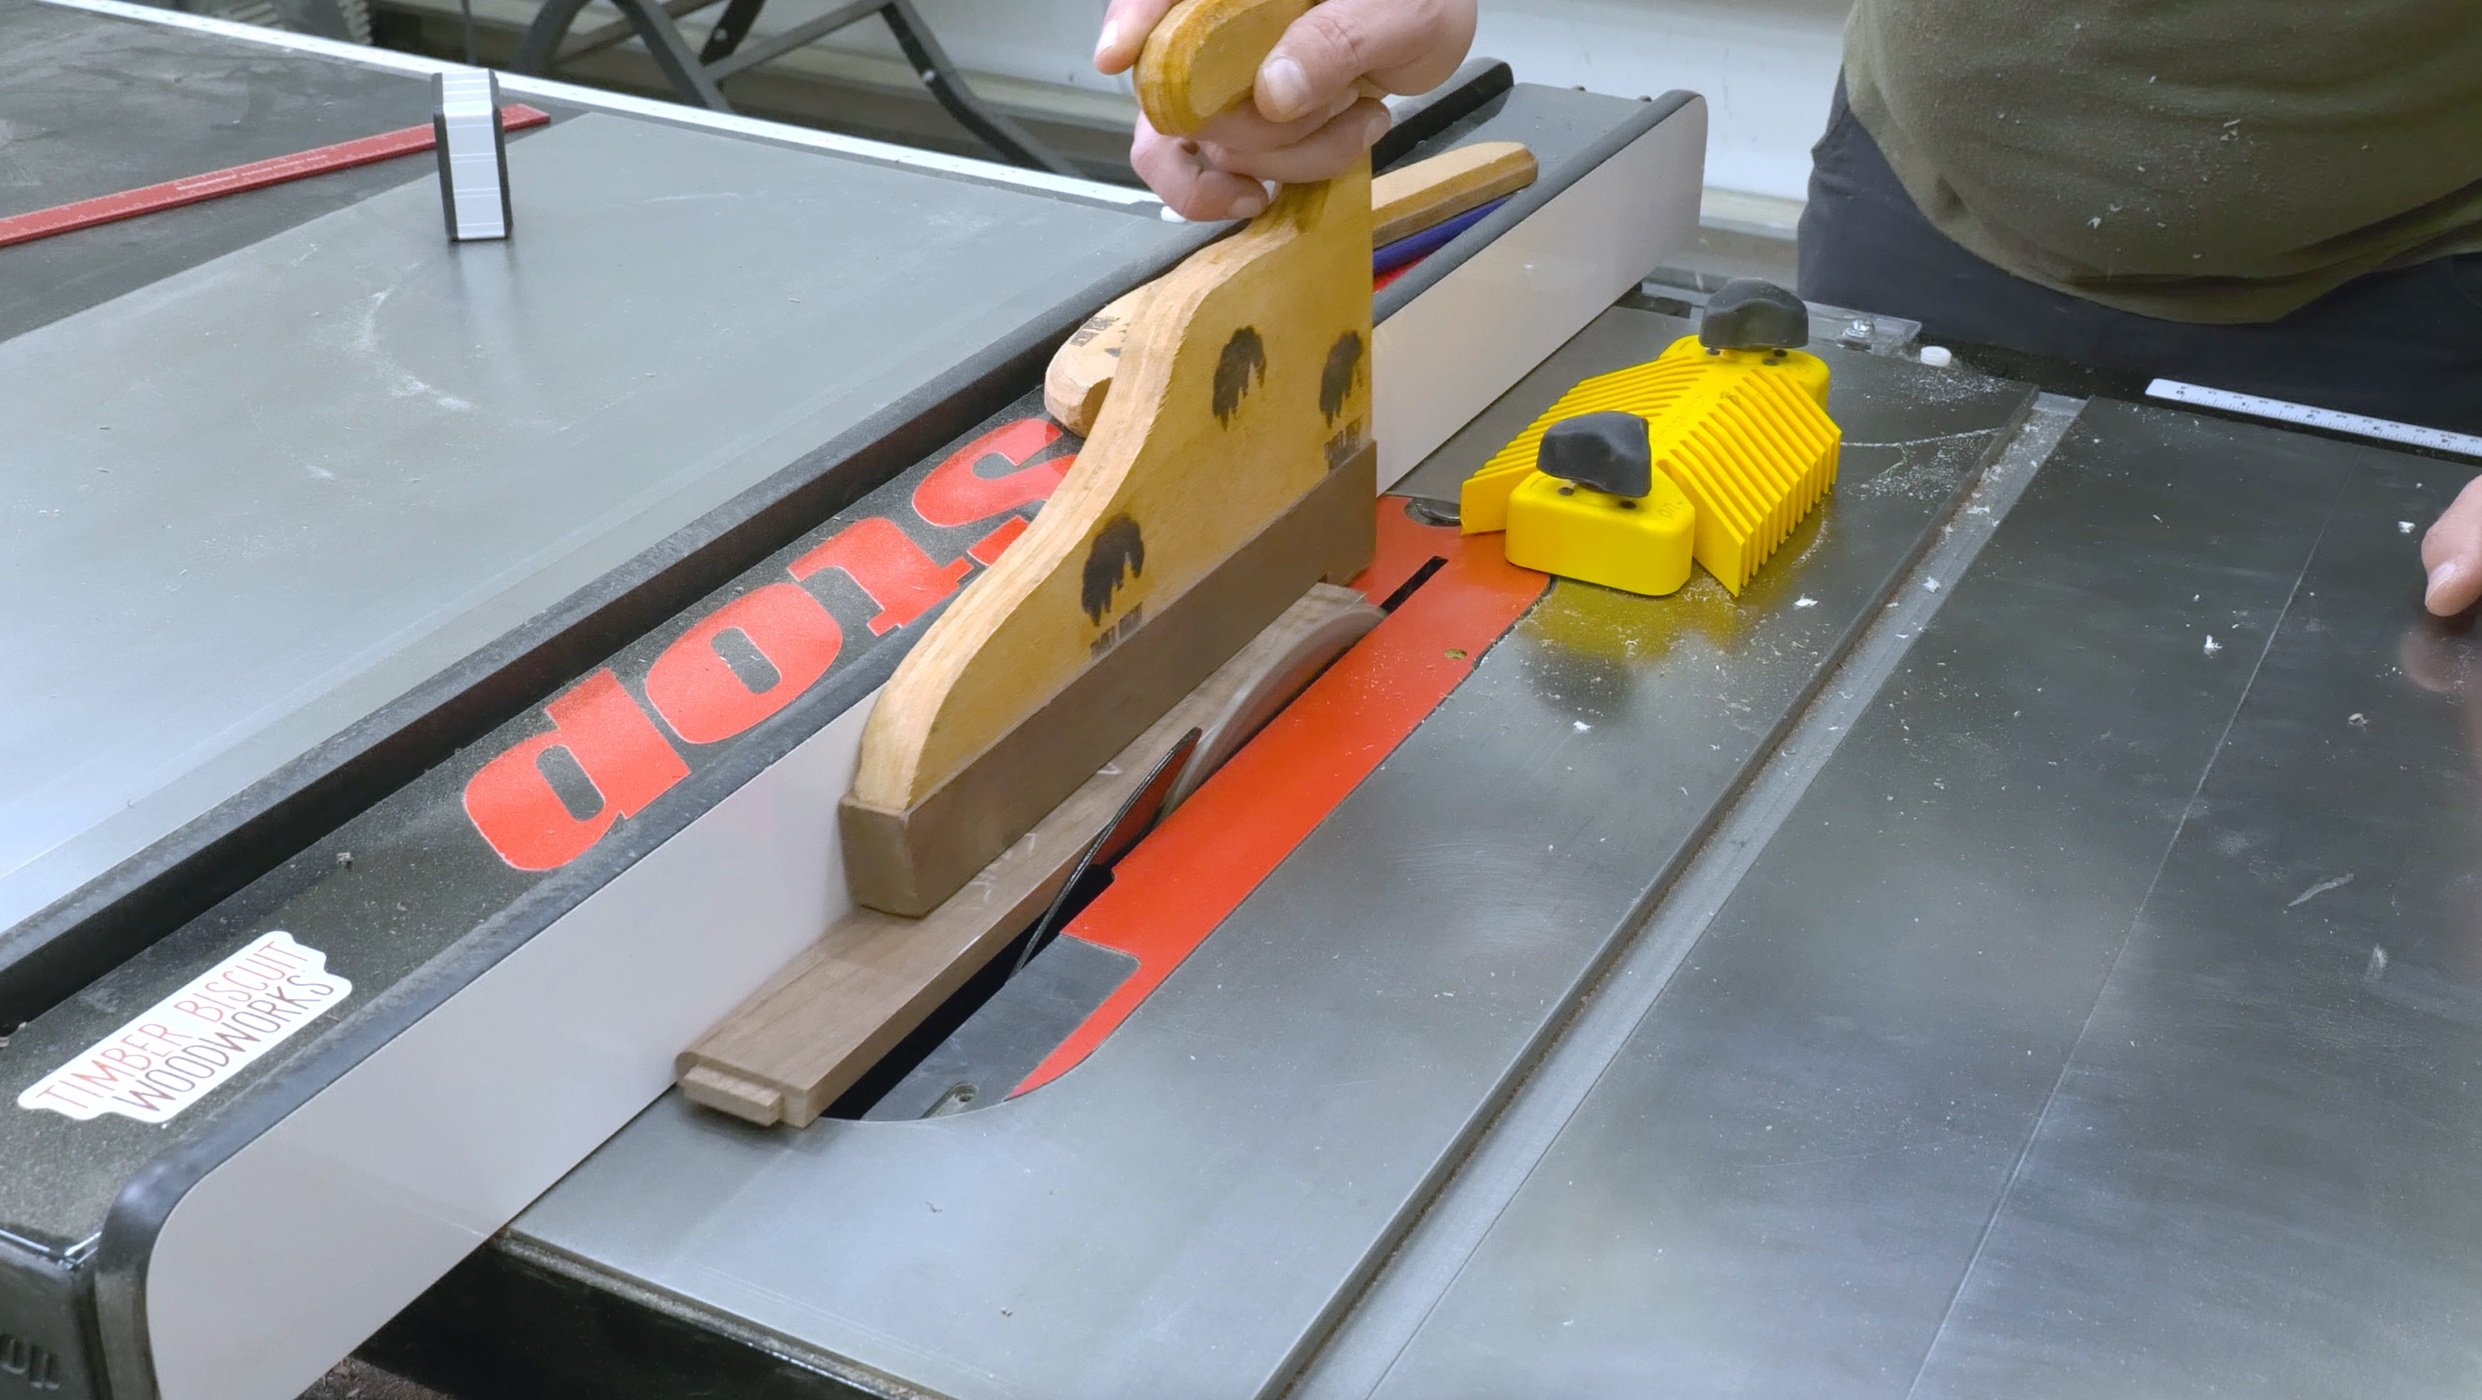
Use a setup block to get pretty close to the tenon height and then test out the fit. Once you have that fit nailed, cut all the tenons for all of the pieces. I use a miter gauge rather than a sled because it allows me to dial in that tenon height and then make micro adjustments if needed.
Once you have your face cheeks cut out, cut the edge cheeks. Use the same setup on your miter gauge, only this time hold the pieces vertically and adjust the blade height to fit the width of the mortise (which all should be the same since that's how I designed the template). The only changes could be the middle shelves which give it a little bit of a shorter tenon to offset the space for the back panel.
To cut the center shelves, just take the measurement directly off the piece. A lot of times dimensions change throughout the process of a build so try to adapt to those and get the best fit possible.
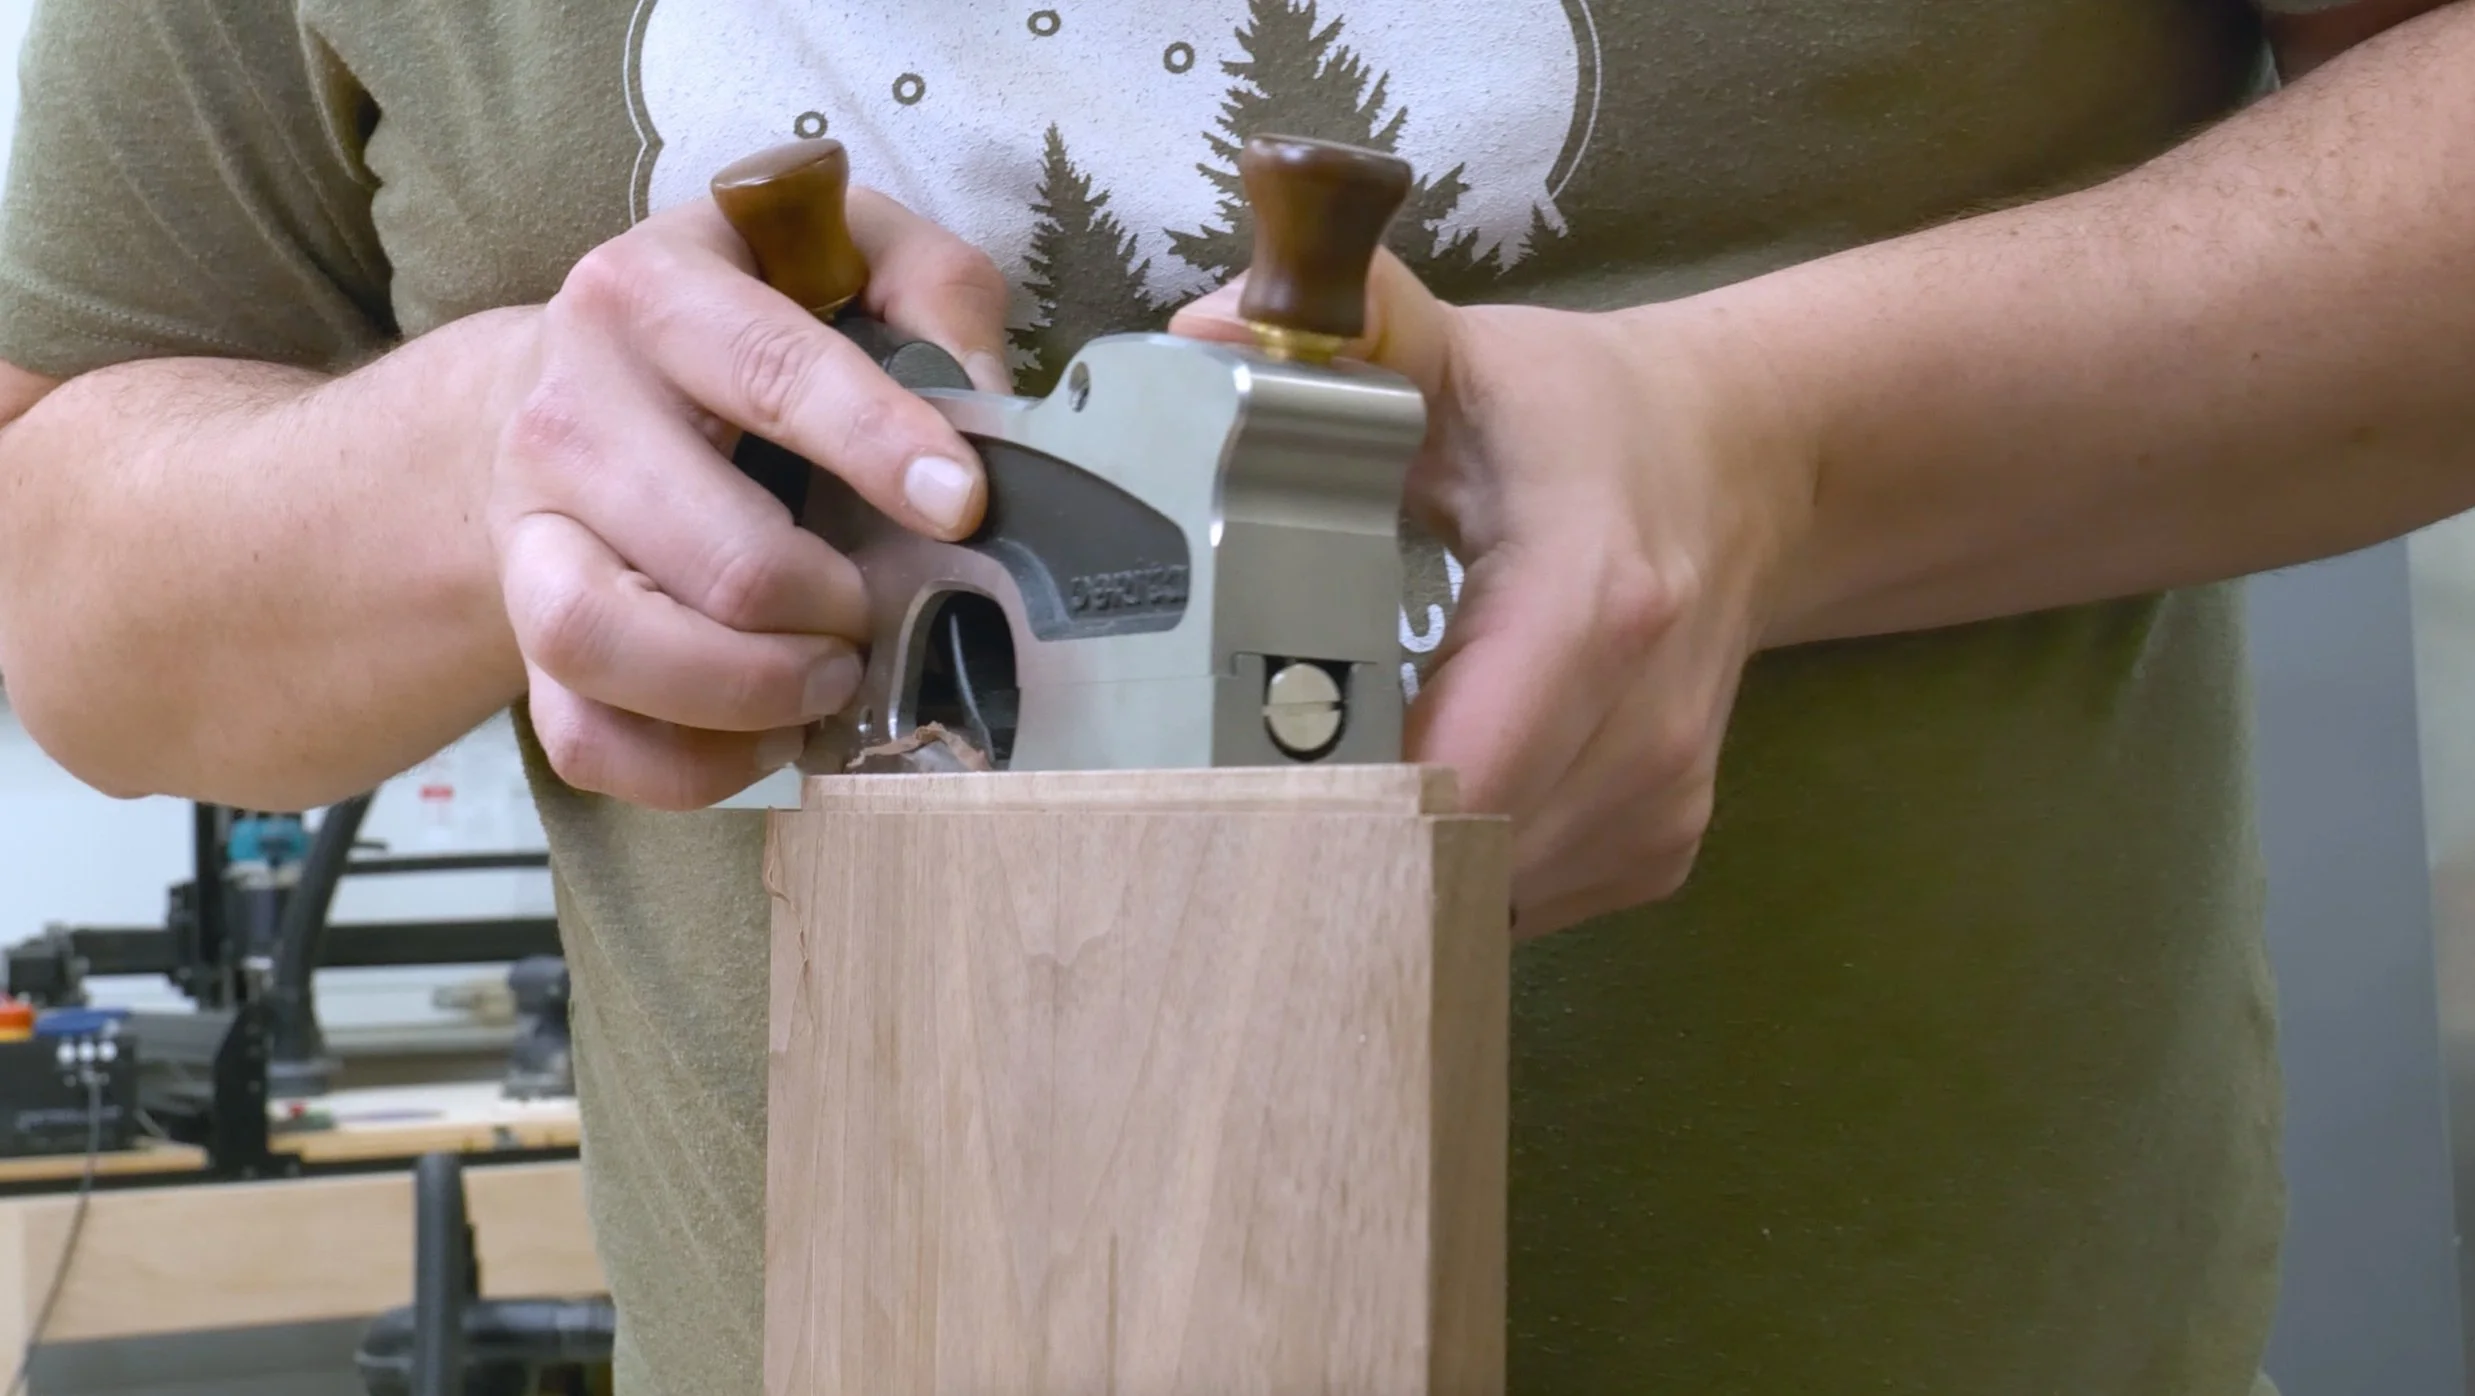
Clean up the shoulders and cheeks using a shoulder plane just to clean up the fit. Dado blades can leave some irregularities in the shoulders and cheeks. The shoulders can also have a little taper to them, so using a plane like this flattens those out.
Use a chisel to make sure that the shoulders are cleaned up and then clean up the tenon length with a block plane. Make sure to chamfer your leading edge a little bit so you don't blow out the end of your tenon. Repeat this process for all of the tenons.
Dry fit everything together!
Cut Out The Vents
Cut some vents into the back panel so that there's some airflow and so that the bread doesn't get moldy. To lay out the rear vents, split the difference between the shelves. And you already have the template to cut the mortises, so just reuse the width for the center shelf mortise. The main difference here being that these are through cuts. You can make them in 2 passes of a ¼” each. Put a sacrificial board under the workpiece so that you don’t route into the bench.
ROUND OVER THE EDGES
Round over the exposed edges on the box. There are a few parts where I chose not to round over so that I could get better seams at transition parts like where the door meets the middle shelf.
MAKE THE DOOR
Cut Out The Door
Cut the door to size going off the measurement of the box. Take away equal amounts off either side of my door to make sure that that book match stays in the center. Using a number four to clean the door to a perfect fit.
Next, use my crosscut sled to sneak up to the door height. The last part to ensure a good fit is to rip an 81 degree bevel onto the bottom where the hinges will meet the door. Be sure to test the fit.
Attach the Hinges
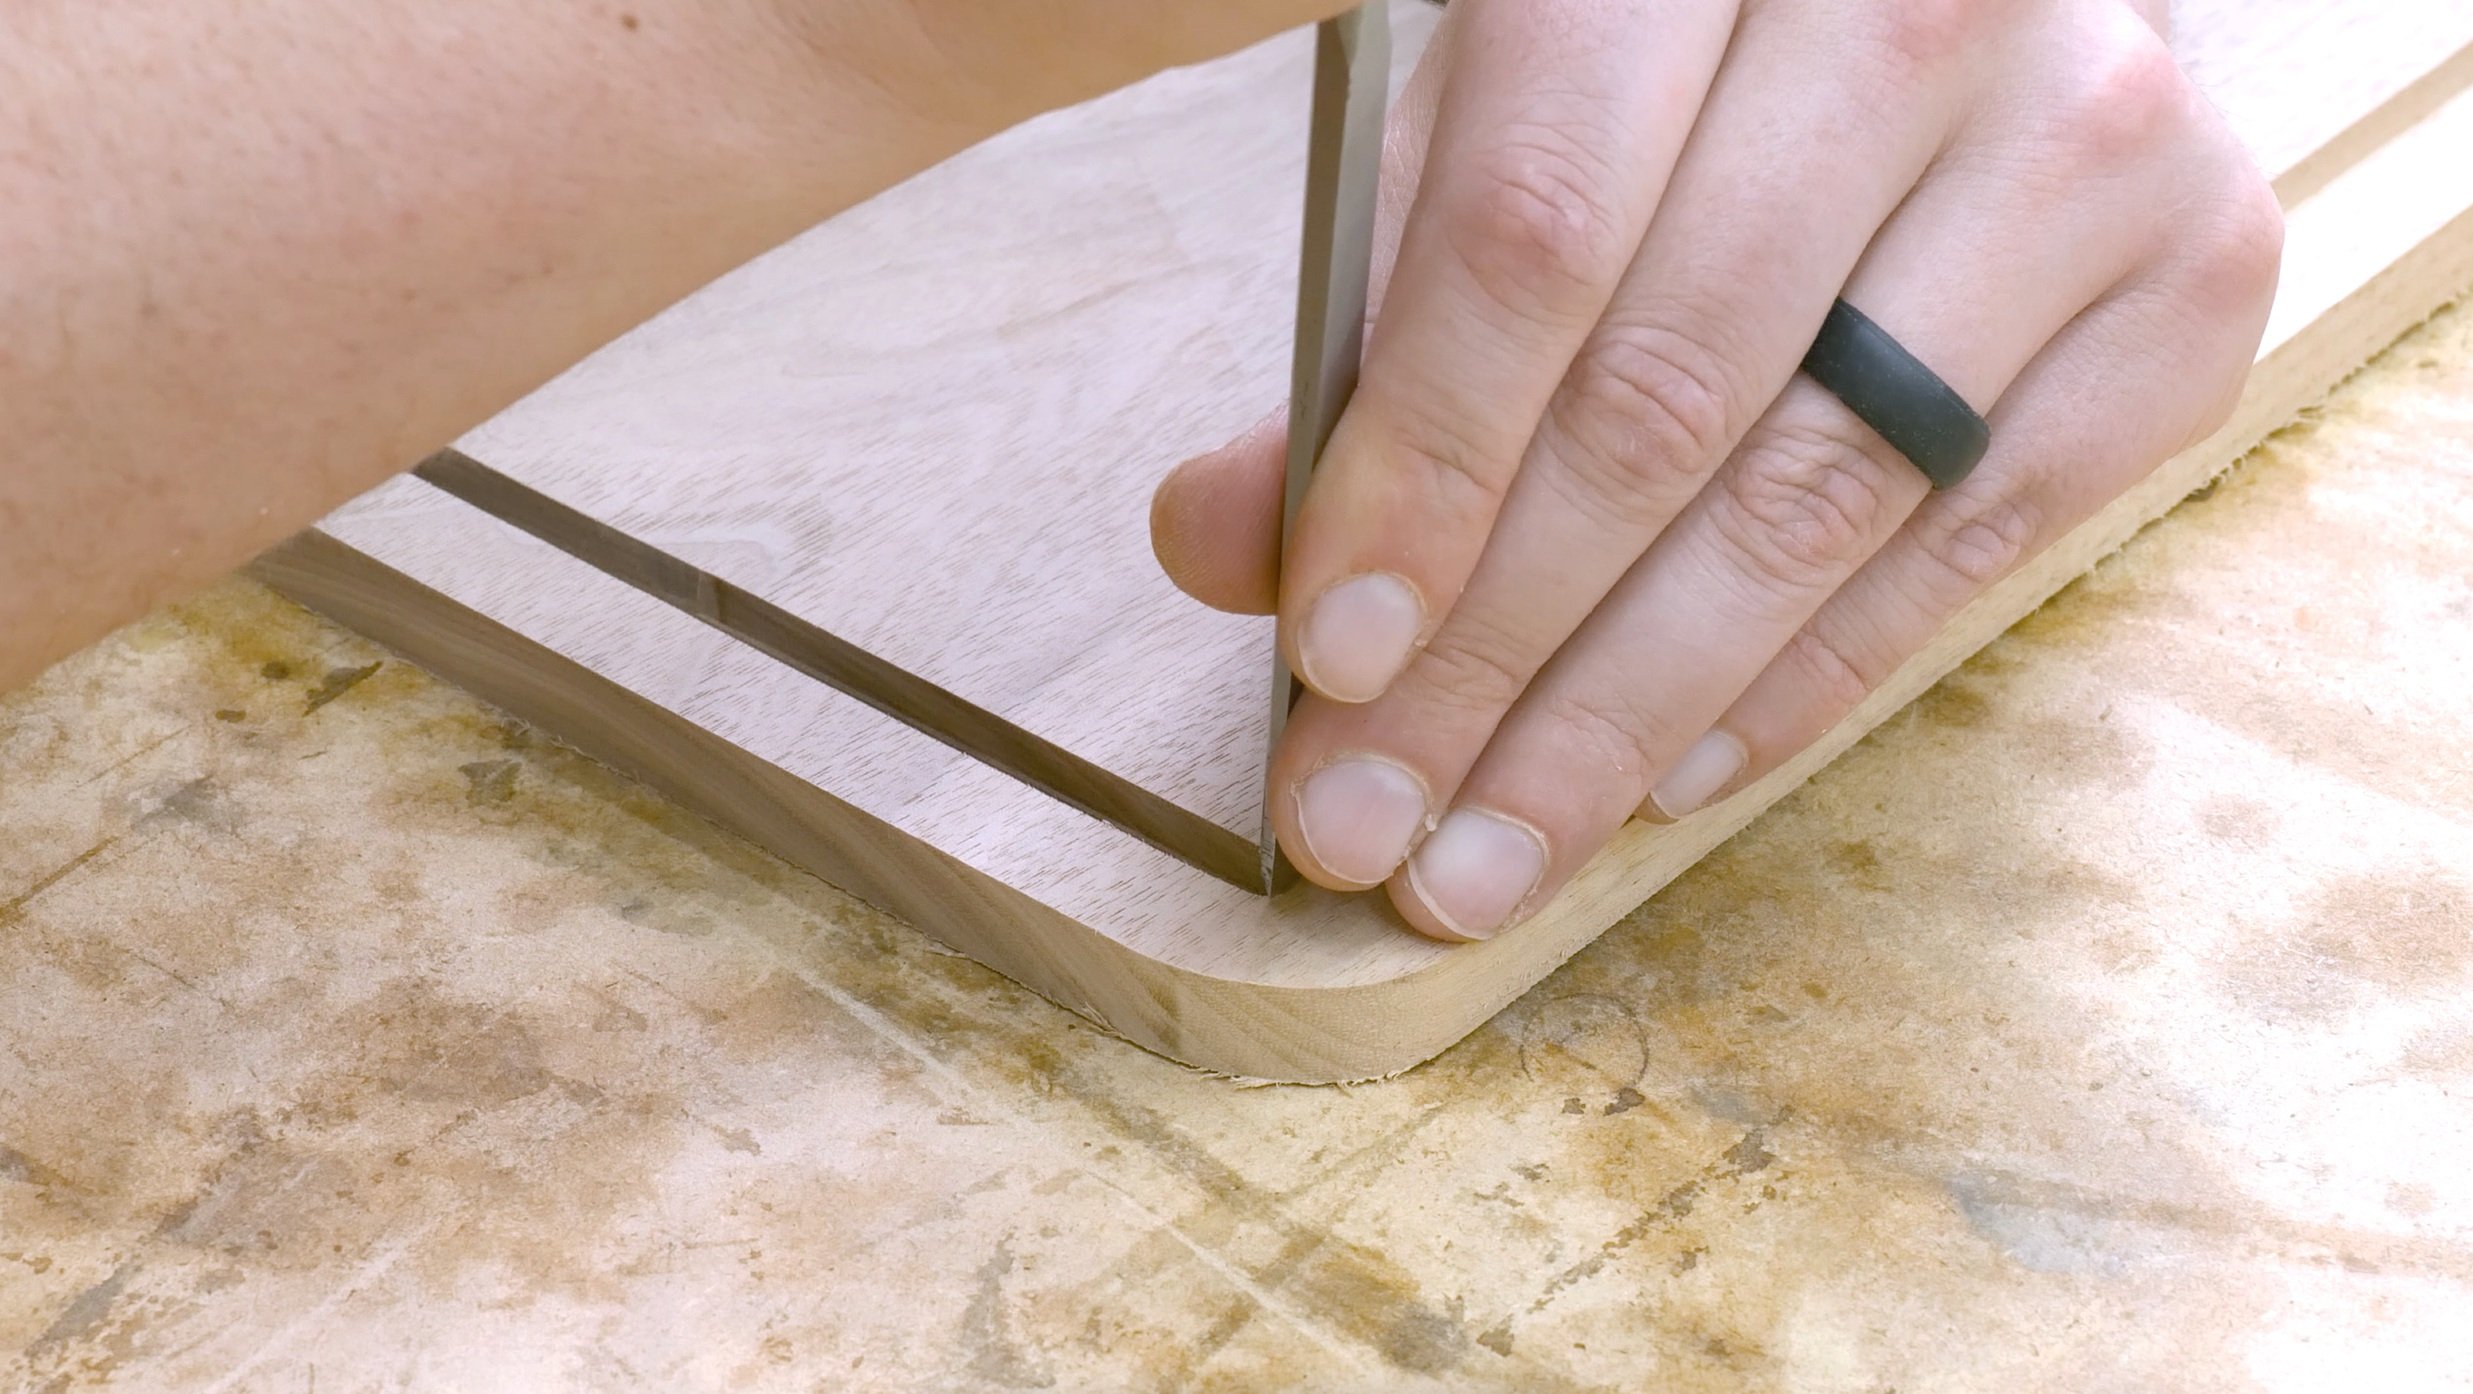
To mark out the hinges, apply some double stick tape to the bottom of the hinge and then attach it to the bottom of the door. Then, using a marking knife, mark all around the hinge before popping it off and then darkening those marks with a pencil.
With everything laid out, reinforce those marks with a chisel and then cut back to those lines to give yourself a notch to know where to stop.
Using a table saw, cut another 81 degree bevel on a wider board to give yourself more surface area for the router base. Then using a down cut bit set to the depth of the hinge, hog out the majority of the material.
From there, use chisels to clean up the remaining parts. It's better to take smaller bites at this rather than taking large chunks and overshooting the fit.
Once the hinge had a nice snug fit, pre-drill a couple holes and then use the steel screw to cut in the threads. Then replace that with the brass one and then repeat that process three times.
Reassemble the box and test out the door.
MAKE THE DRAWER BOXES AND PULLS
Make the Drawer Boxes
Thickness down the boards to a ¼”. Then using a table saw, rip them to their final height.
Once the boxes are ripped to the height, use a miter gauge to cut them to the final length.
Then cut rabbets onto the front, backs, and bottom of the drawers for assembly. Make sure that when you're doing this step that you're either using a flat bottom blade or a dado stack otherwise you'll cut in some grooves and it'll be more work to clean up.
Once all the rabbets are cut, use some blue painters tape to dry assemble the drawers and then test fit them into the box.
Make the Pulls
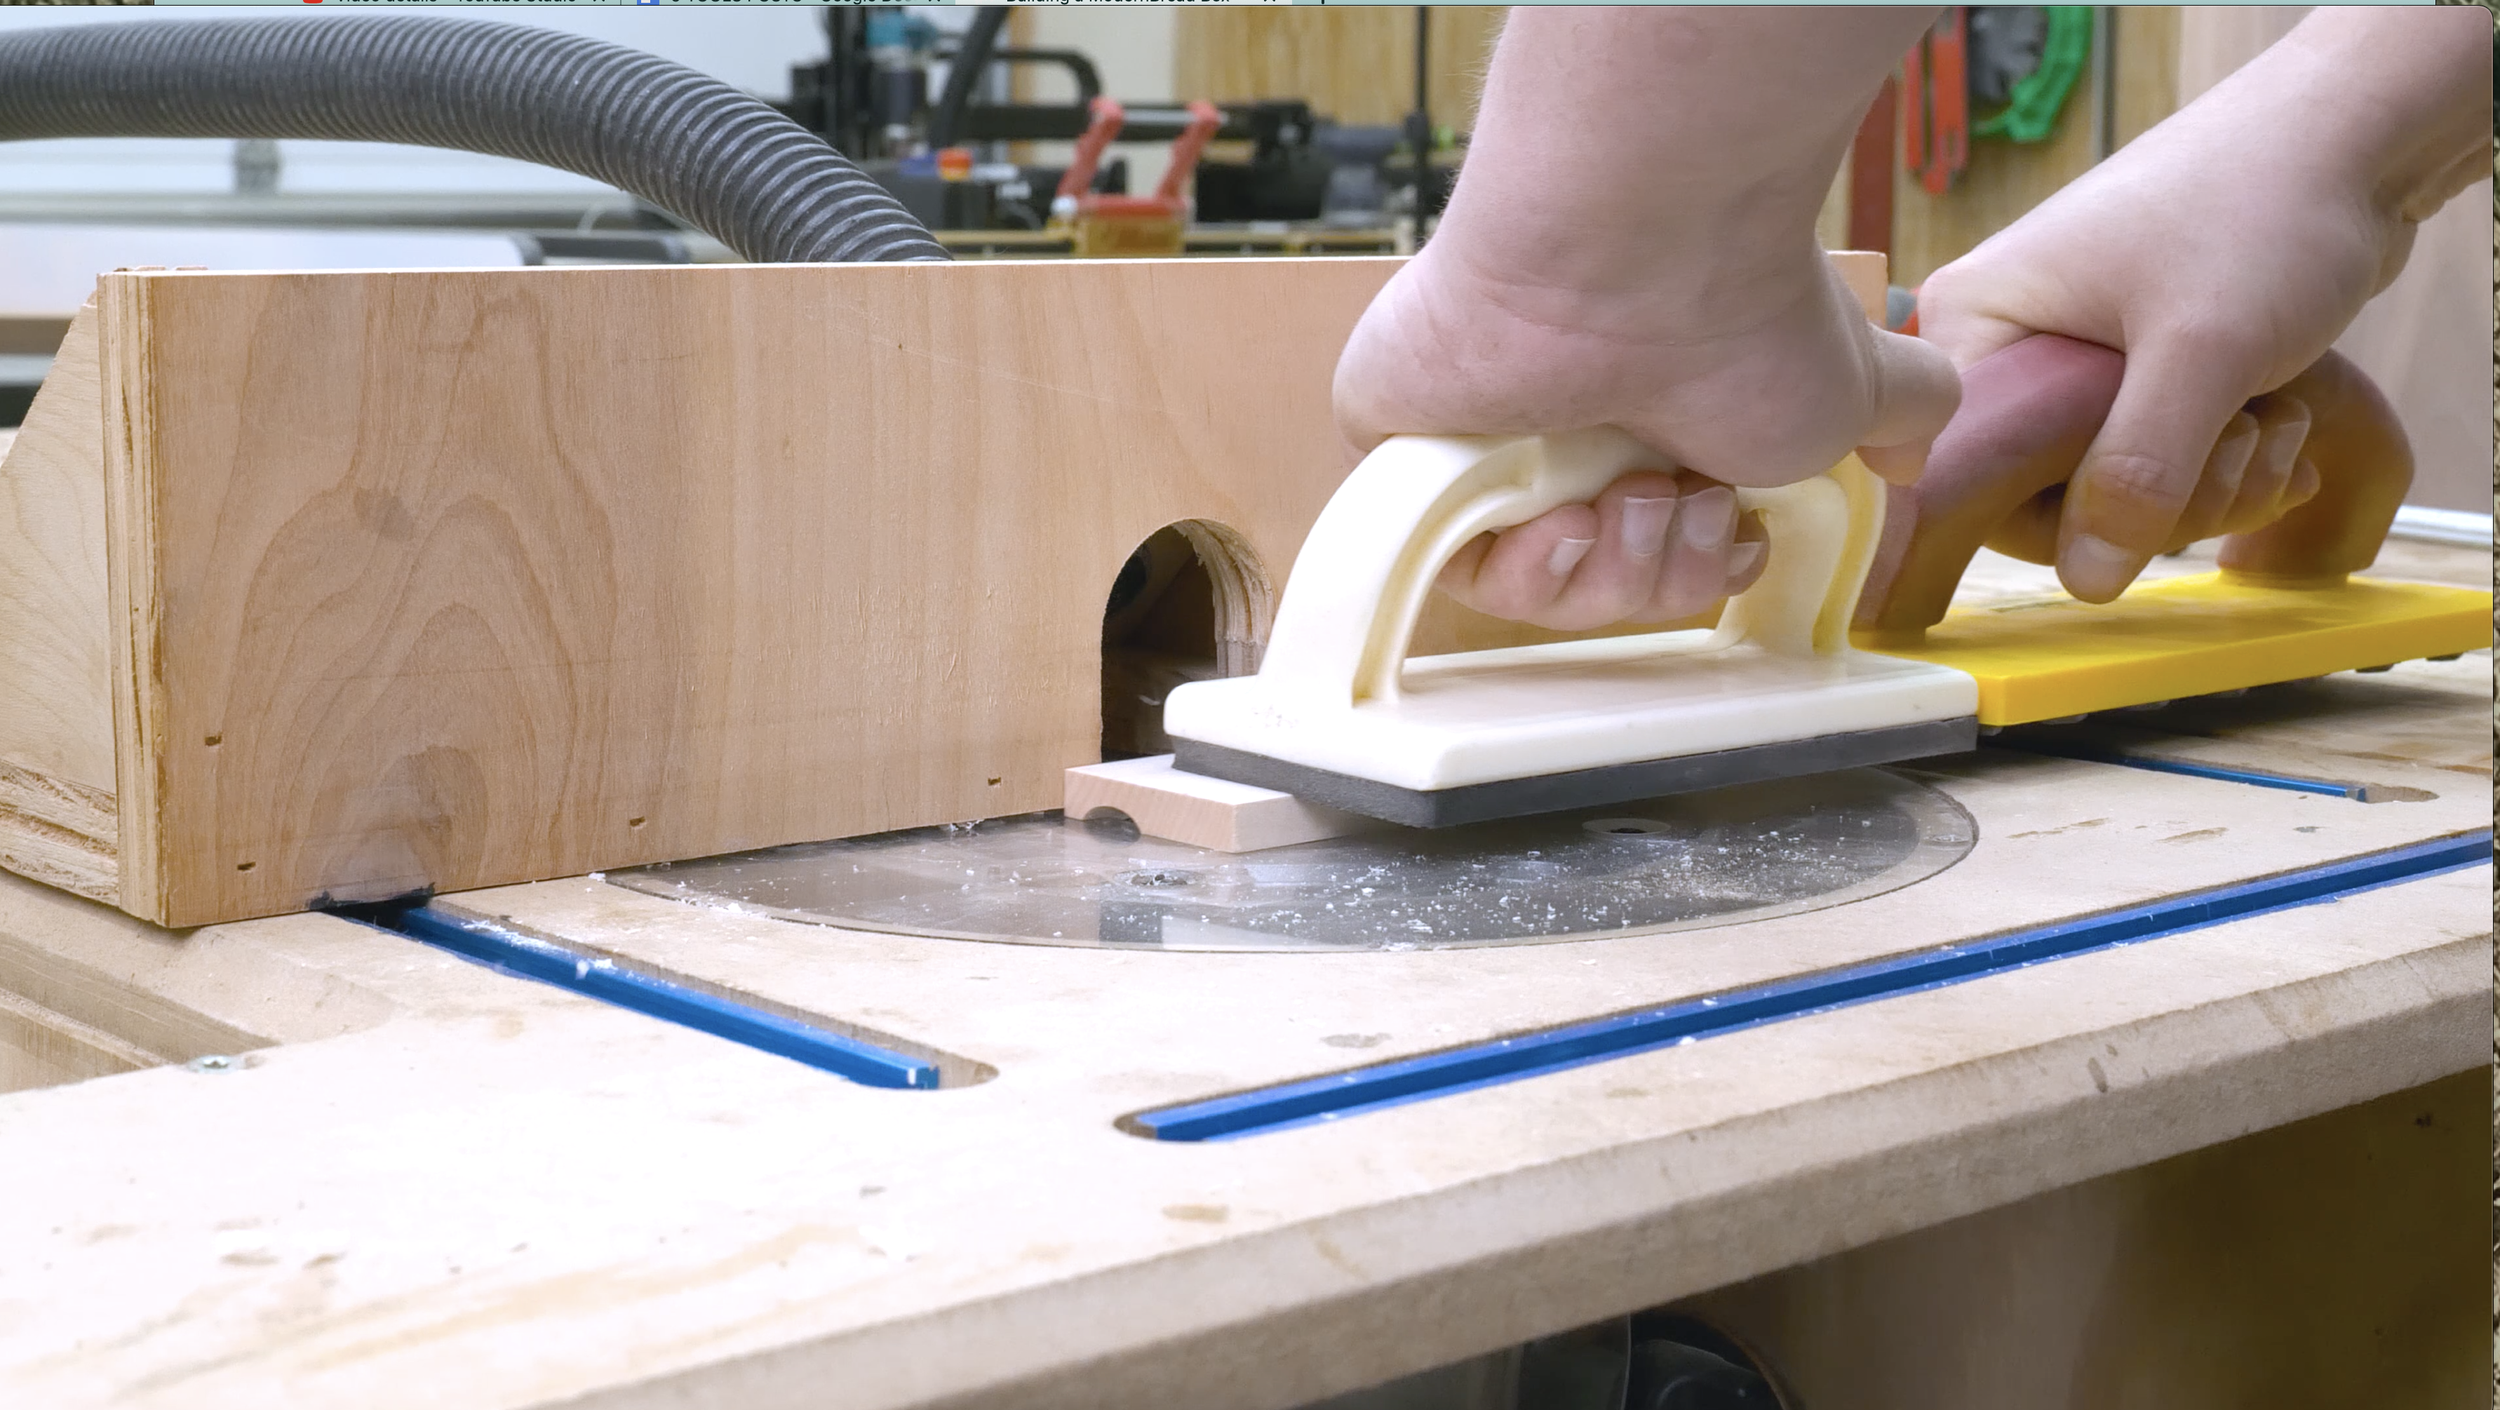
To create the pulls, cut a groove into a stick of maple using a bull bit at the router table. This will end up being the finger placement for the pulls.
Then rip down the stick at the table saw so that the rear width was equal to the thickness of the door. Cut those down into two equal 2” sections and one 3” section.
Then at the band saw, cut the rear part down to the thickness of the drawer. Smooth out the cut lines with a block plane and marked out a curve. Using a disc sander, sand in the curve. If you don't have a disc sander you could use a rasp or a band saw or you could just finish shaping these by hand.
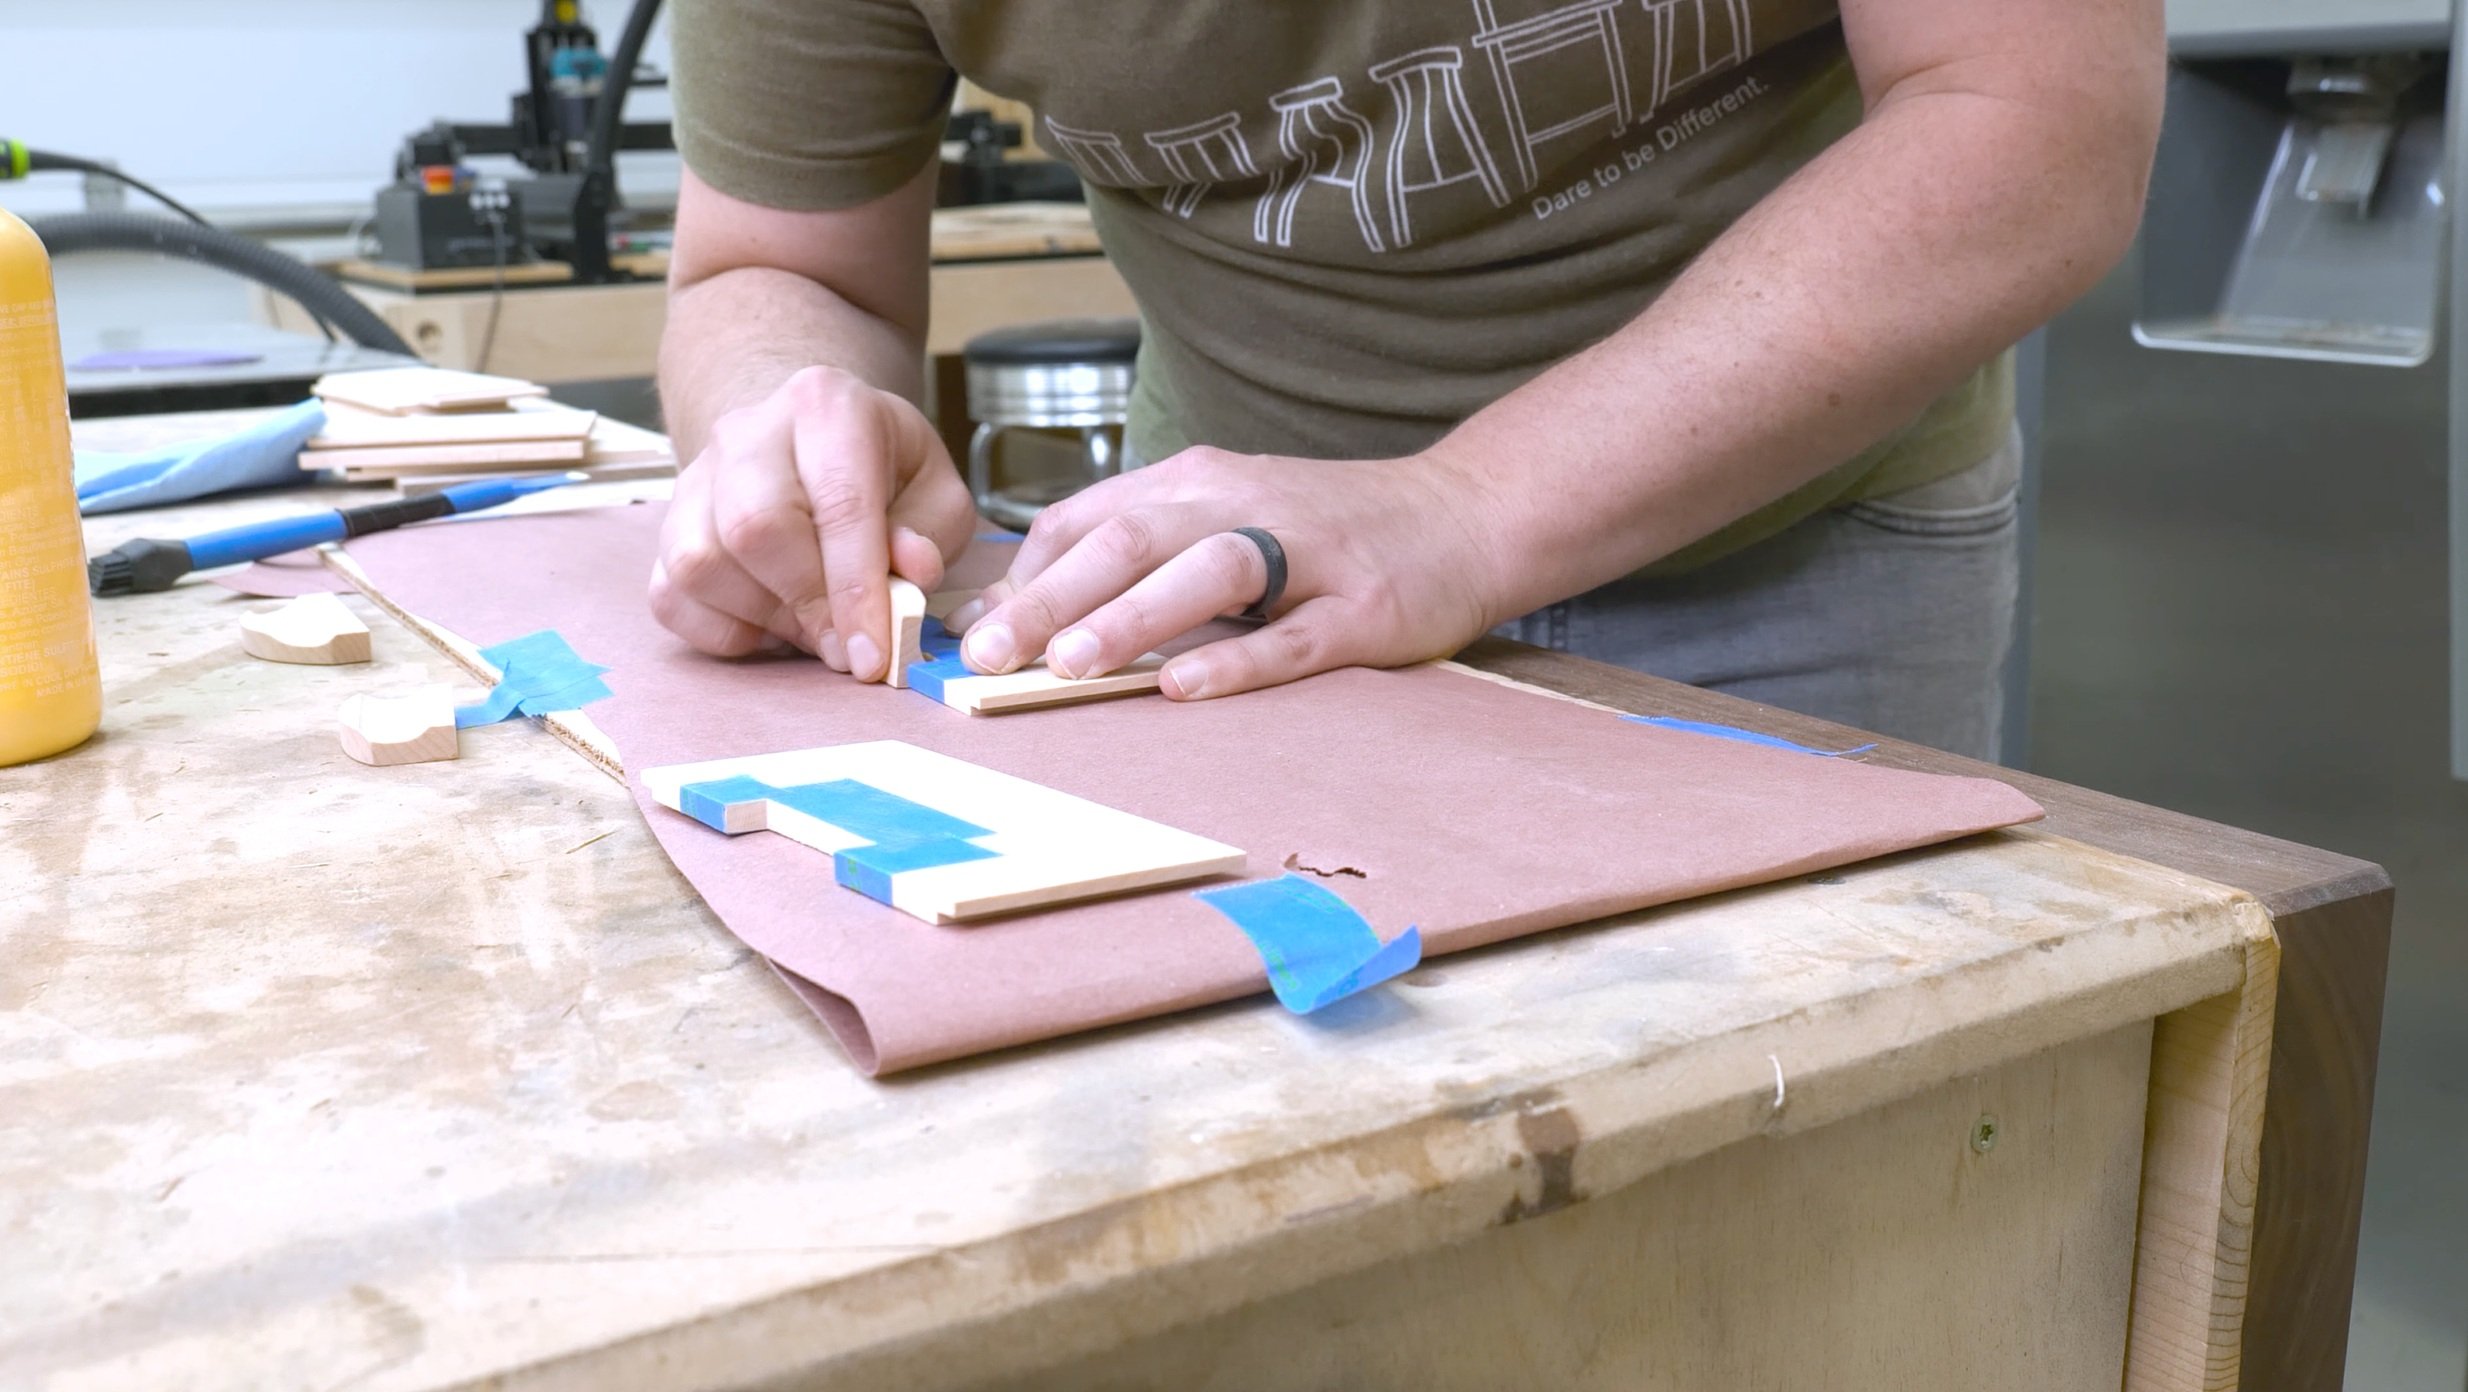
Finally, sand the pulls and add a round over into the front facing edges.
Attach the Pulls
Attach the pulls by cutting a notch into the top of the drawers as well as the door.
Using a marking knife, lay out the pulls on the front of the doors. Cut in the notches at the table saw. Test fit each of the pulls.
Glue each of the pulls into the respective drawer fronts. I did mask off the area around the pulls to minimize the squeeze out that would be difficult to sand back. Also check the pulls for square.
Assemble the Drawers
Use blue tape in place of clamps since these pieces are so small. Once the four sides are glued the bottom can be dropped right in.
FINISH THE BREADBOX
Apply the Finish
For the finish on this piece I used a penetrating oil because it's natural and it's plant-based which makes me feel better about using it around our bread. Though I did let it cure for about a week or two before putting any bread in it.
Glue Up The Box
Using a glue with a long open time, glue up all of the pieces and add a few clamps. To glue in the center divider between the drawers I put a little packing tape on the edges of the drawers and used them to help center the piece.
To glue in the magnets that would hold the door closed, drill and pop in one small magnet into the door. Then create a little catch for the inside of the box that would attach to the door magnet with an 81 degree angle.
There is a complete build video on my YouTube channel (Timber Biscuit Woodworks), so you can follow along.
Tag me on social if you're building this project (@timberbiscuitwoodwork on Instagram) with the hashtag #BiscuitBuild - Happy building!


