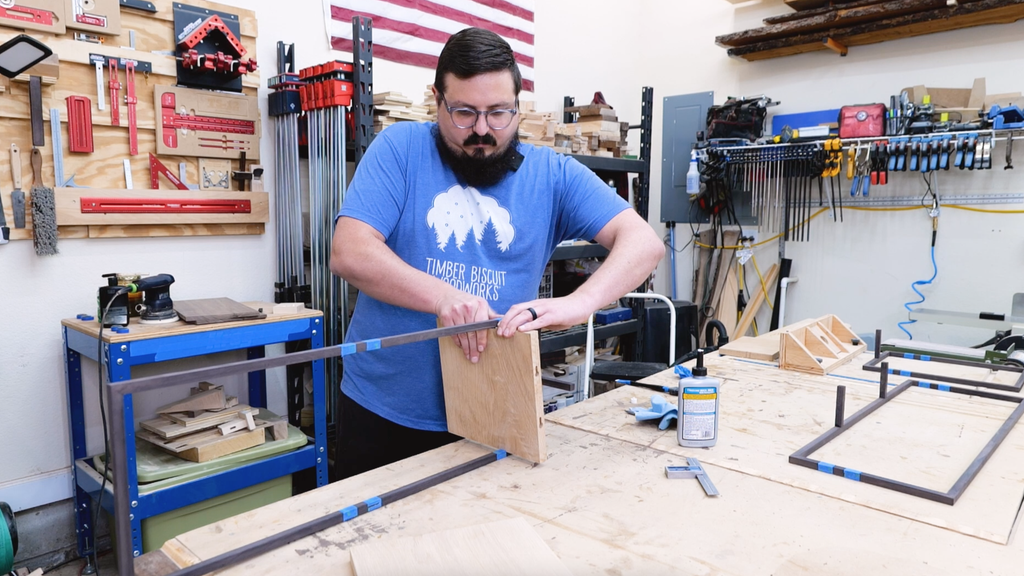
Building Modern Floating Shelves with Frames

These shelves combine the ever-popular floating wall shelf with a picture frame border. These make a great addition to a gallery wall or by themselves for you to display pictures, knick-knacks, and trinkets!
The floating shelves are made of sturdy white oak, and the frames are walnut. I used a cool technique to ebonize the walnut by combining steel wool and vinegar to make iron acetate. When you apply this to walnut, it brings out the natural tannins in the wood to make it black. This is a fun way to “stain” wood without the painful process of actually staining the wood. And this technique can be used on other woods with ample tannins like oak, cherry, and mahogany.
This woodworking project was a bunch of fun! If you have any questions, I’d be happy to answer them in the comments. Enjoy the build!
Project Plans: https://bit.ly/TBWfloatingshelves
Supplies
Hardwood of your choice for shelves
Hardwood of your choice for frames**
Table Saw
Miter Gauge
Crosscut Sled
Wood Glue
Steel Wool
Vinegar
**If you plan on ebonizing the frames, the lumber you use should be high in tannins for the best effect like walnut and oak.
MILL LUMBER
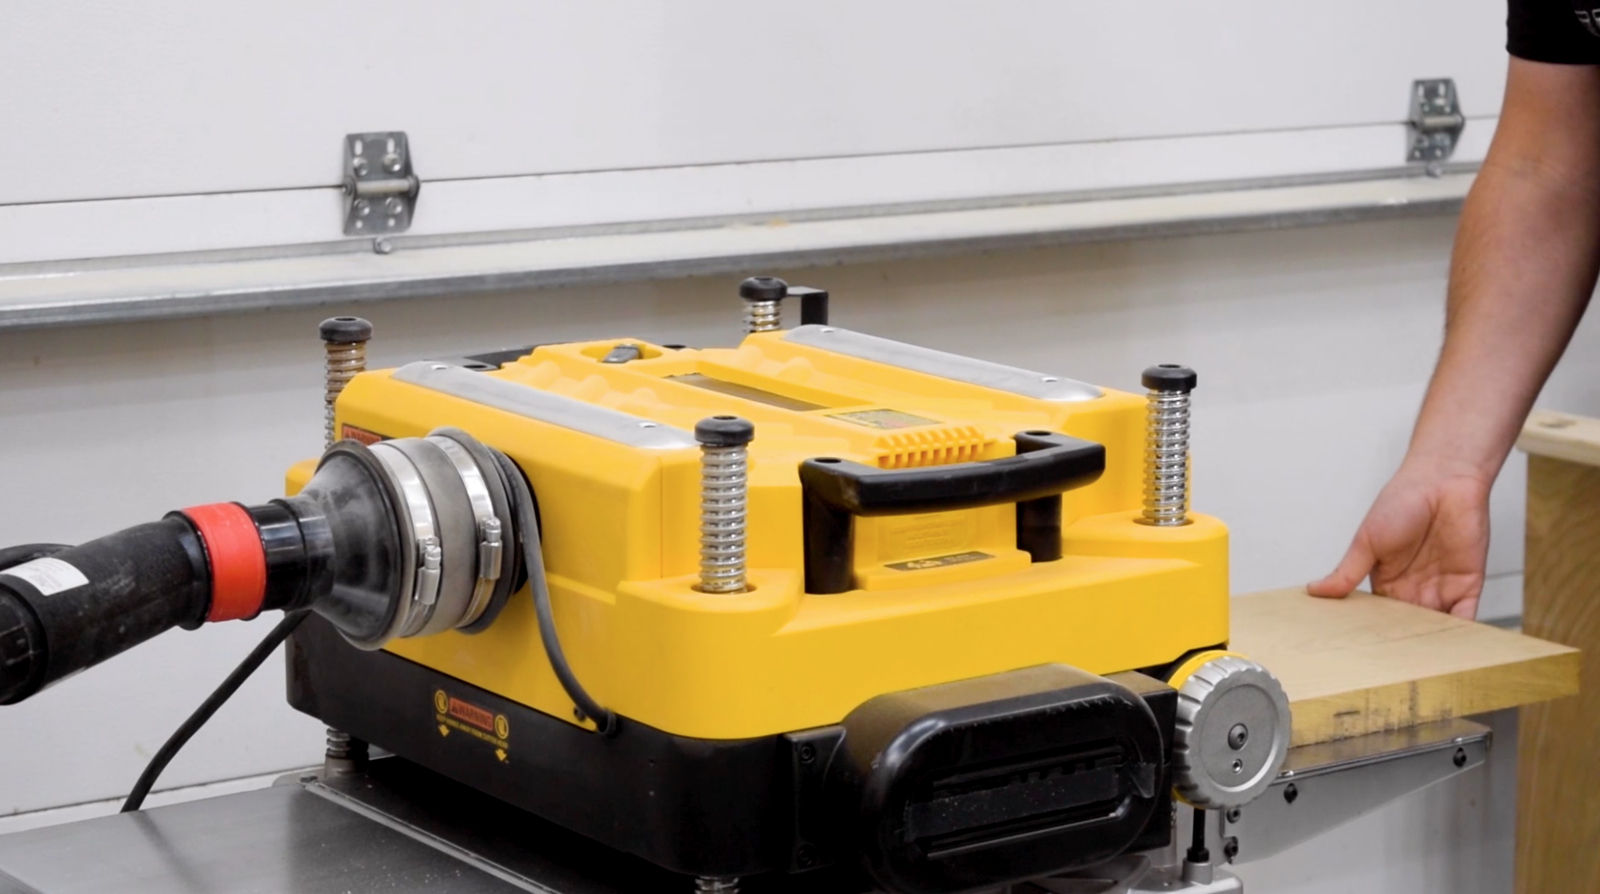
First you need to plane the lumber for the shelves to 3/4" and the lumber for the frames to 1/2". Then you can add a clean edge to one side of the boards at the jointer.


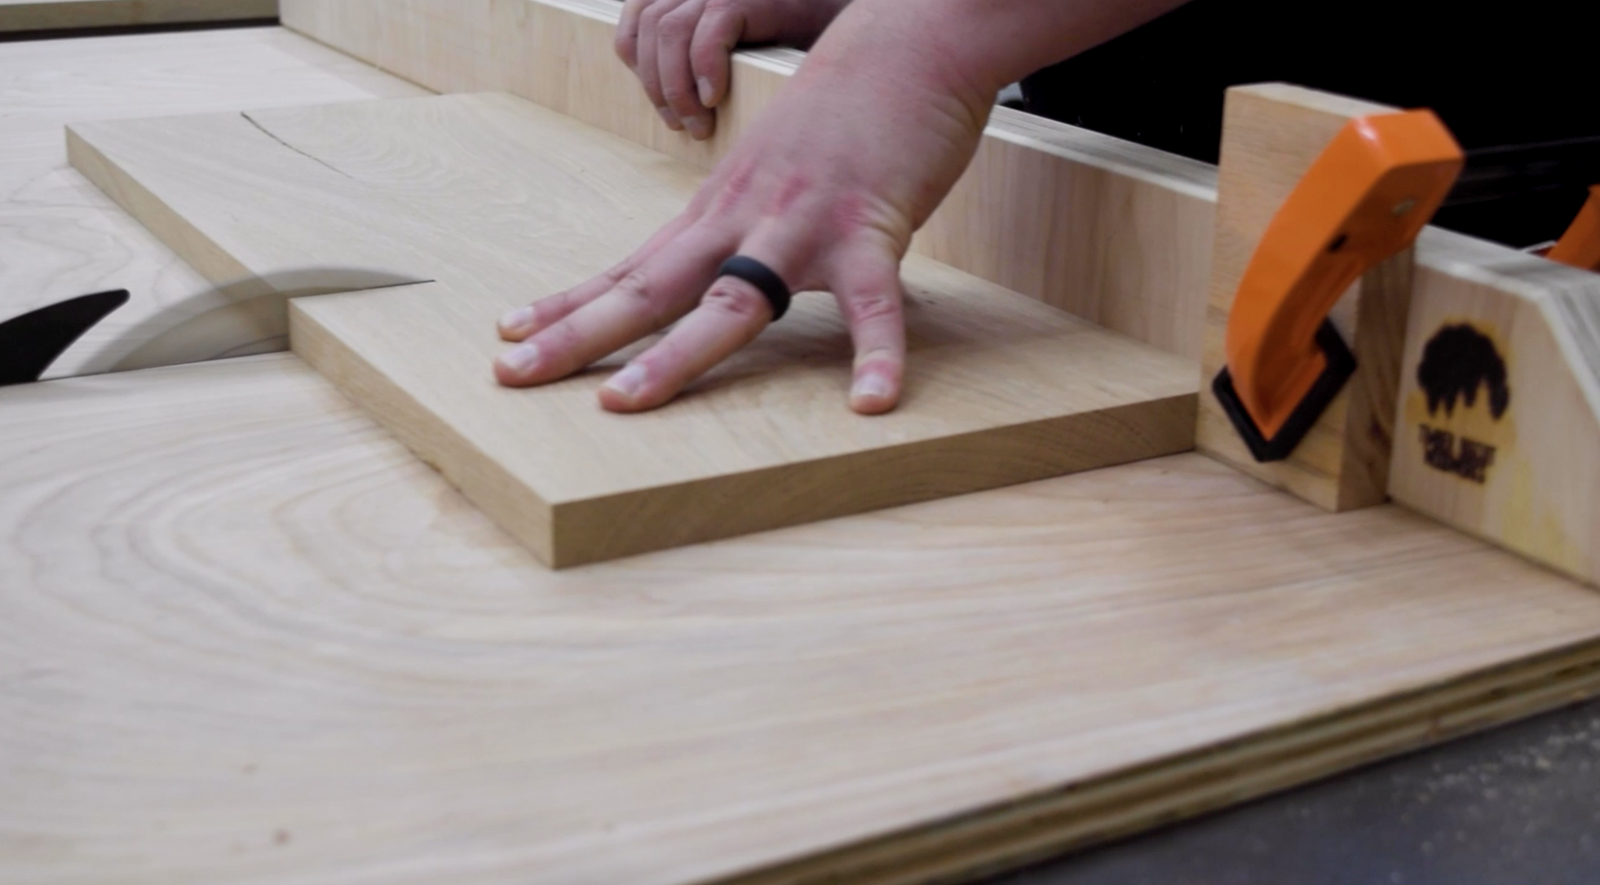
CUT THE FRAMES AND SHELVES TO FINAL WIDTH


Using a table saw, cut each of the shelves to their final width. Since the frame pieces are thin, I used a feather board to make sure it stays fixed against the fence. You may need to cut extra frame pieces in case some of the pieces have a lot of spring in them. You will want to use the ones that are the sturdiest, especially for the wide horizontal shelf frame.
CUT THE SHELVES AND FRAMES TO THEIR FINAL LENGTH

Shelves
Add a clean edge to the shelves and the mark out the final length. Cut the rectangular shelf to its final length using a crosscut sled. For the square shelves, I set up a stop block on my crosscut sled to ensure consistent results.
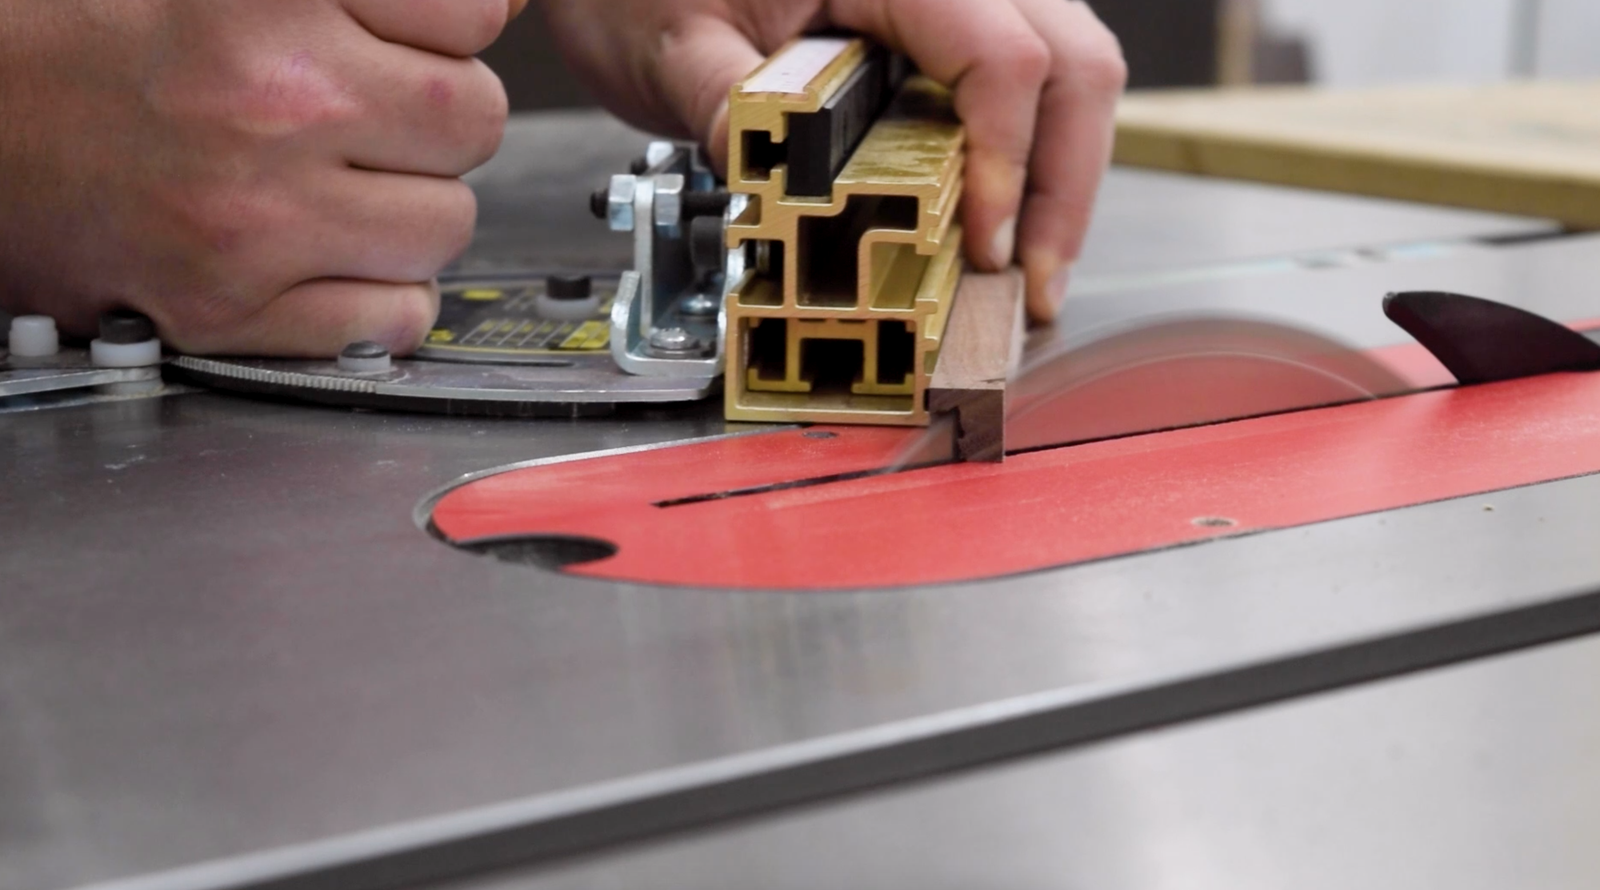
Frames
Cut 45 degree miters on 1 corner of the frame pieces with a miter gauge. To get to the final length for these frame pieces, it is best to start long and then sneak your way up to the final length. For the short frame pieces, a miter gauge with a stop will come in handy as you can flip it up, make your initial cut, flip it down and then cut your pieces to their final length. For the longer frame pieces, mark out the length then make multiple passes with the miter gauge, sneaking up to the final length.


CUT THE STOPS FOR THE BACK OF THE FRAMES

Set up a stop block the crosscut sled to batch out the stops for the back of the frames. These will rest against the wall and keep the shelves parallel to the ground. Cut out all of the stops for your frames (7 in total).

GLUE THE FRAME PIECES TOGETHER AND CUT OUT THE DADOS IN SHELVES


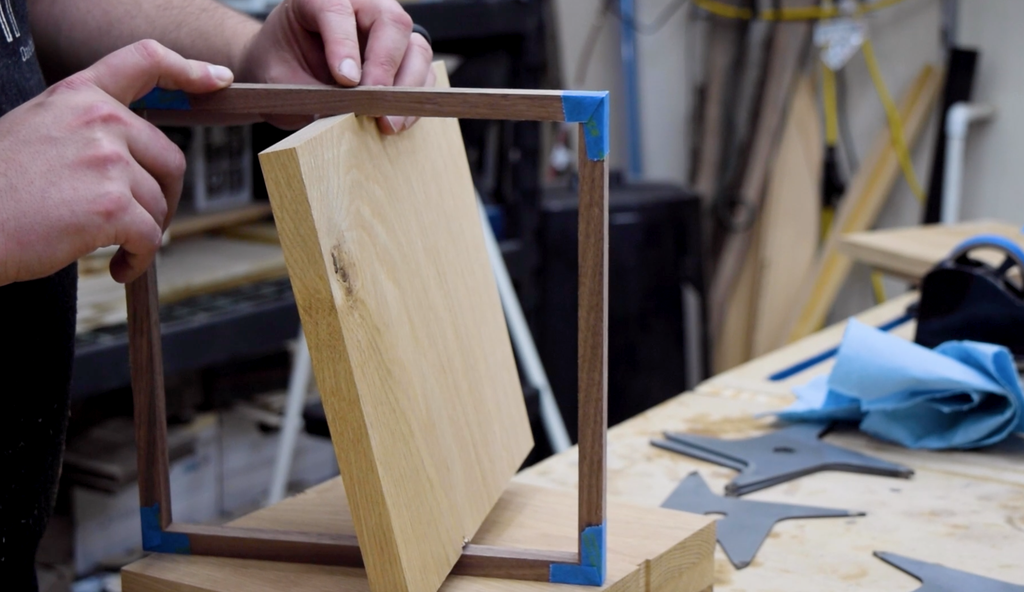
Frames
Using the blue tape trick, glue the frame pieces together with wood glue. Apply glue to the miters and then tape them closed. The blue tape will act as a clamp.
Shelves
Set up a dado stack on your table saw. To set the correct thickness for the dado on the shelf, use one of the frame pieces. Next, use one of the back stops to set up a stop block for the dado cut. Cut the dado into each of the shelves for the frame pieces to sit in. These will help provide some structure for the frame. Test fit the frames and shelves together and use a chisel to clean up any of the dados.


ADD THE KEYHOLES TO THE SHELVES AND EBONIZE THE FRAMES


Add Keyholes
Set up the keyhole bit at the router table. For the square shelves, I used 2 stop blocks, one for where to start the shelf and the second for where to stop the keyhole cut. Add 2 keyholes to the backs of each square shelf and 3 keyholes to the back of the rectangular shelf.
Ebonize Frames
Add equal parts vinegar and steel wool to a jar. Let that soak for about a week until the steel wool has been dissolved. This will create the iron acetate to ebonize the wood. Paint the mixture onto the frames using a foam brush. Make sure to wipe away any excess after a minute or two.


GLUE UP SHELVES TO FRAMES AND APPLY FINISH

Mark our the shelf placement on the frames and apply blue tape to either side to help protect the frame from glue squeeze out. Mark out the placement for the frame support and glue it to the frame with wood glue. Glue the shelves to the frames. Once the glue has dried, apply the finish of your choice.


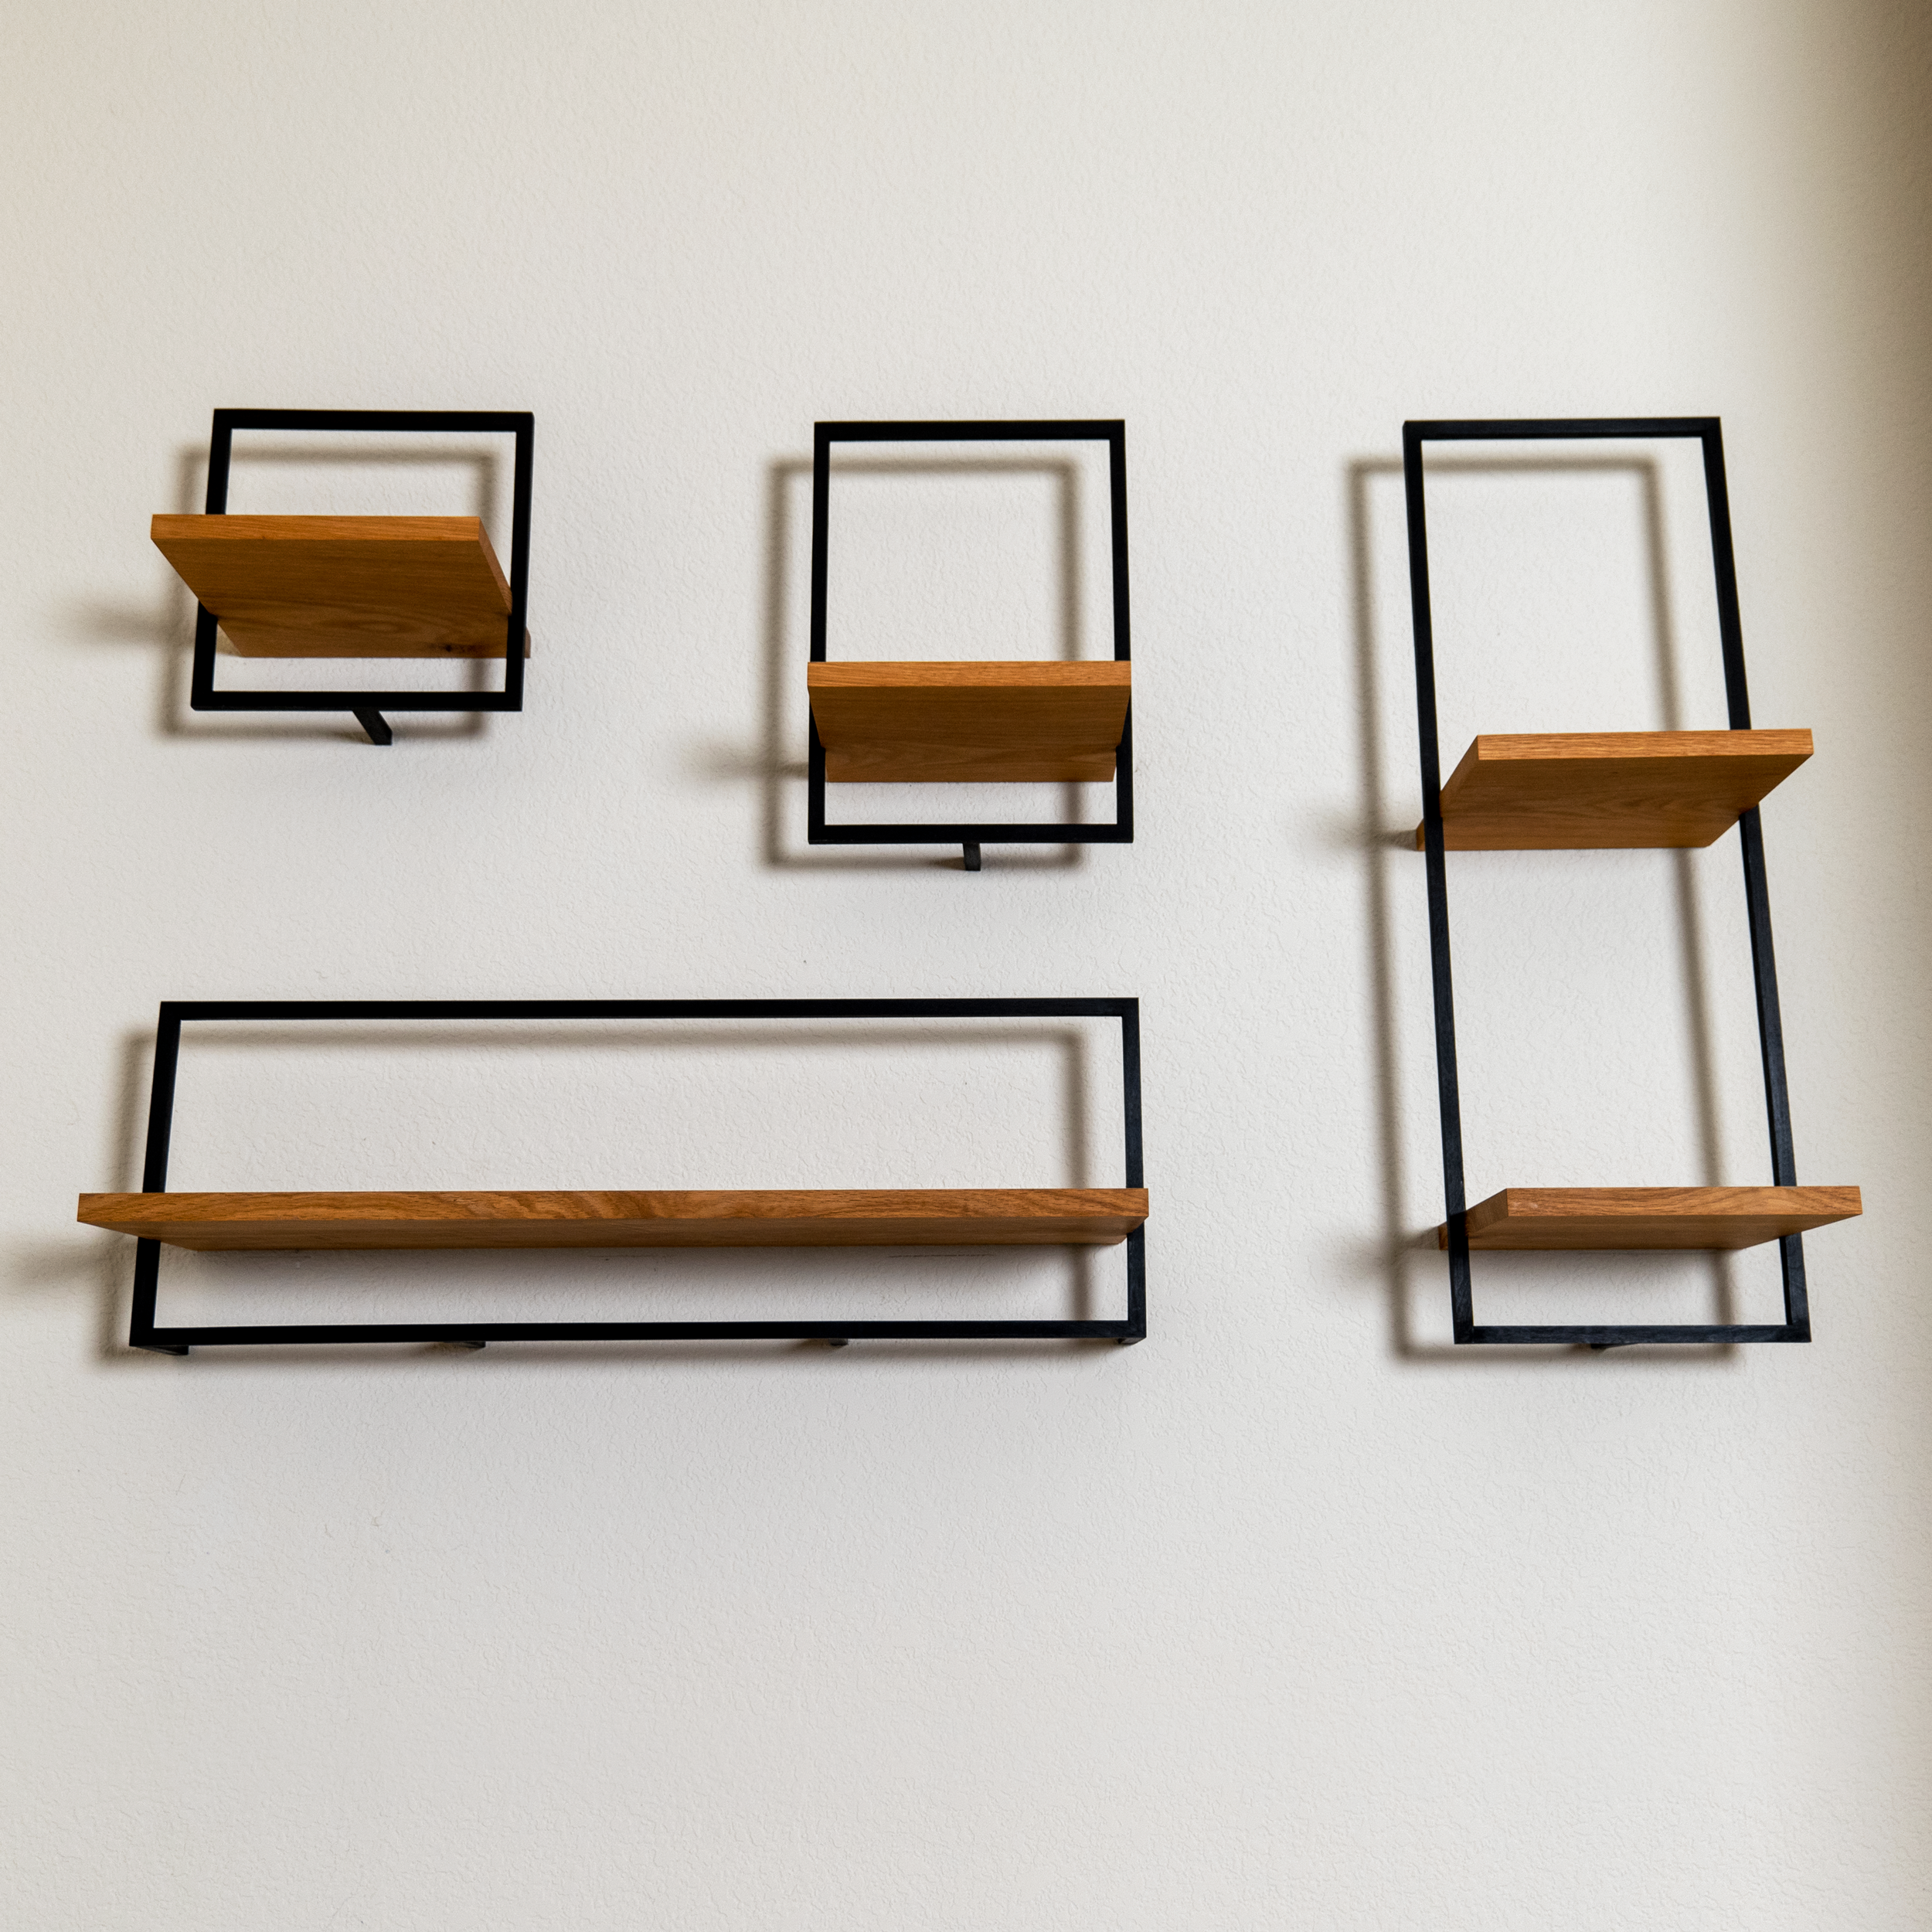

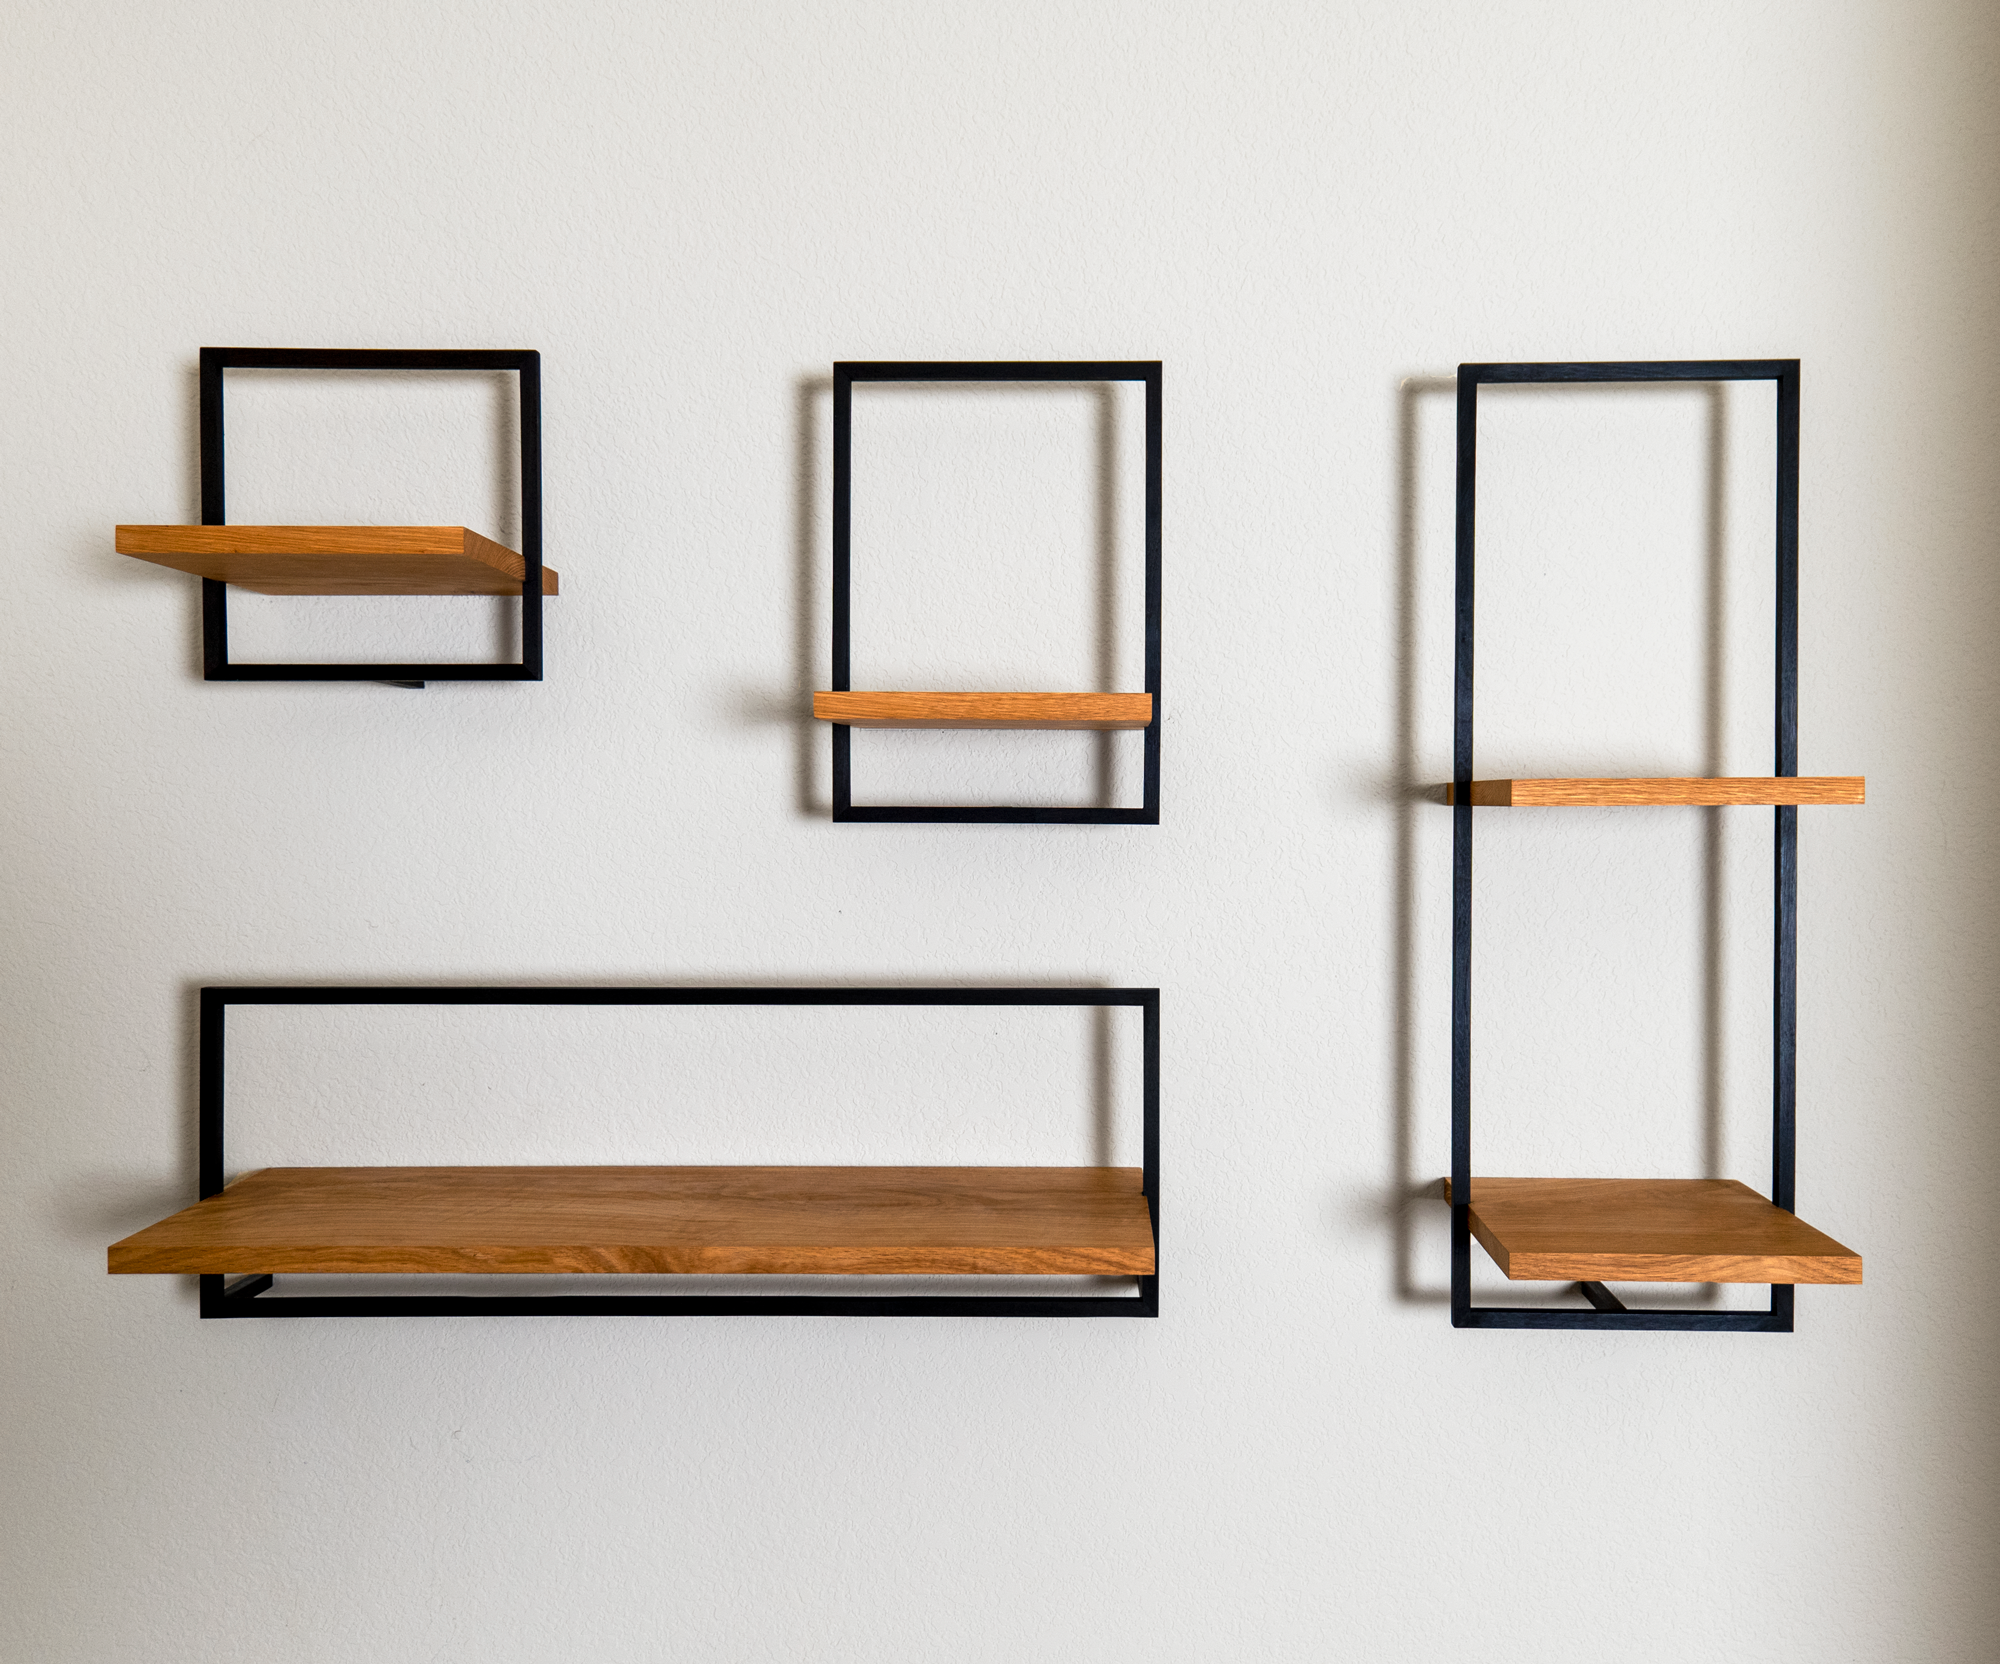
Hang those shelves and start decorating!
There is a complete build video on my YouTube channel (Timber Biscuit Woodworks), so you can follow along.
The approximate cost for building Framed Floating Wall Shelves as designed with all of the bells & whistles is ~$20 (this will, of course, vary for everyone).
Tag me on social if you're building this project (@timberbiscuitwoodwork on Instagram) with the hashtag #BiscuitBuild - Happy building!