Building a Modern Clock with Compound Miters and Bevels
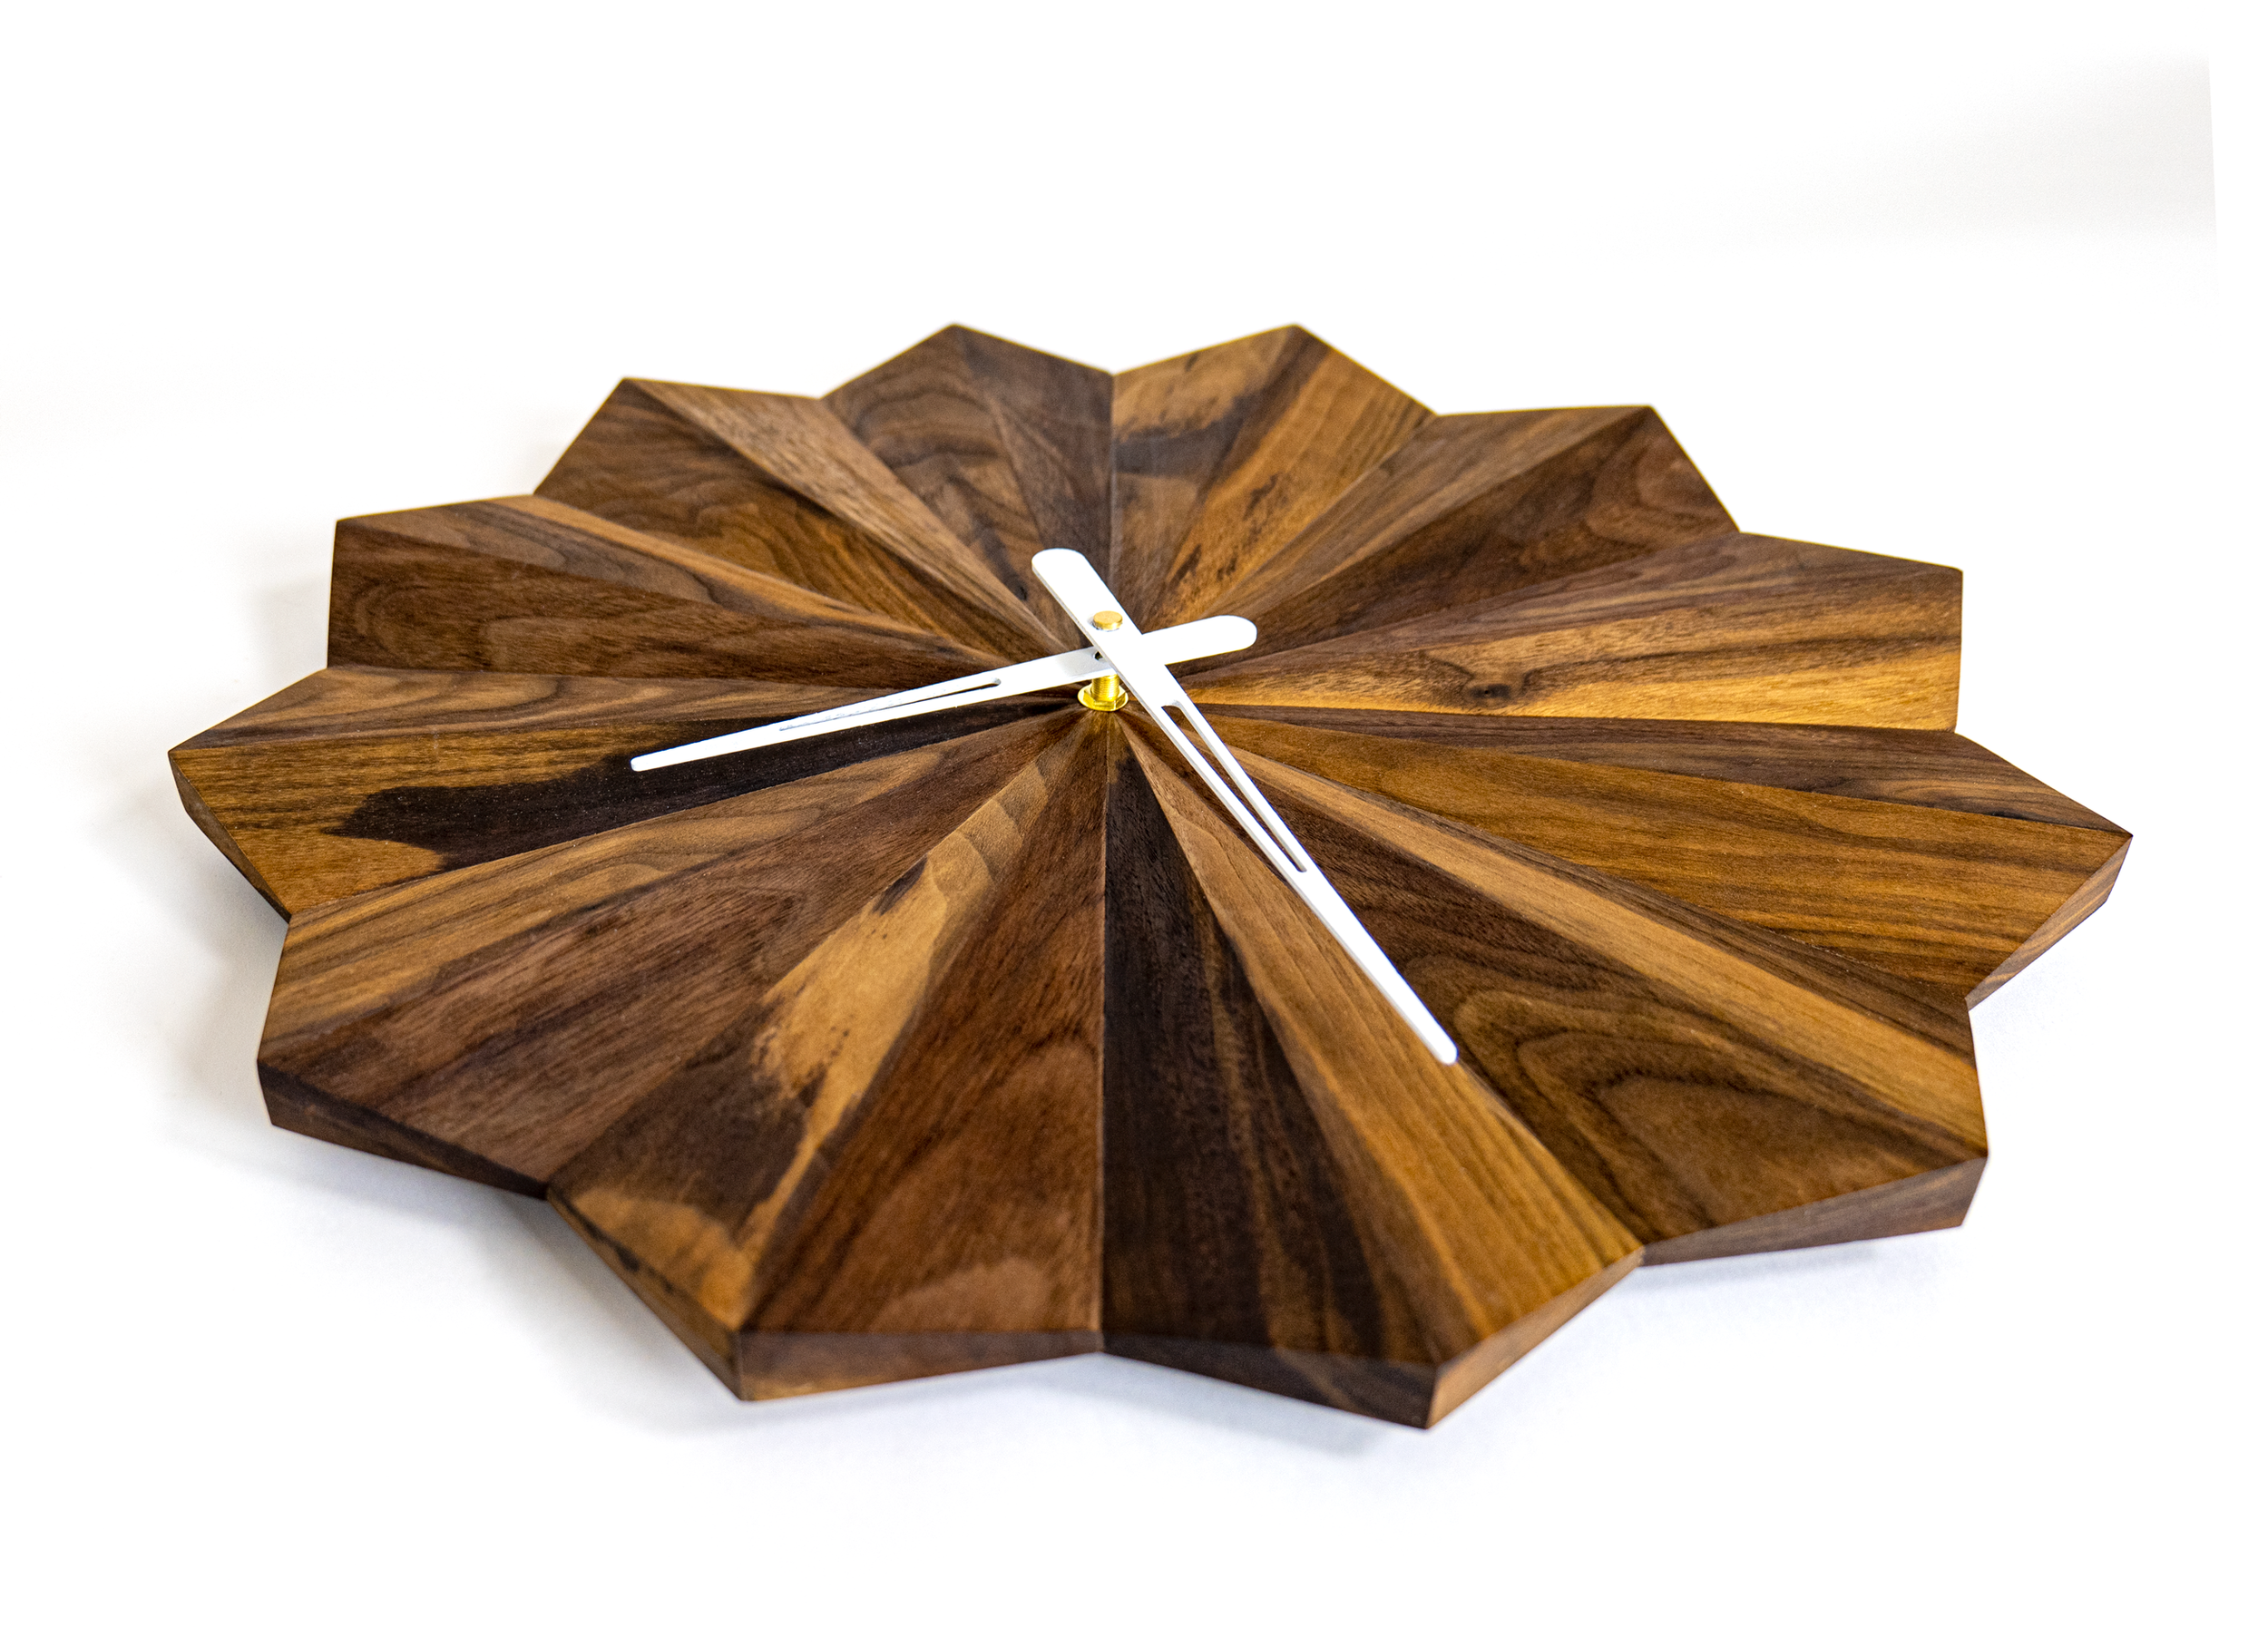
If you're looking for a challenging woodworking project, why not try your hand at building a clock? Using compound miters and compound bevel cuts will add an extra level of difficulty to the project, but the end result will be a beautiful and uniquely modern clock that you can be proud of. My Modern Clock was inspired by George Nelson - the Father Time of mid-century modern clocks. And with the help of a few unique table saw jigs and some math, I was able to achieve the angles and bevels that give this clock the attention it deserves.
And by now, you know that my favorite type of wood to use is walnut, so there is no surprise that I used it here. But also because it’s such a timeless material and the figure really accents the dramatic angles in the design.
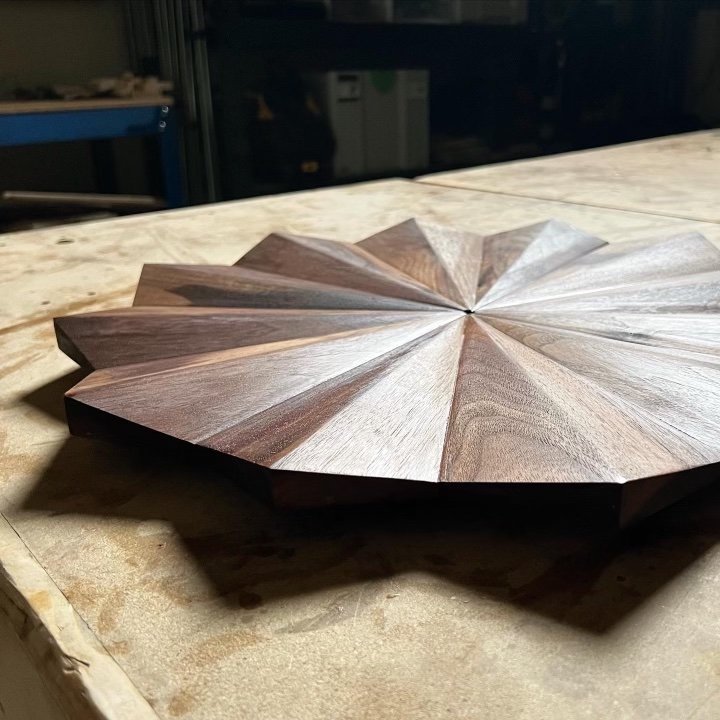
But back to the techniques I used for this project - bevel cuts and compound miters give this clock the dimension you see. So let’s talk about it.
If you're interested in building this modern clock, make sure you watch the full build video and get the plans here.
Compound Miters and Compound Bevels
A compound miter cut is made by beveling both the face and the edge of a piece of wood at the same time. And a compound bevel cut is made by beveling the top and bottom of a piece of wood at the same time. These types of cuts are used when two pieces of wood need to be joined together at an angle other than 90 degrees.
Both of these types of cuts can be made using a table saw or miter saw. These types of cuts can be used to create joints that are stronger than butt joints or miter joints. And bot of these types of cuts are often used in cabinet making and woodworking.
Now, if you don’t want to do the math to come up with the angles needed to make this clock, you can grab yourself a set of the plans HERE. You should also check out this modern step stool that I made that also uses these compound miter and bevel cuts!
The Benefits of Using Compound Miter and Bevel cuts
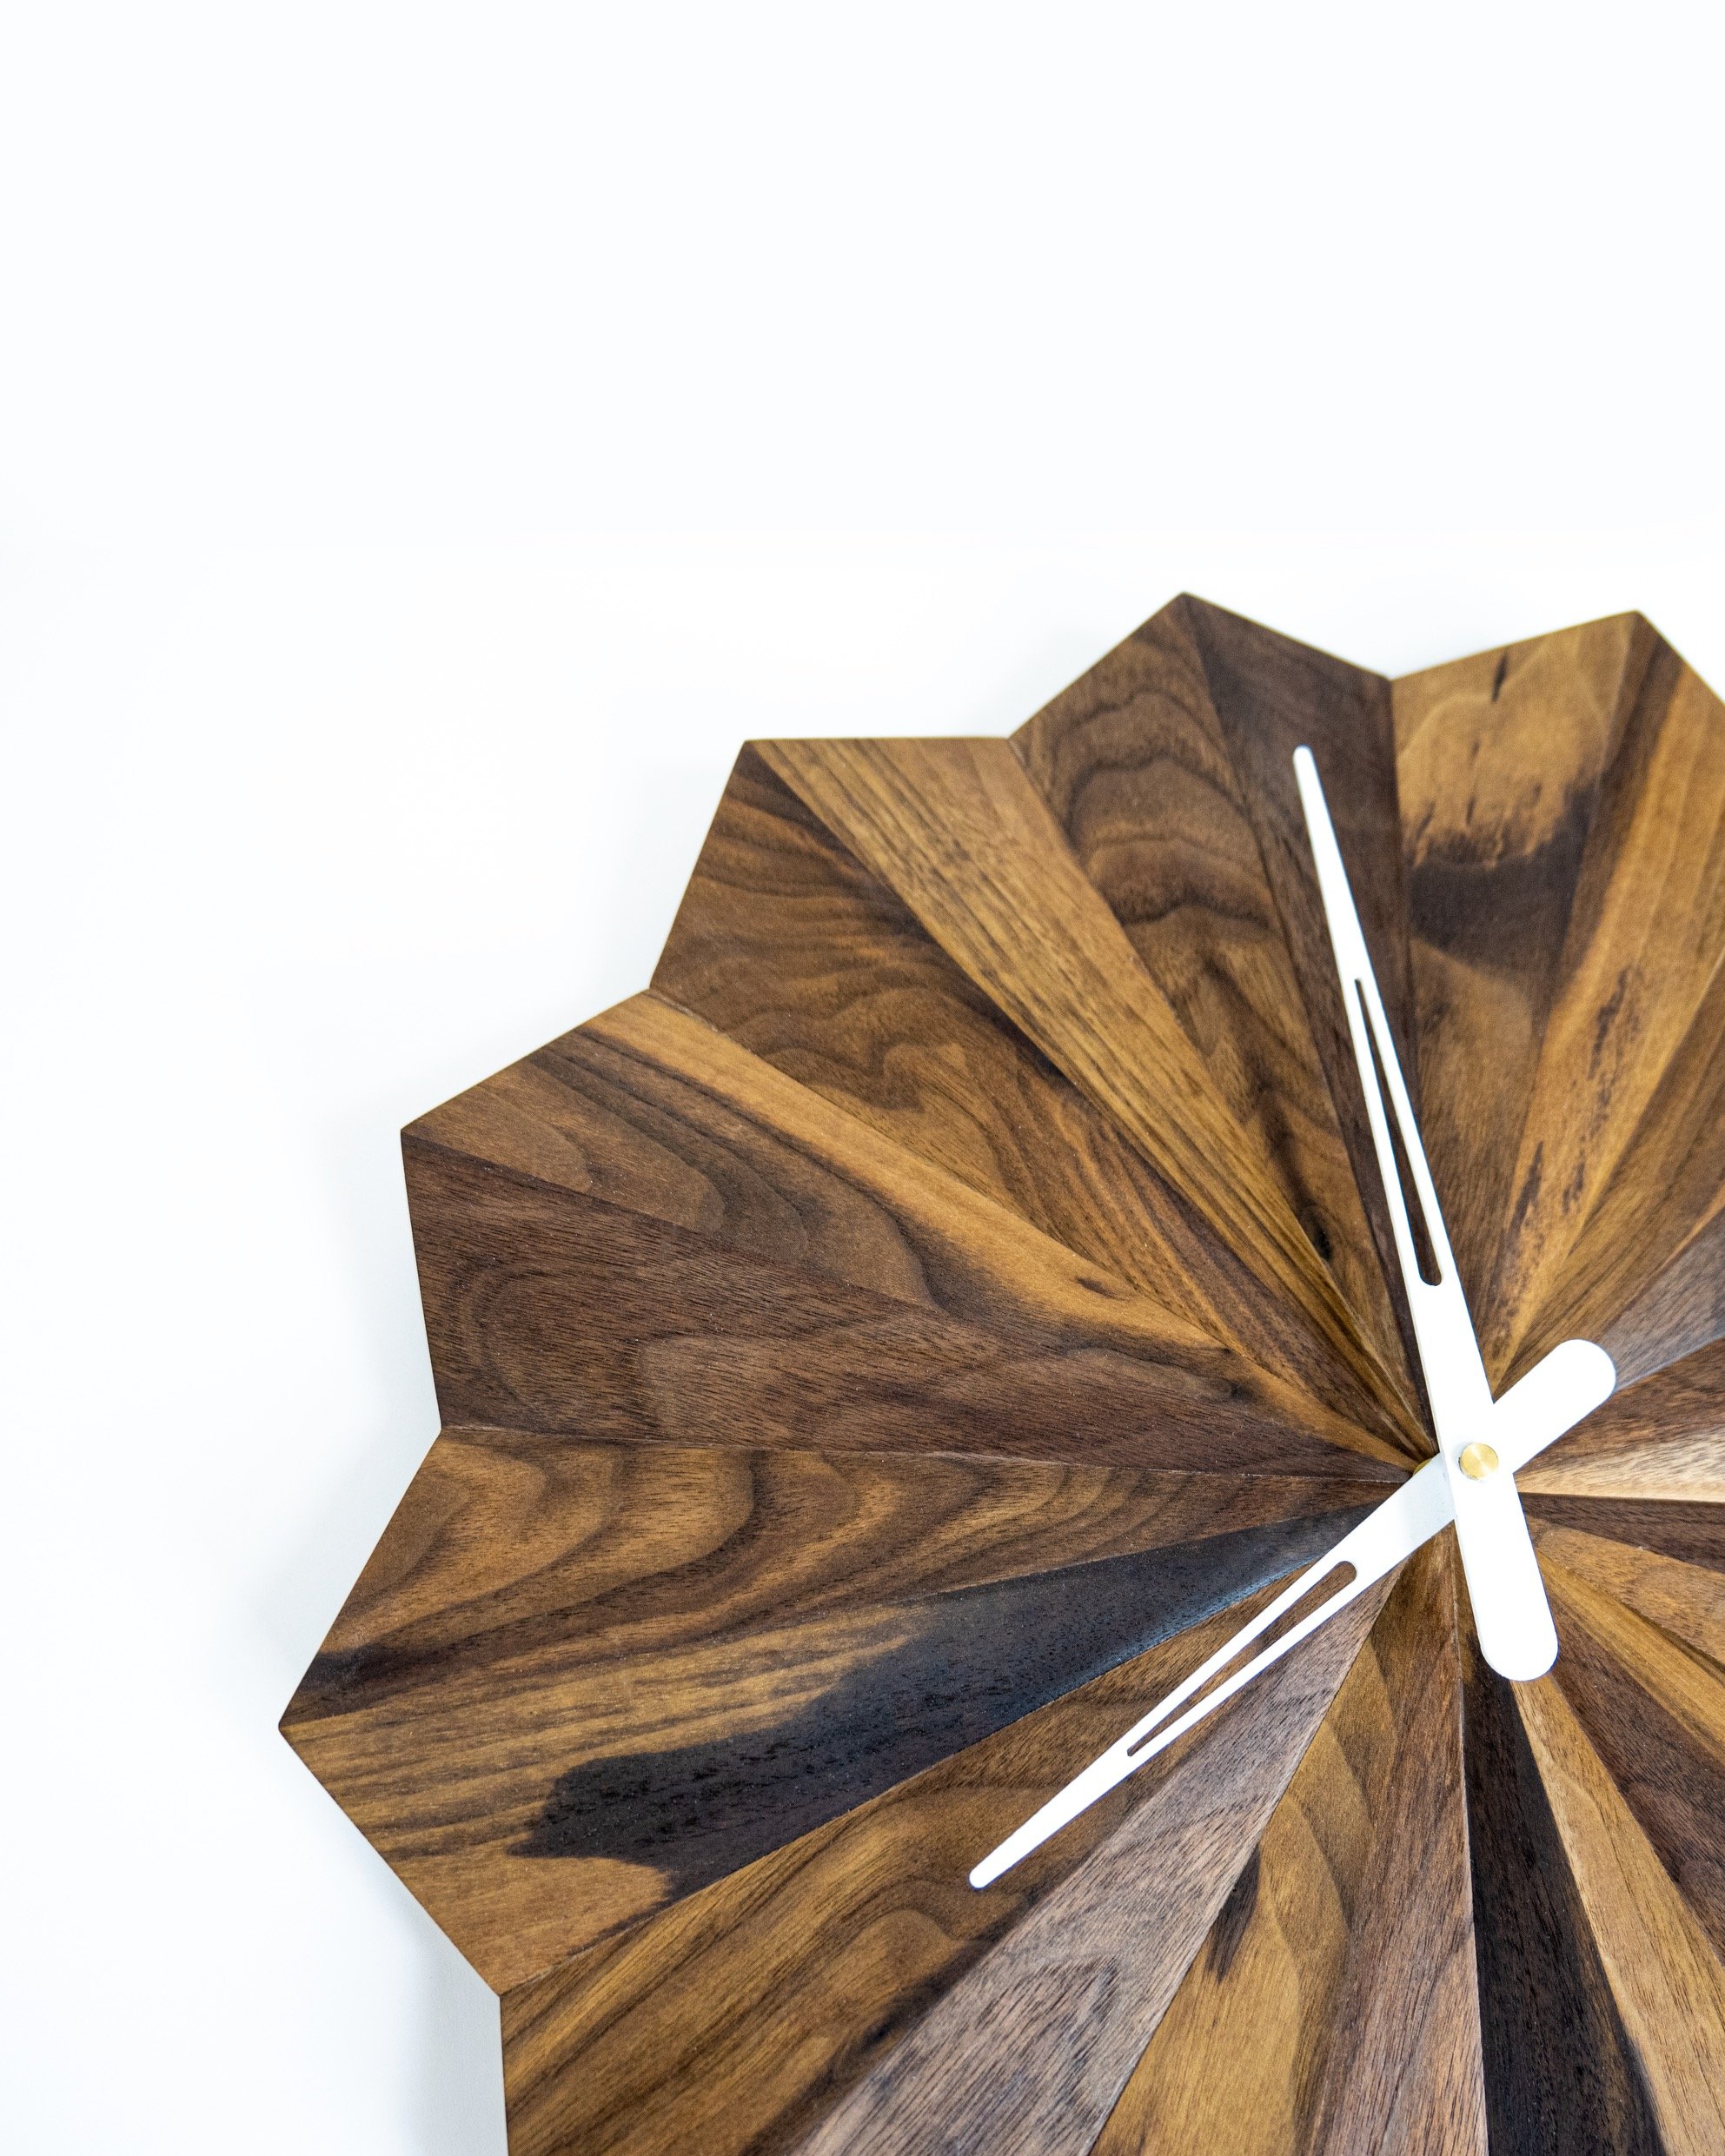
There are many benefits to using compound miter and bevel cuts when joining two pieces of wood. Like mentioned above, these types of cuts create stronger joints than butt joints or miter joints. They are a stronger joint because it has more surface area in contact with the other piece of wood. Additionally, the angle of the cut creates an interlocking effect that helps to keep the two pieces of wood together.
They also allow you to create more intricate designs and patterns - hence the design of this clock. Another benefit of using compound miter and bevel cuts is that they can help you save time and effort. For this project, creating a jig to use at the table saw makes quick work of these repeat cuts!
Making and Troubleshooting Compound Miter and Compound Bevel Cuts
When using a table saw and jig for compound bevel cuts, here are some basic steps to follow
1. Set the blade of the saw to the desired bevel angle.
2. Set the fence of the saw at the desired distance from the blade. (measure with a rule)
3. Make sure that the wood is securely clamped to the sled table.
4. Place the jig against the fence and blade of the saw.
5. Cut along the length of the jig.
6. Reset the jig and repeat steps 5 and 6 until the desired cut is achieved.
By following these steps, you can be sure that your cuts will be accurate and precise. Additionally, using a jig helps to ensure that the cuts are made evenly.
If you are having difficulty making compound miter or bevel cuts, there are a few things that you can do to troubleshoot the problem.
First, check to see that the saw blade is set at the correct angle. If the blade is not set at the correct angle, the cuts will not be accurate.
Next, check the fence of the saw to make sure that it is set at the correct distance from the blade . If the fence is too close to the blade, the wood will bind and the cuts will be inaccurate. If the fence is too far from the blade, the cuts will be shallow and may not be strong enough.
Finally, make sure that the wood is securely clamped to the sled before making any cuts. If the wood is not clamped down, it can move during the cutting process and cause the cuts to be inaccurate.
Check out the full video so you can see how I set up the table saw and jig to make these cuts easy!

Building this clock is a great way to practice your compound bevel and miter cuts. By following the tips in this post and checking out the video, you can be sure that your clock will turn out looking great! And by using a sled and table saw, you can be sure that your cuts will be accurate and precise. So, what are you waiting for? Get out there and build something amazing!
Don’t forget to check out the full video for the project and let me know if you have any questions about the build!